A Little Keeper of Family History: Restoring a Moravian Doll
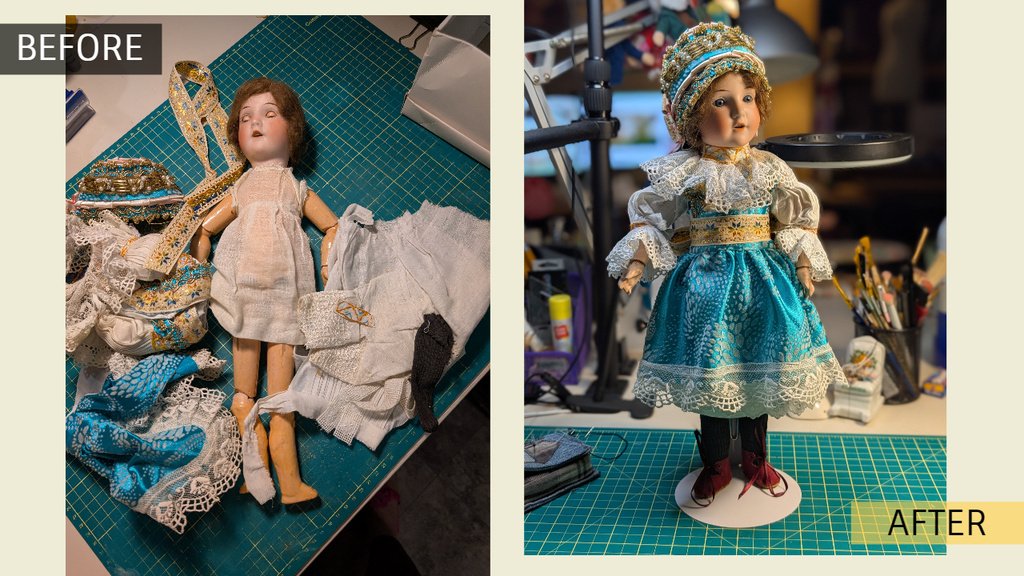
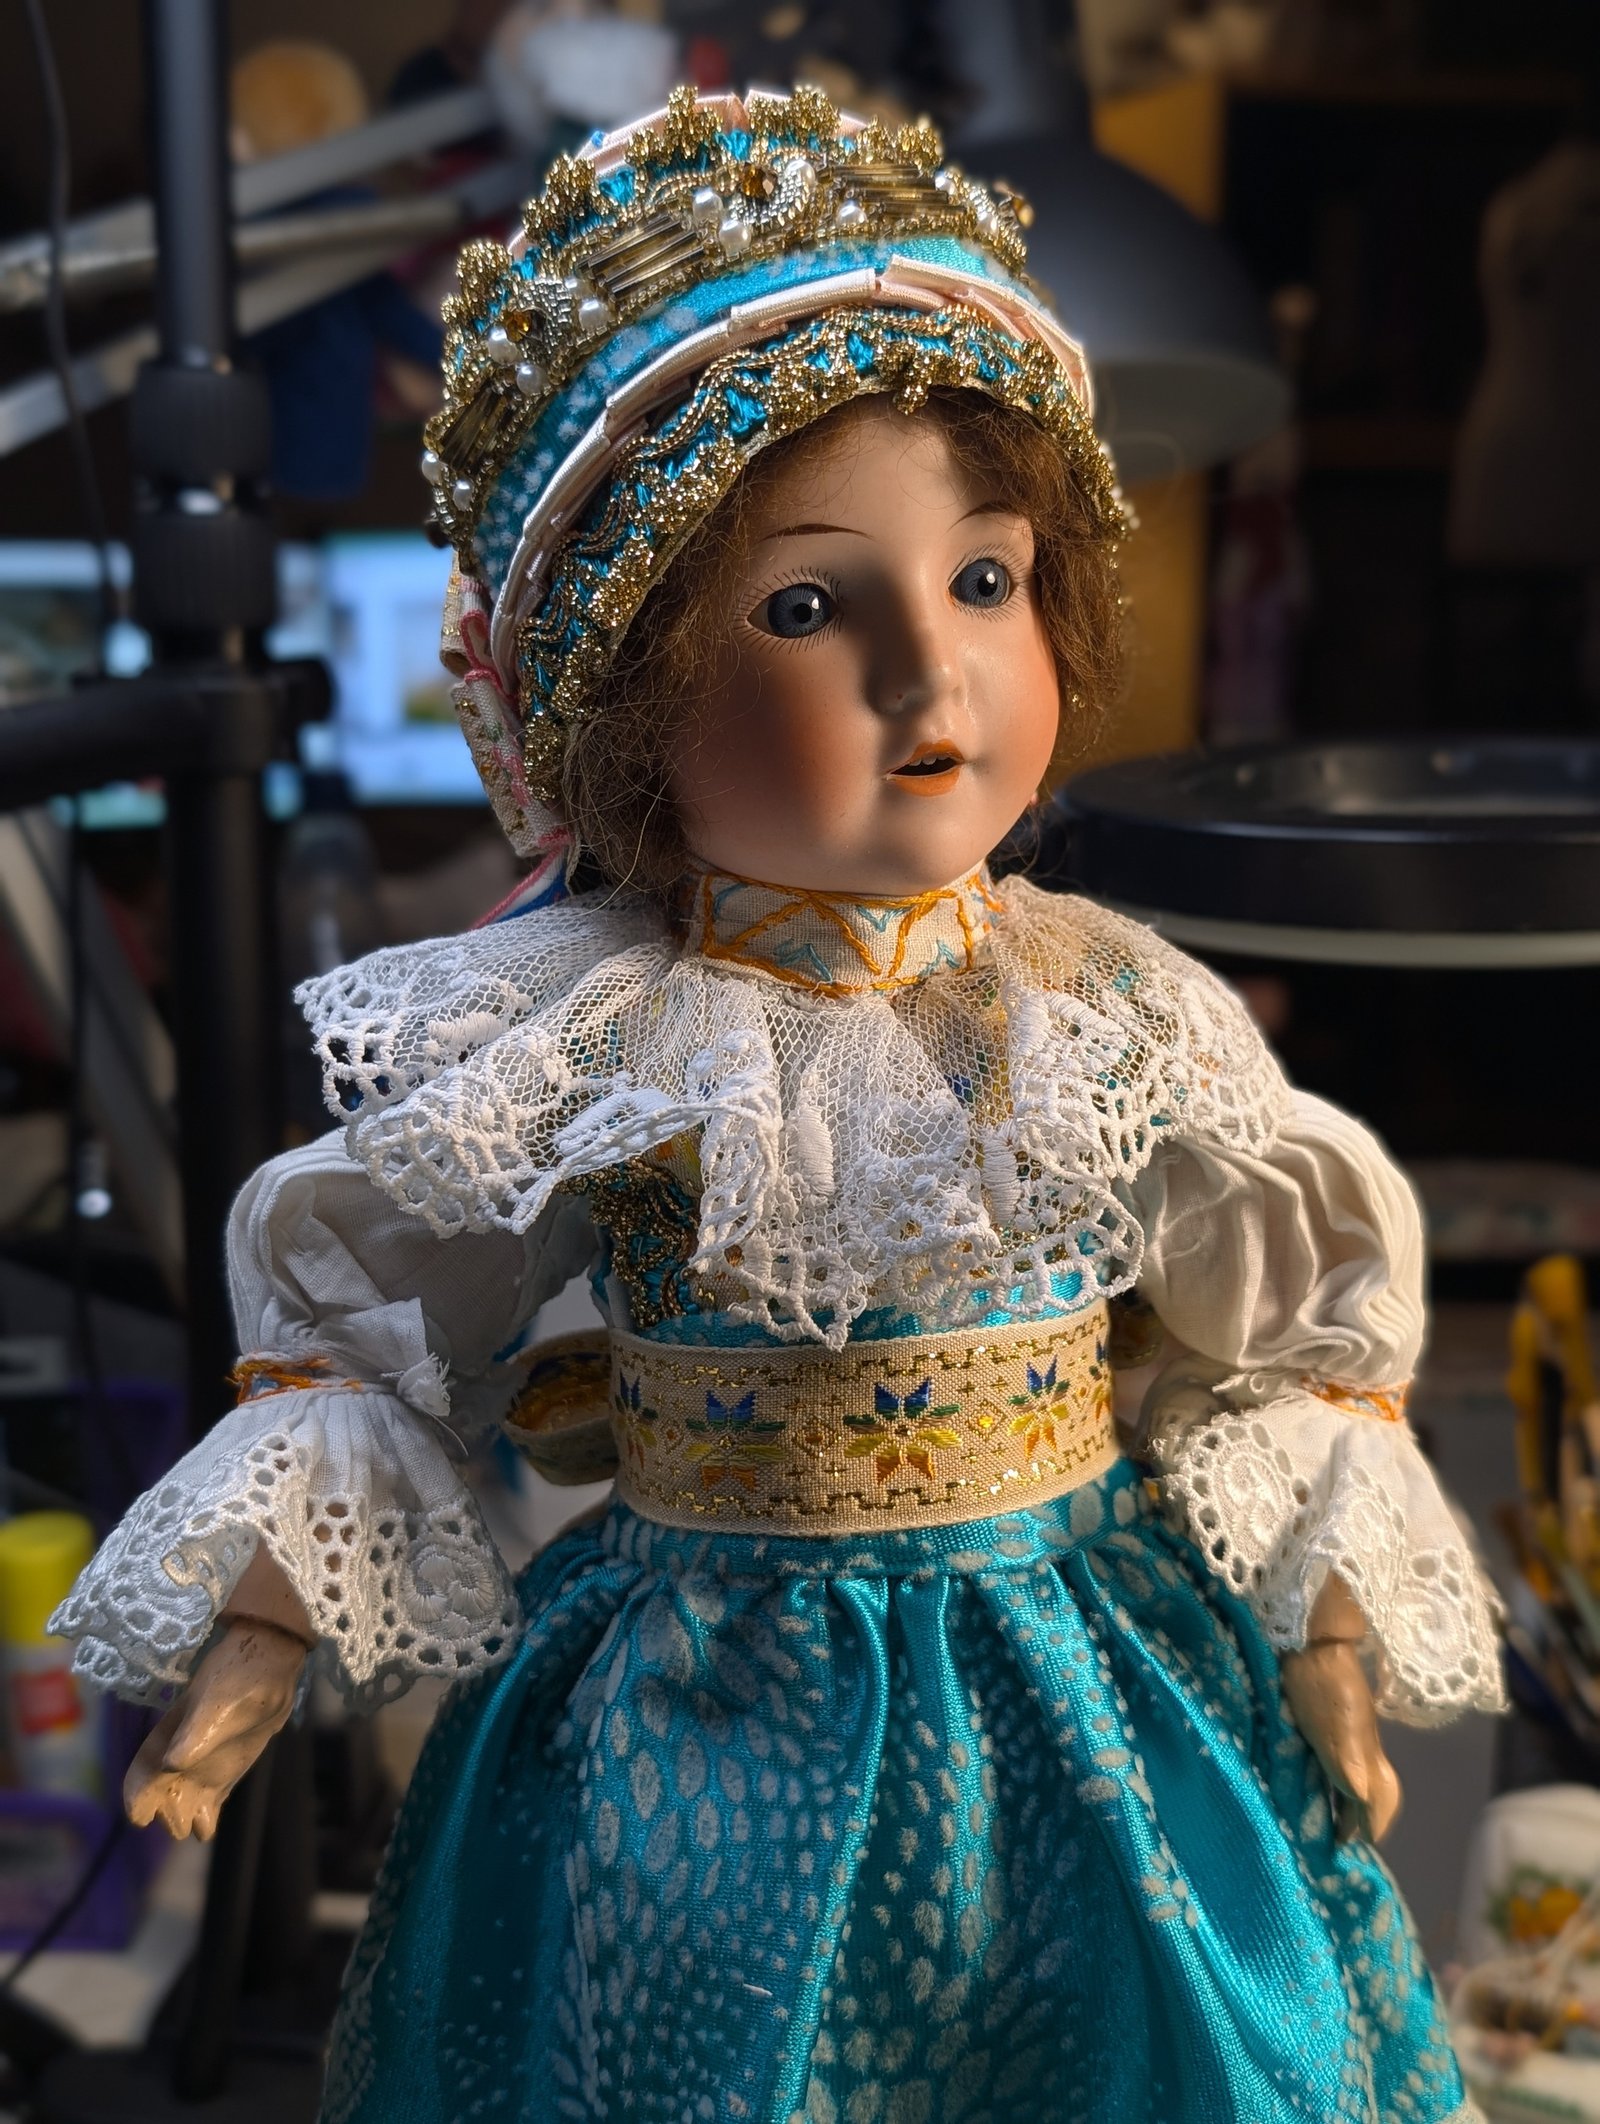
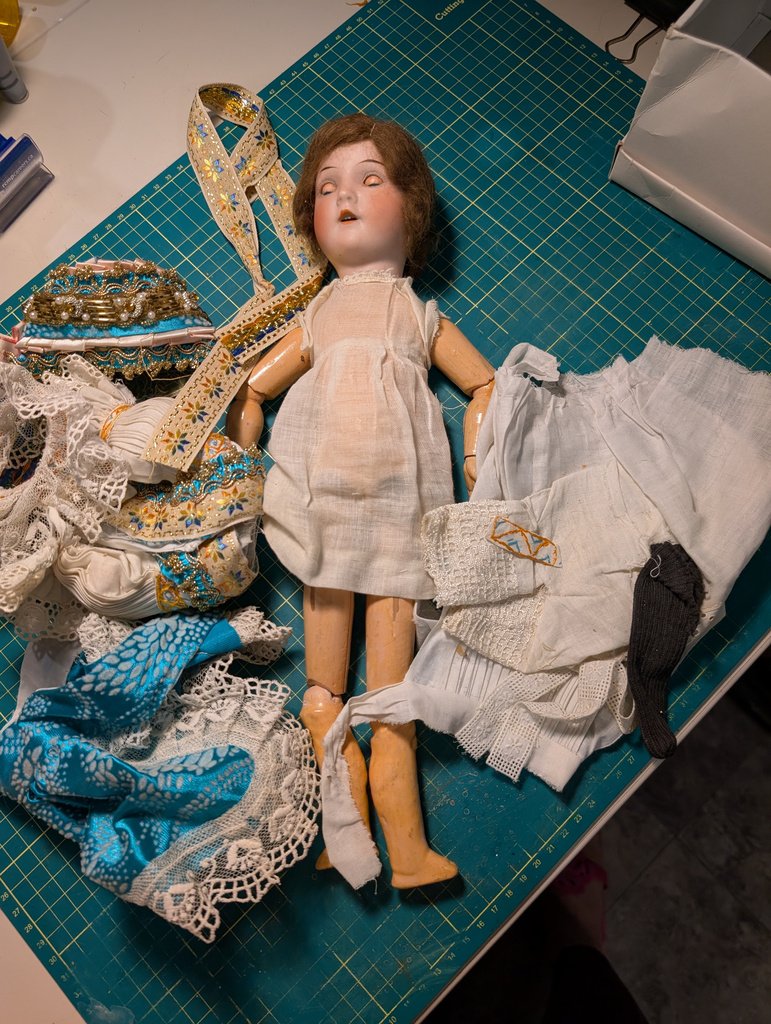
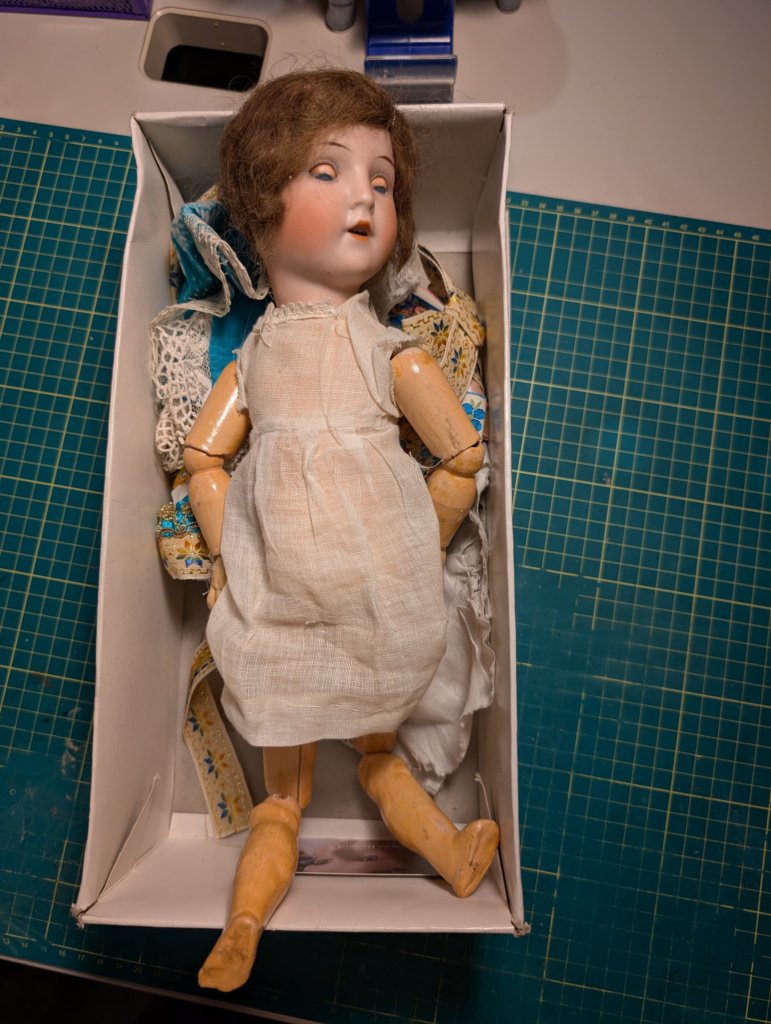
Another patient has arrived, and she has everything I love in a doll: her age, her size, and a complete traditional costume.
The initial task seems simple enough: replace the elastic holding her together, clean the porcelain, and address the problems with her surface finish. But she is more than a hundred years old, so I begin with a thorough examination to see what care she actually needs.
A closer look
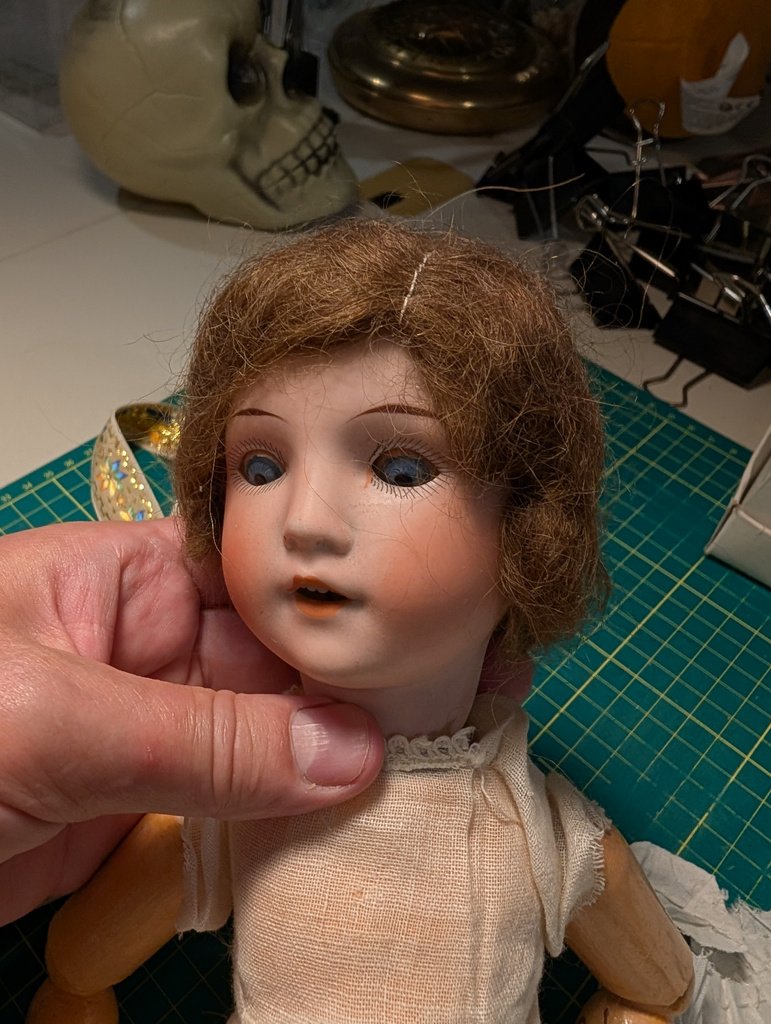
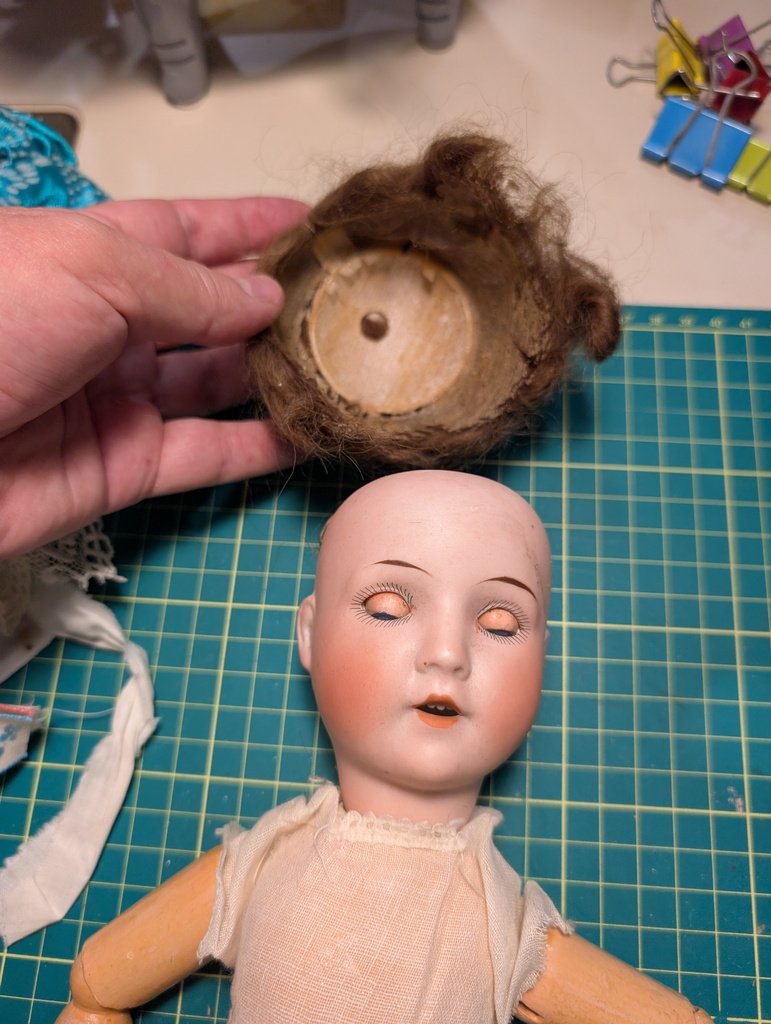
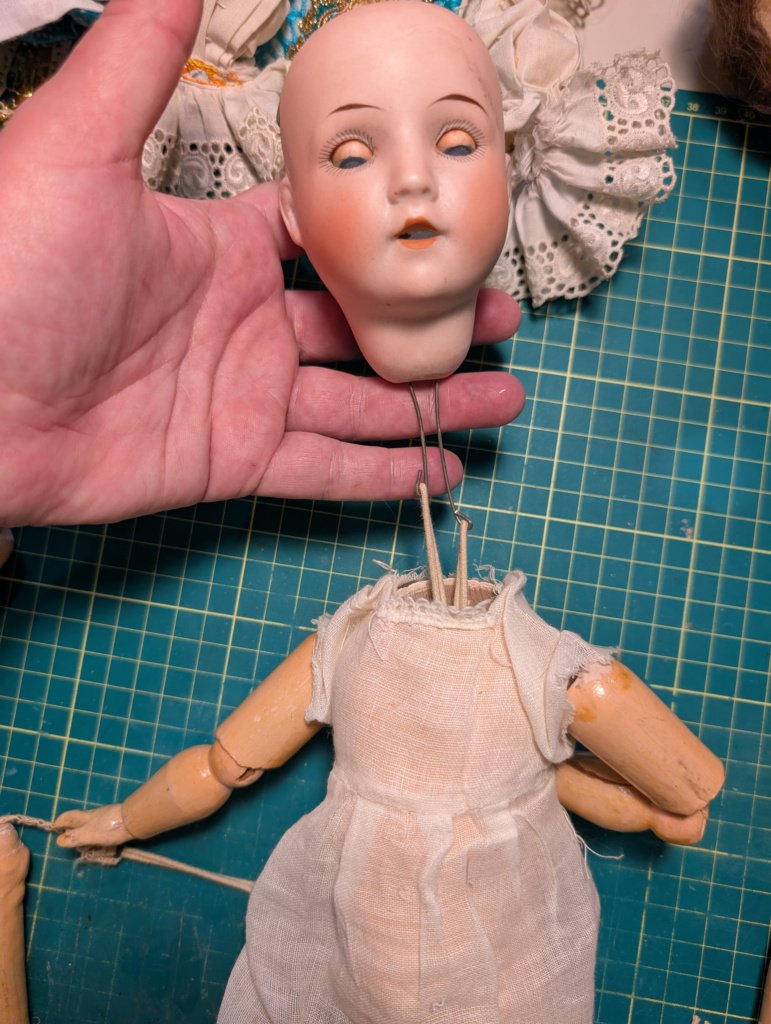
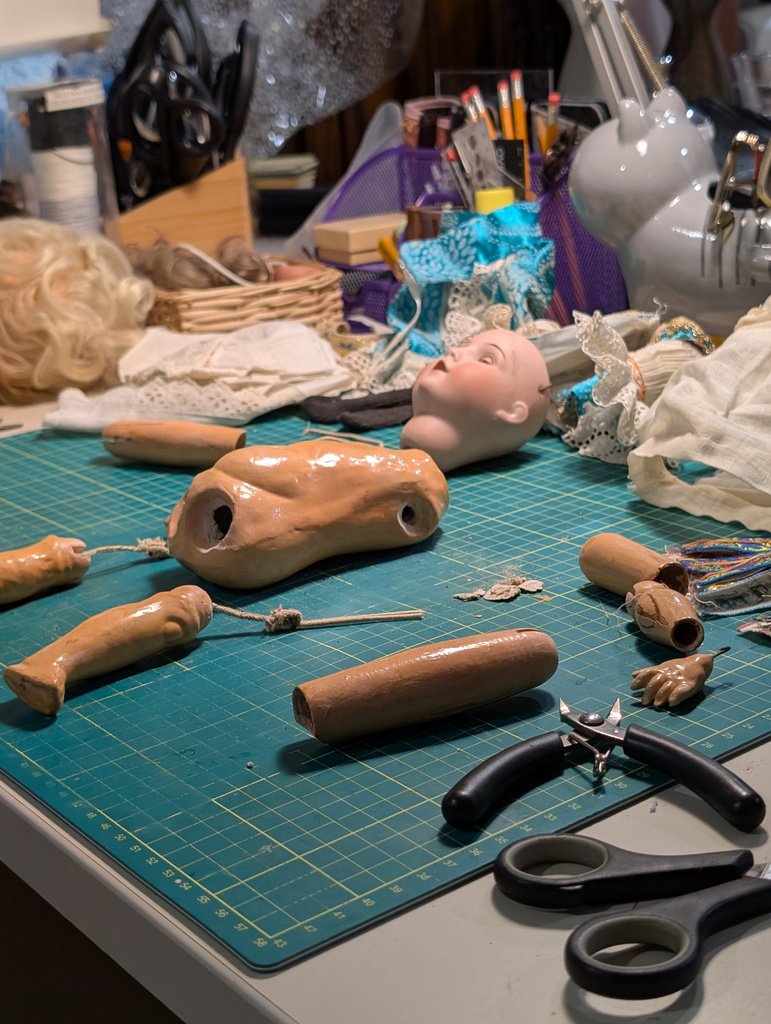
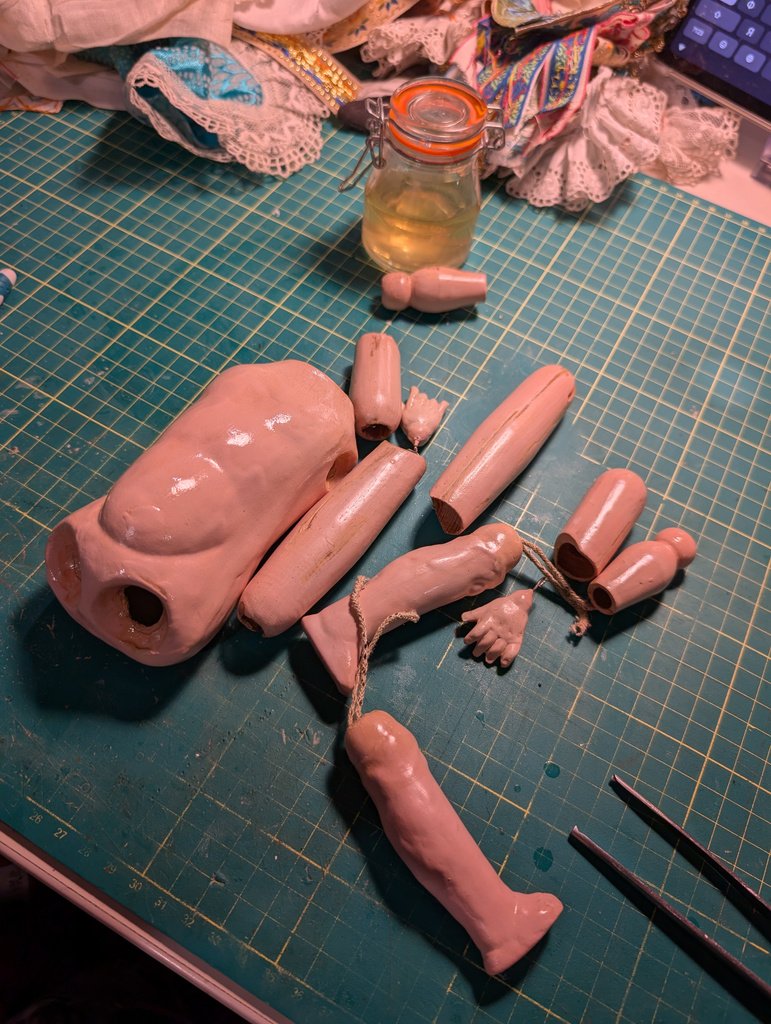
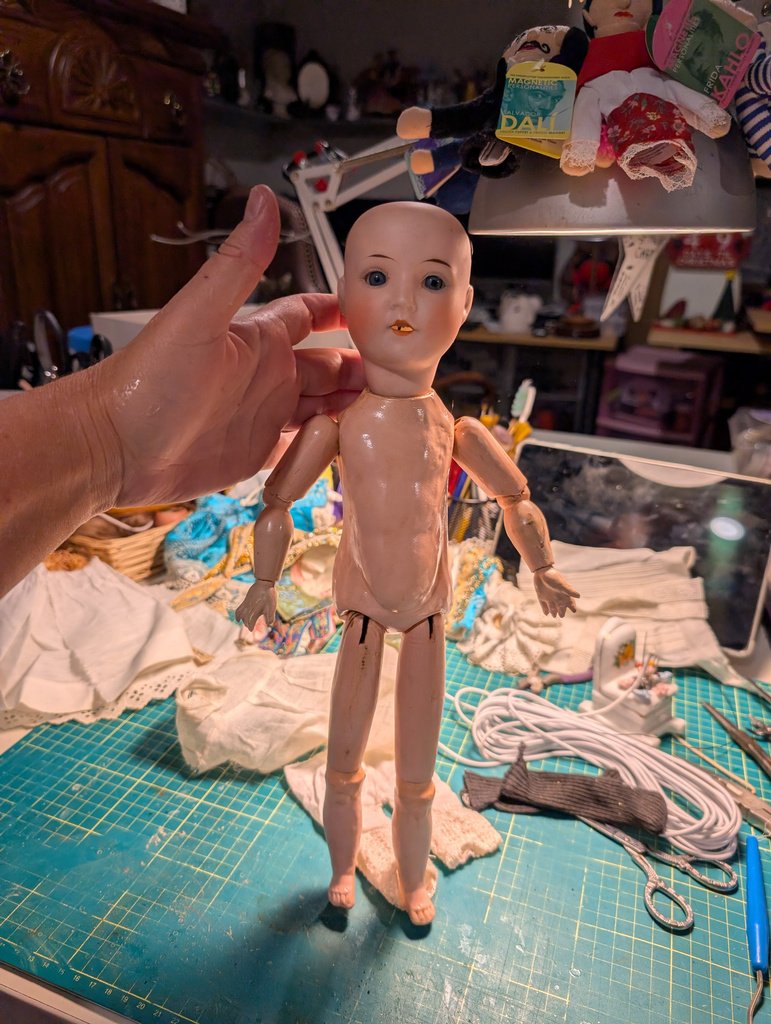
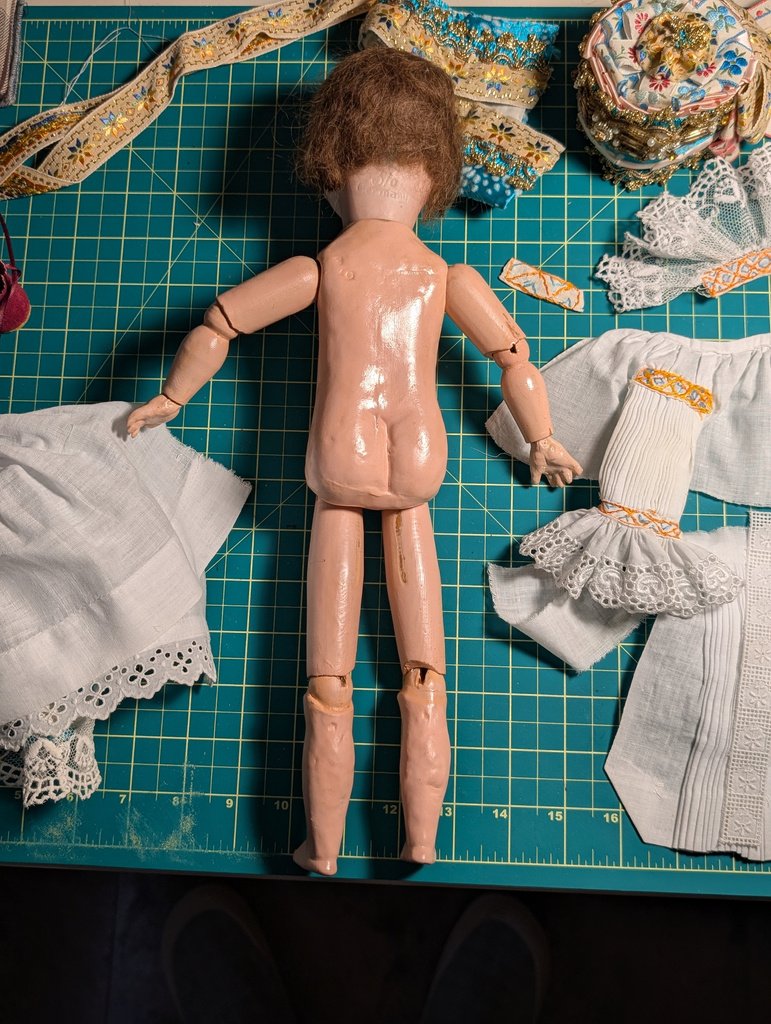
First, I take her apart and check the individual pieces. Overall, she is in very good condition. Someone has clearly loved her and looked after her.
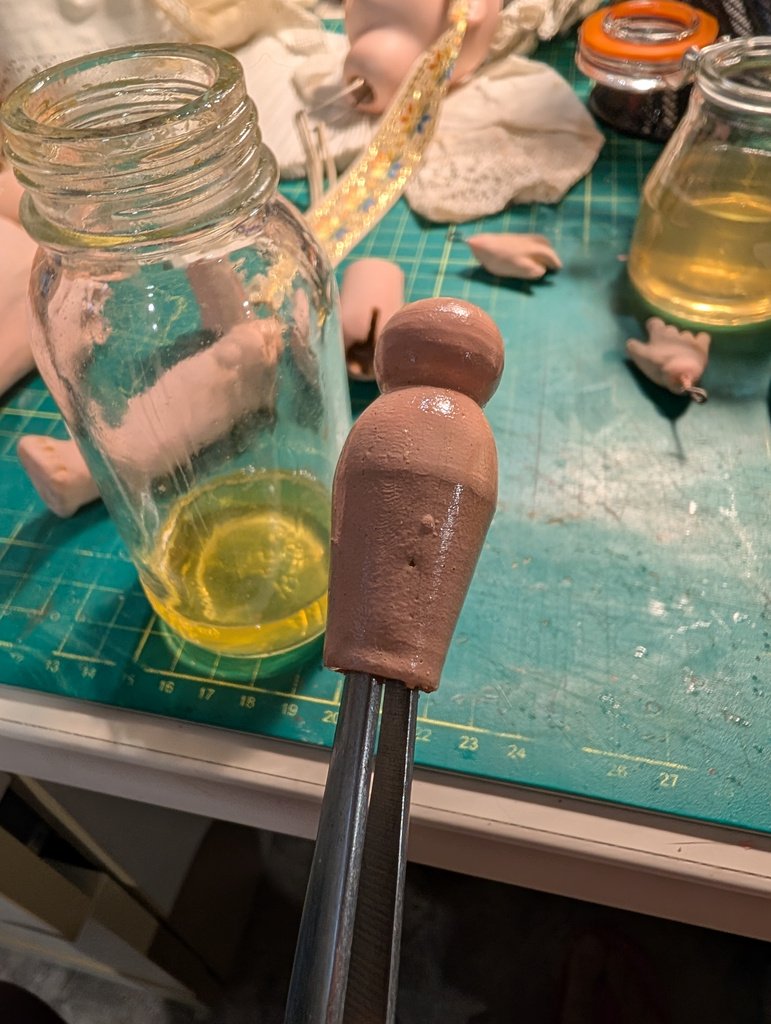
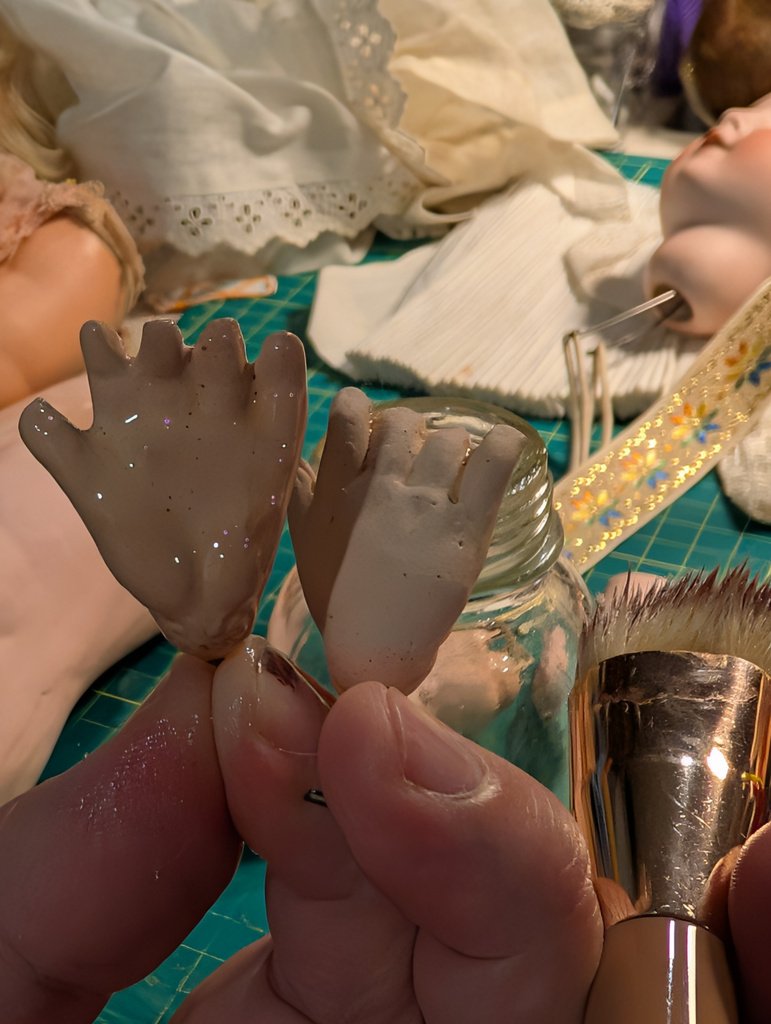
I decide to keep the treatment to what is needed: remove the yellowed shellac and secure the original paint, which is beginning to lift in a few places.
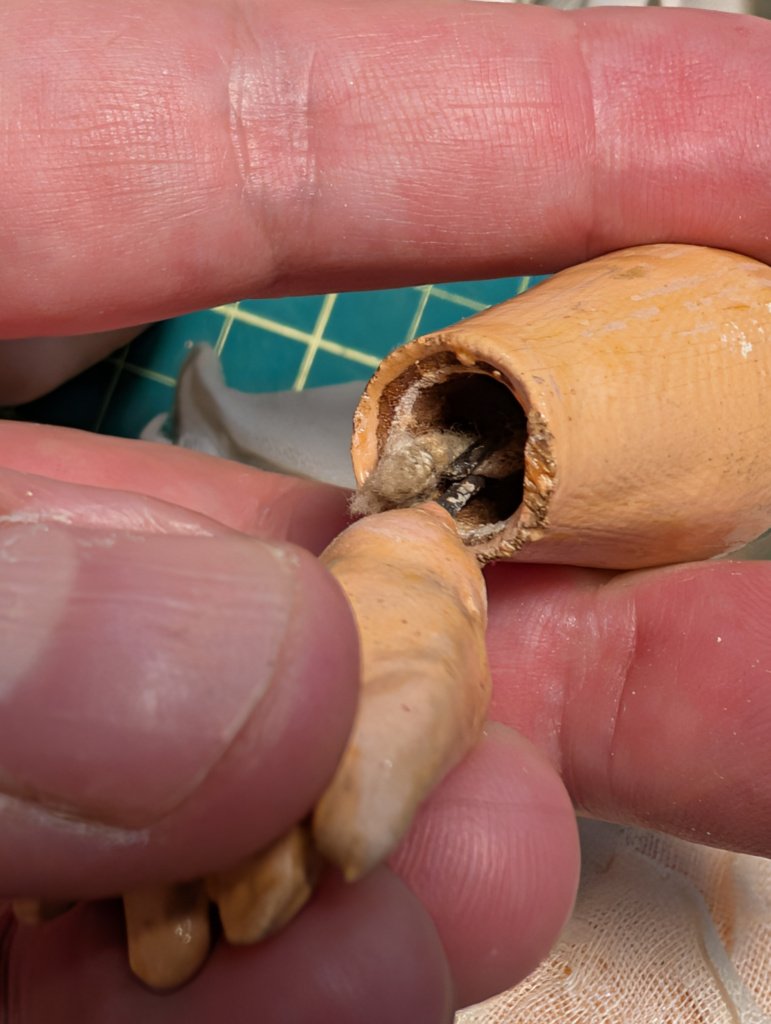
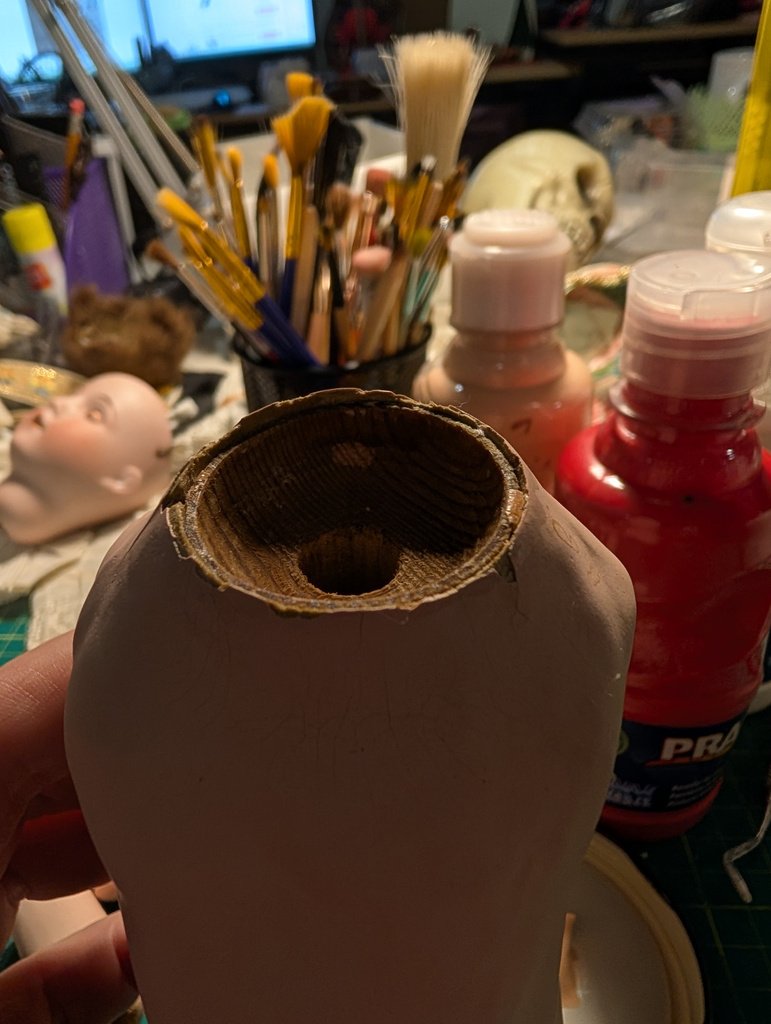
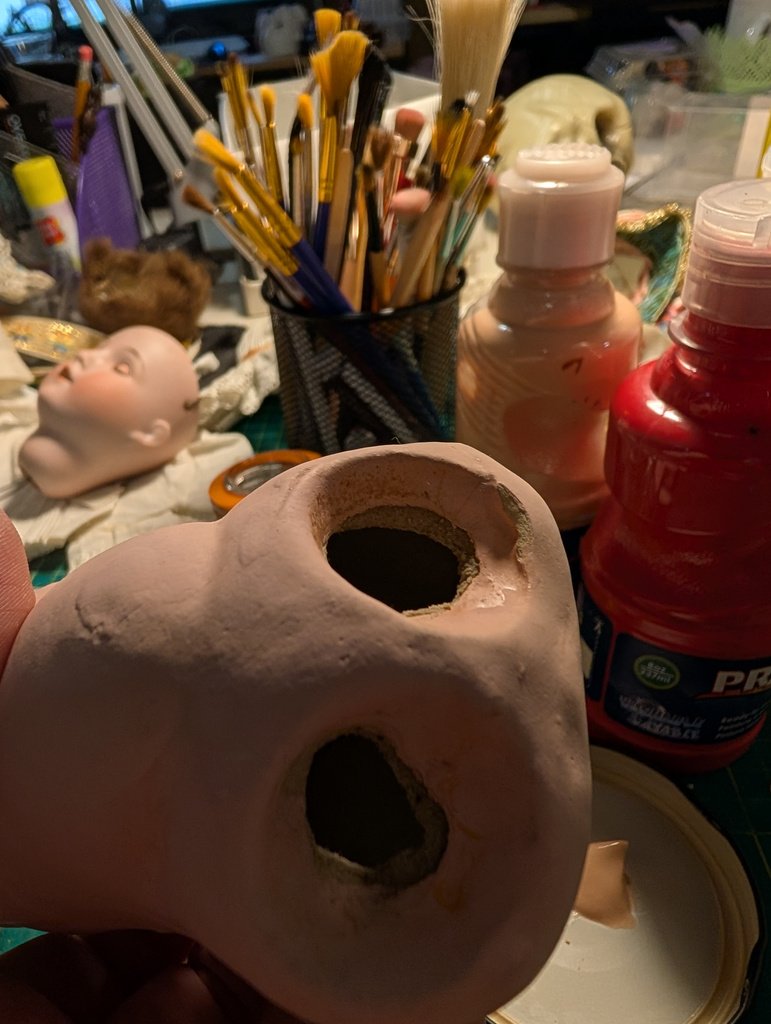
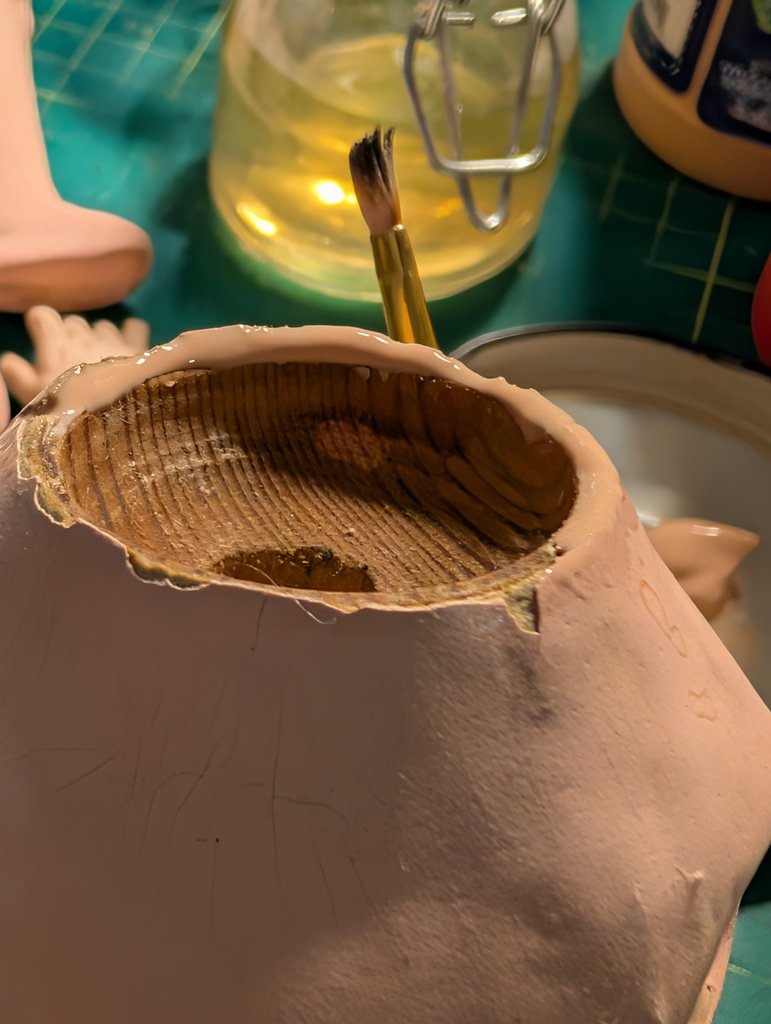
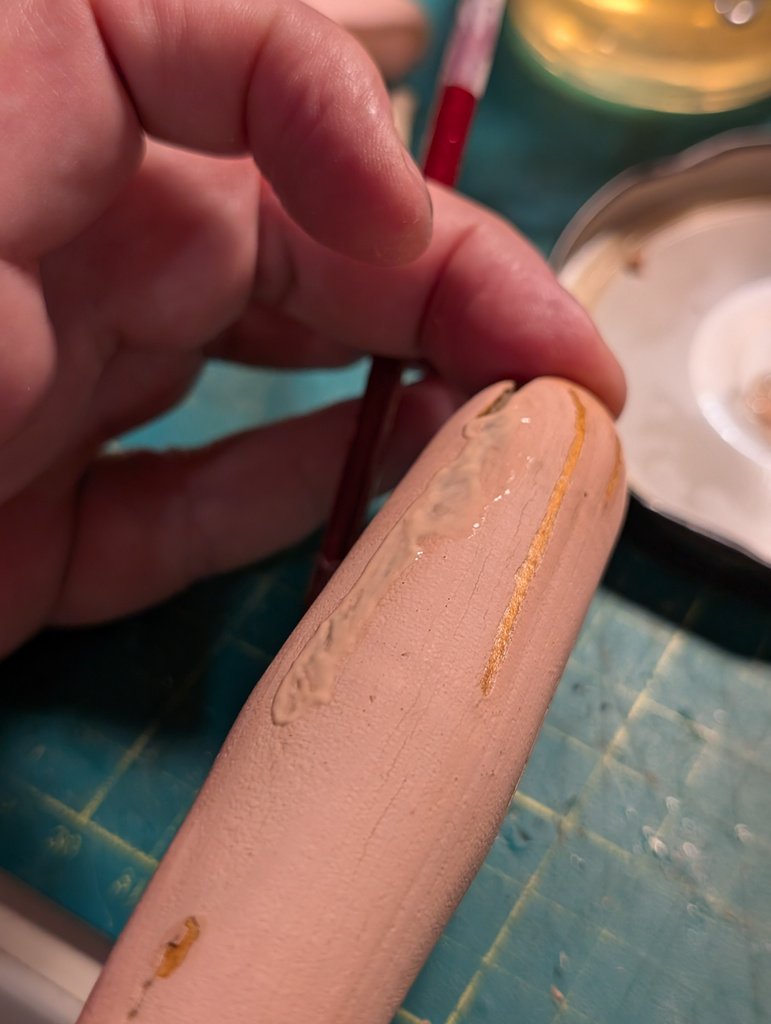
Using tinted bone glue, I reinforce the joint sockets and fill damaged areas on the surface of her composition body. Then I sand the repaired areas smooth and apply several coats of shellac. The parts are left to dry for a few days before I put her back together.
Bringing her back together
With the parts dry, it is time for restringing.
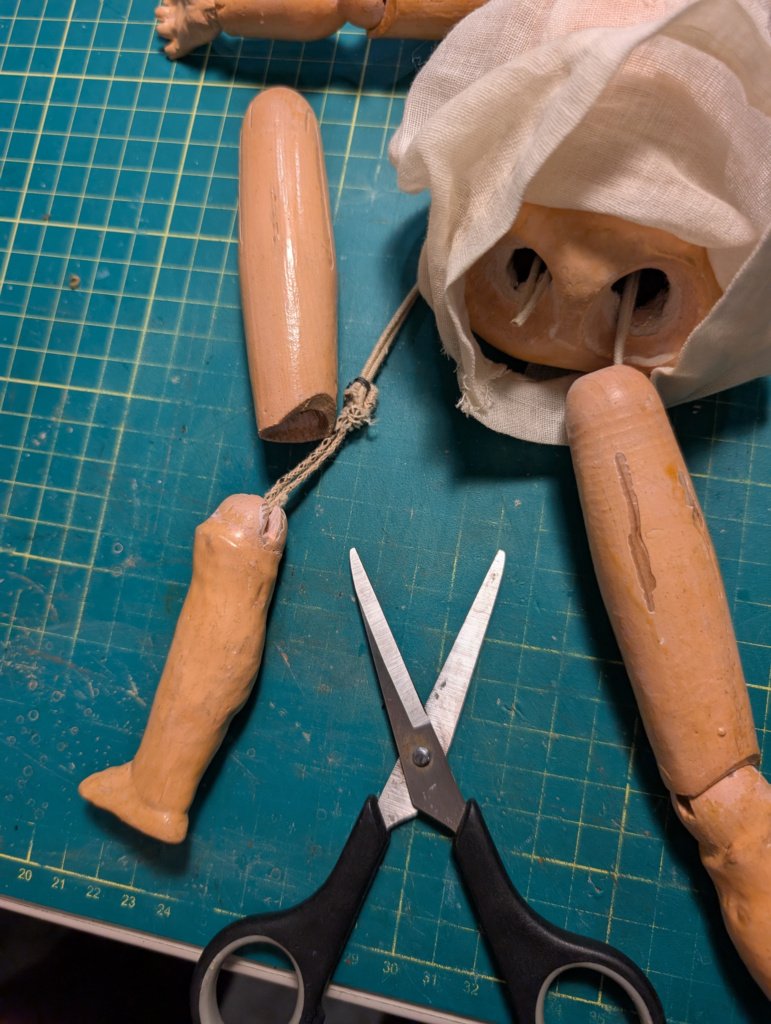
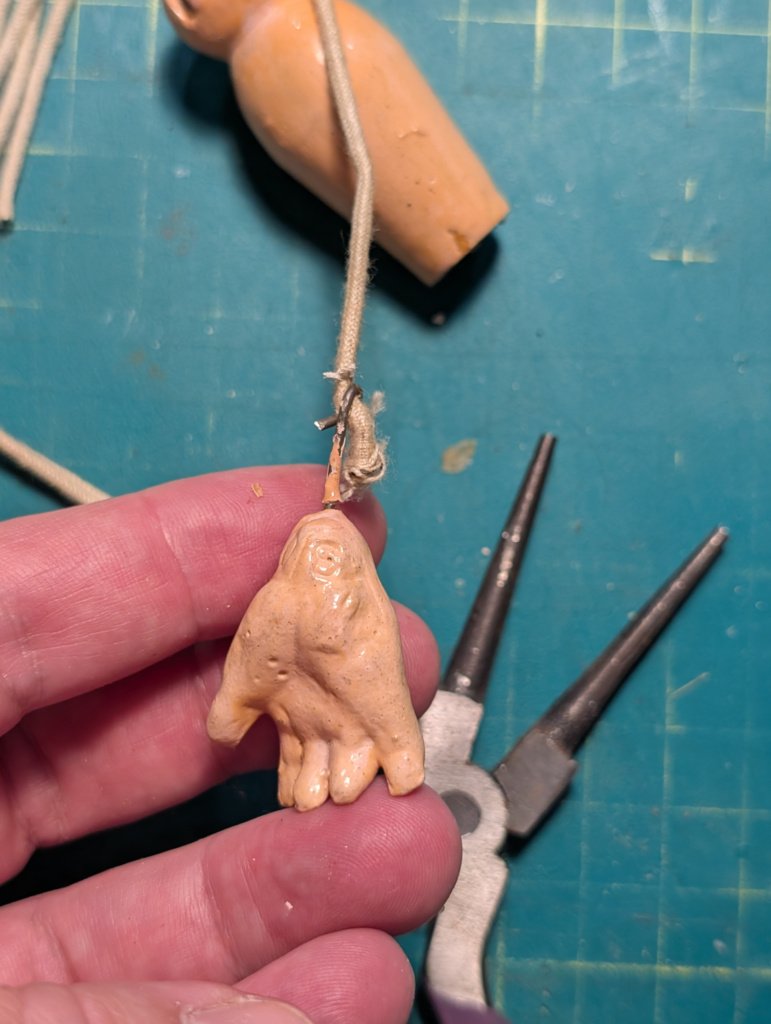
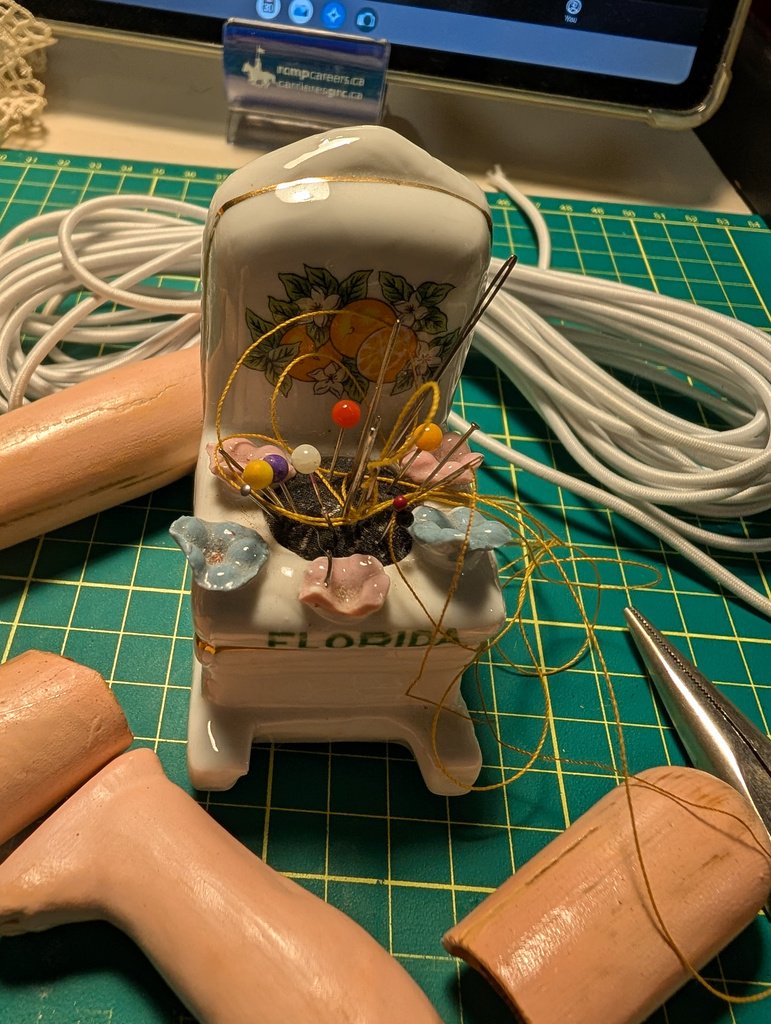
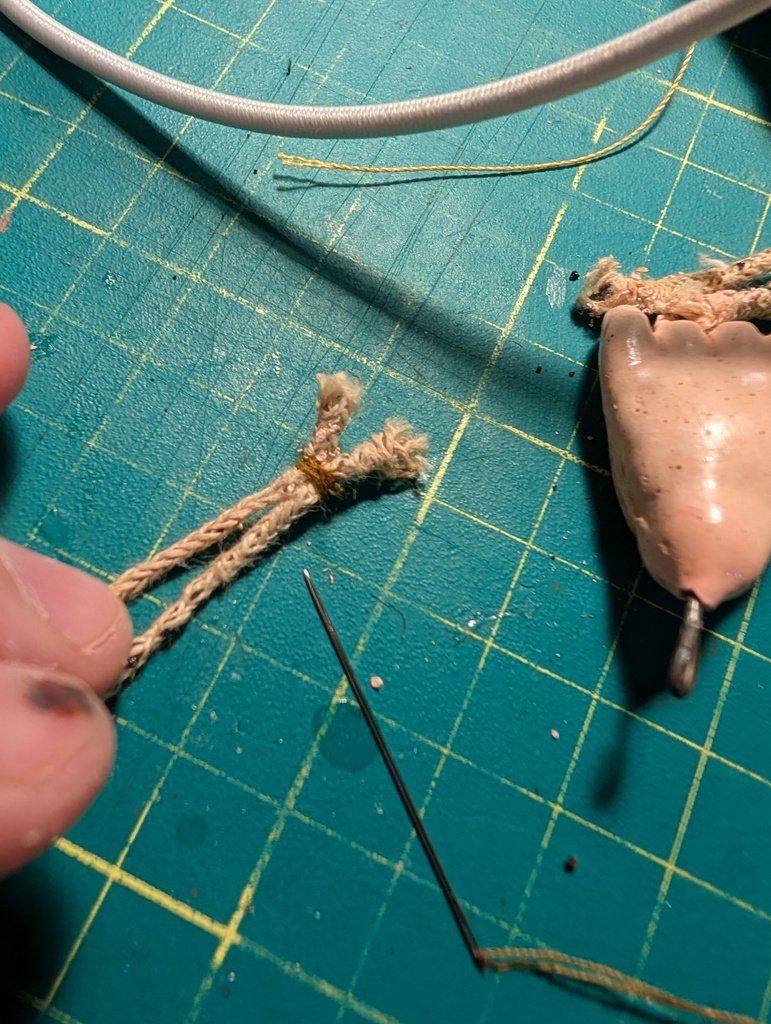
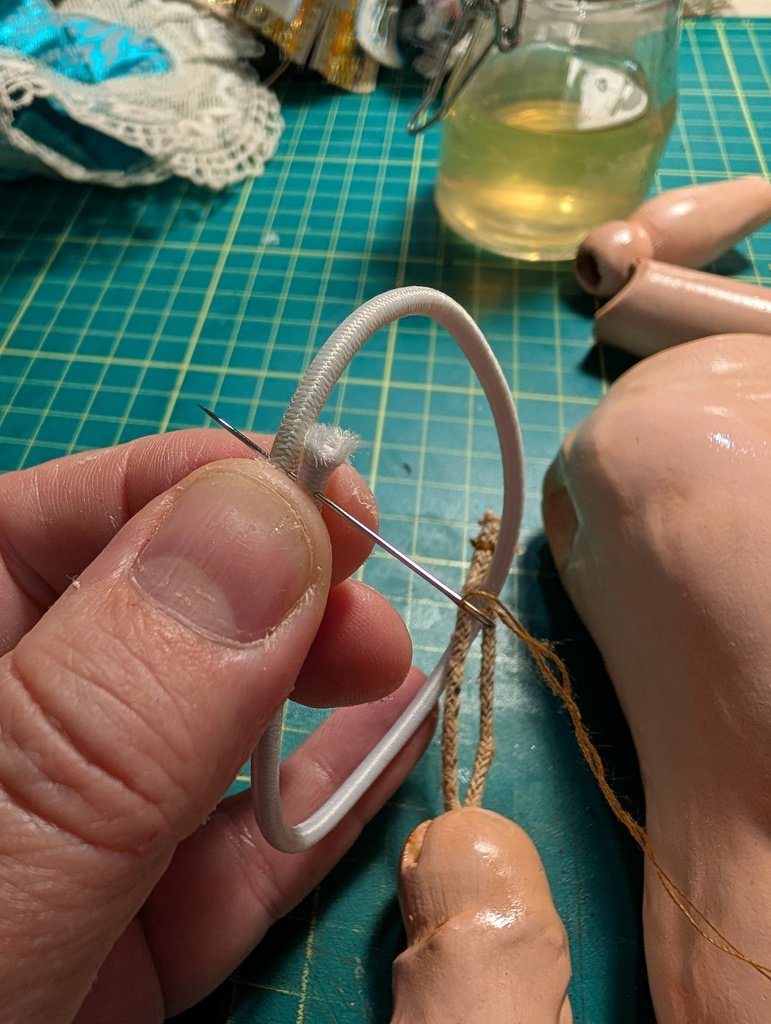
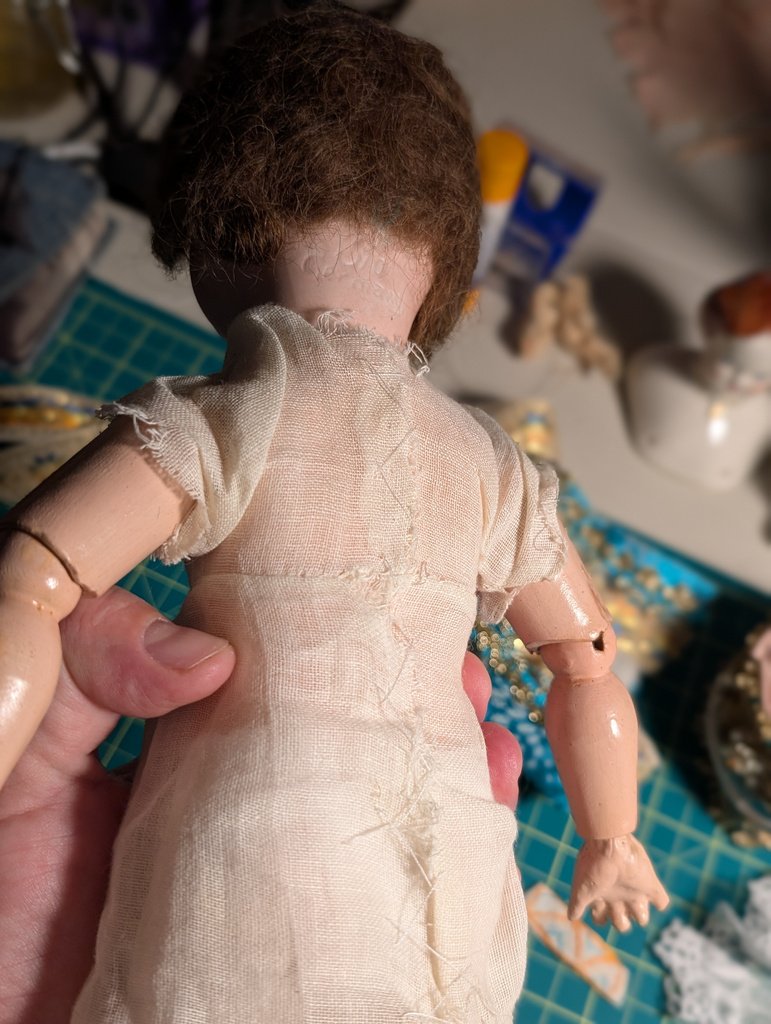
From what I can see, she has been restrung before. Over time, the elastic fibres in those cords have deteriorated, so I replace them with new elastic. I stitch the ends together rather than leaving bulky knots against the composition body and limbs.
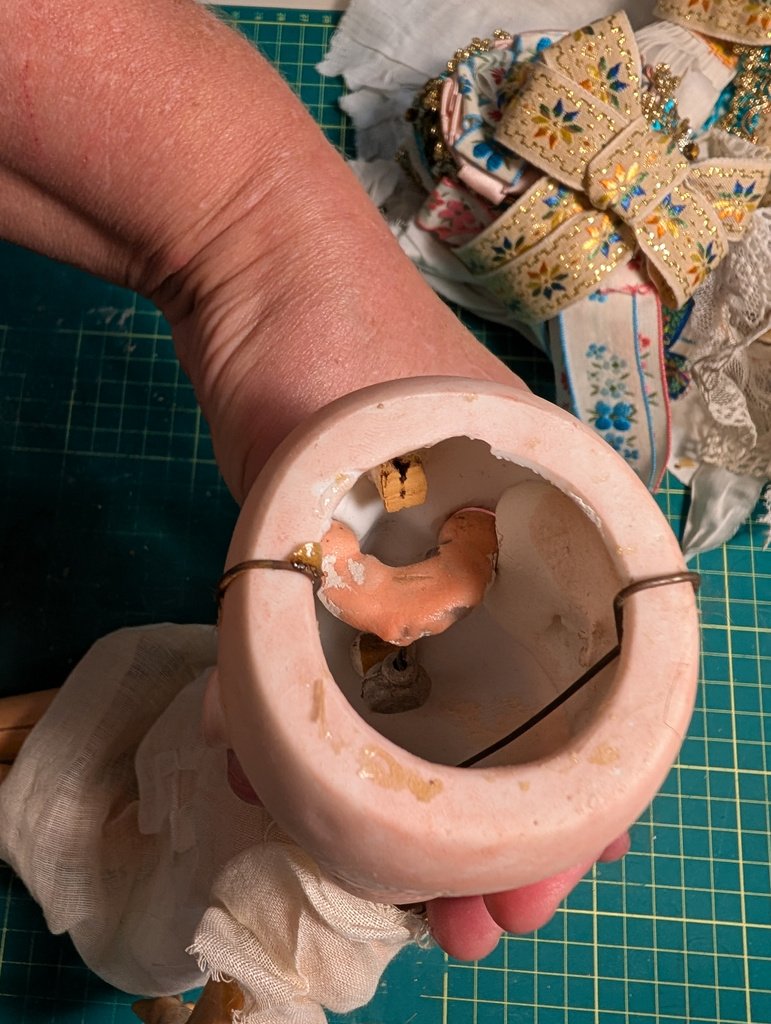
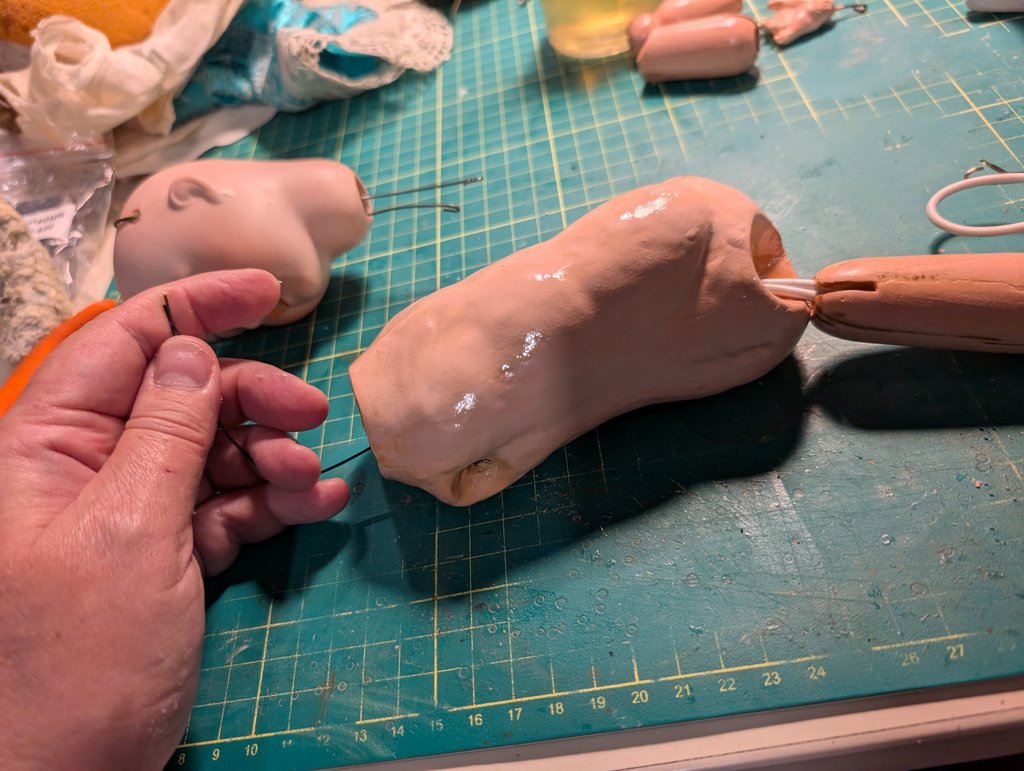
Her leg-stringing arrangement is particularly interesting: it uses special wires that pass through her head. A separate, smaller elastic loop holds the arms.
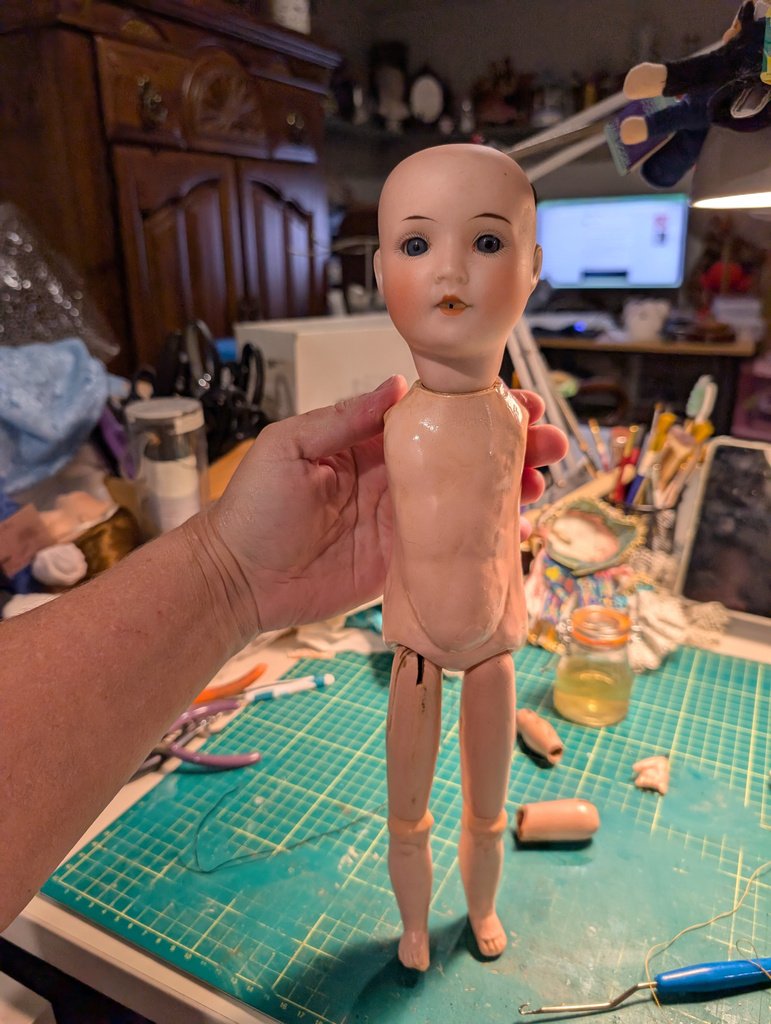
Once everything is connected, I check the tension. Everything looks just right.
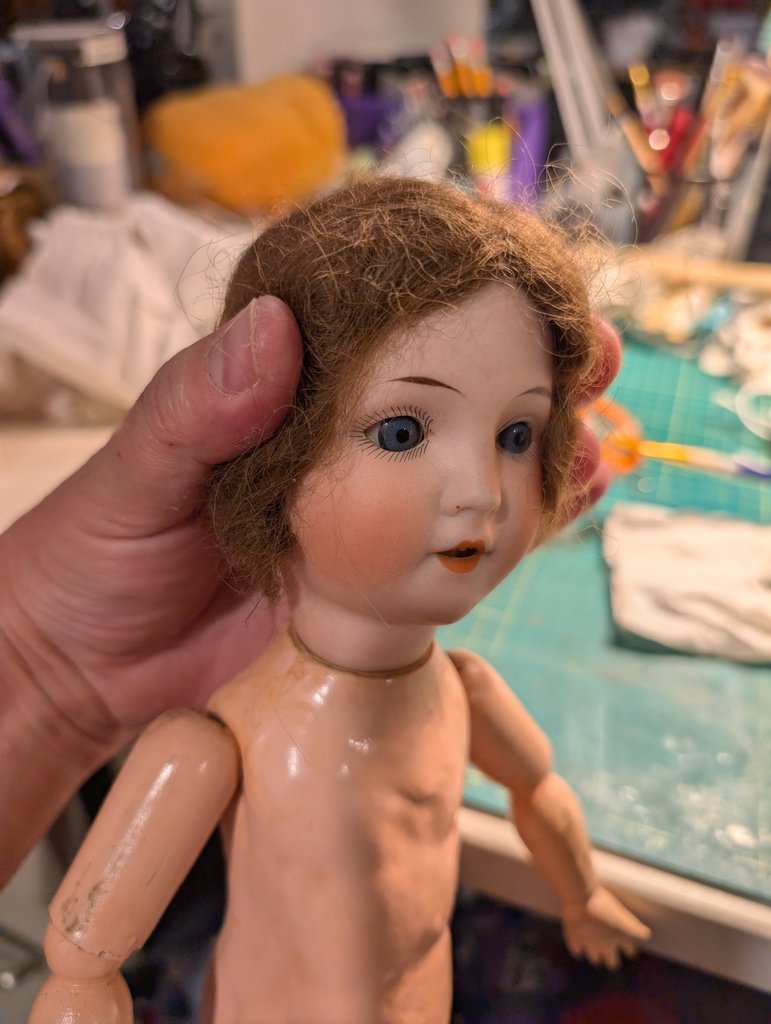
Her original wig, back in place
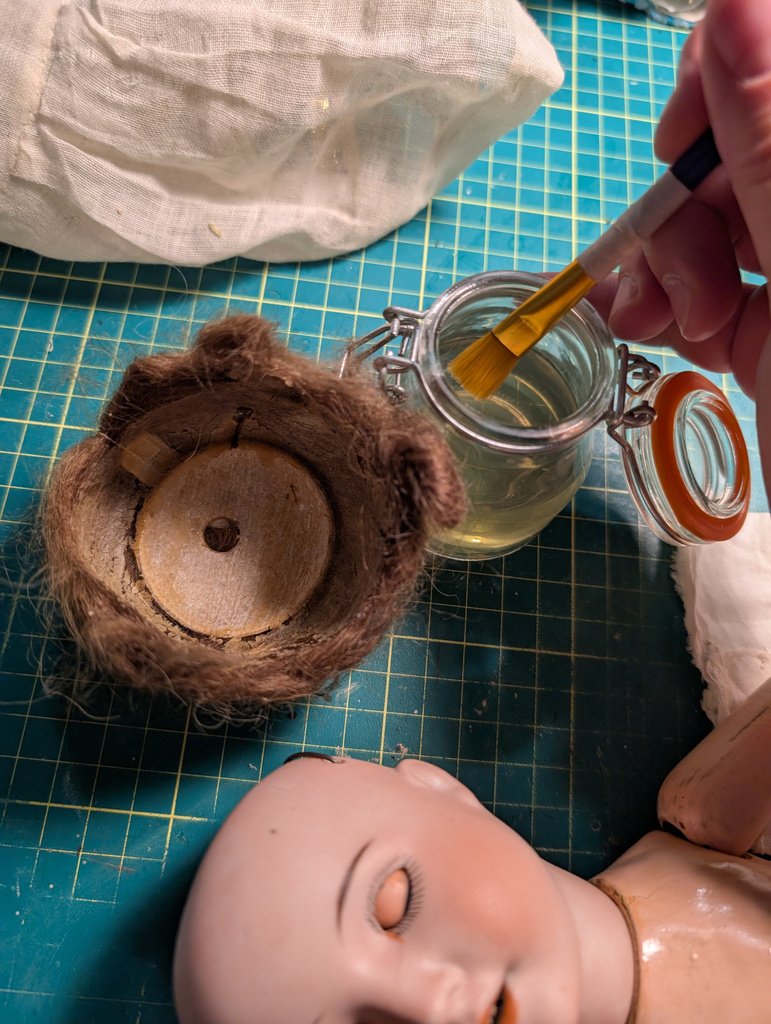
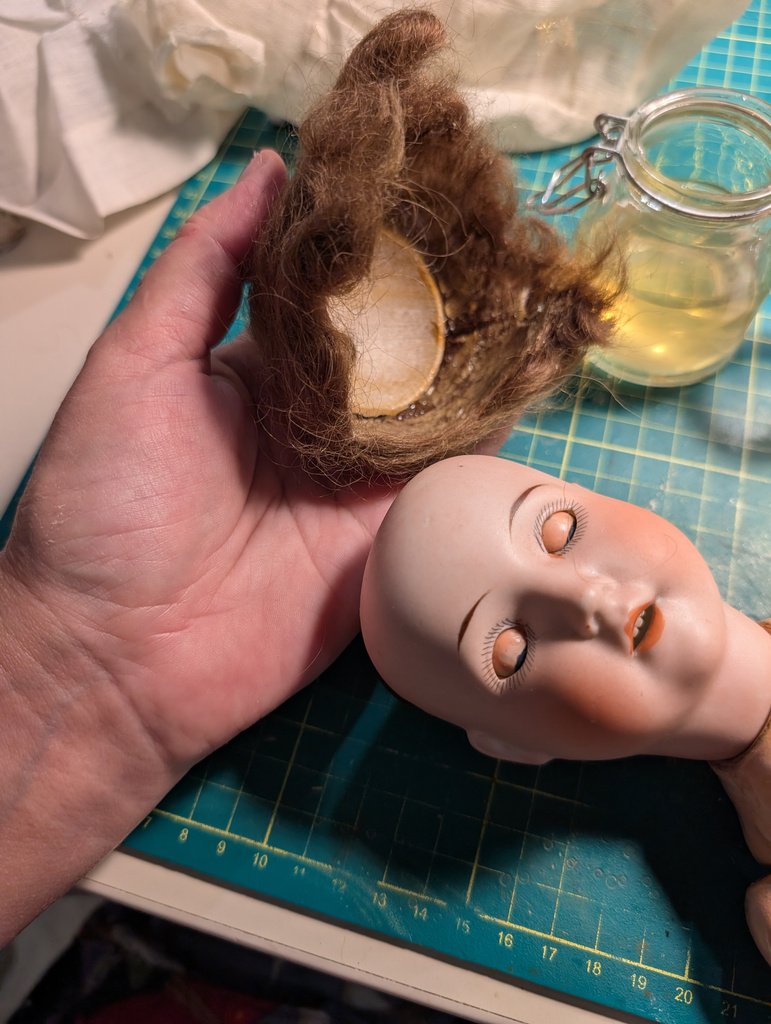
Now I can close the opening at the top of her head with her original pate and mohair wig.
Once again, I use bone glue, the traditional adhesive I work with on dolls of this age.
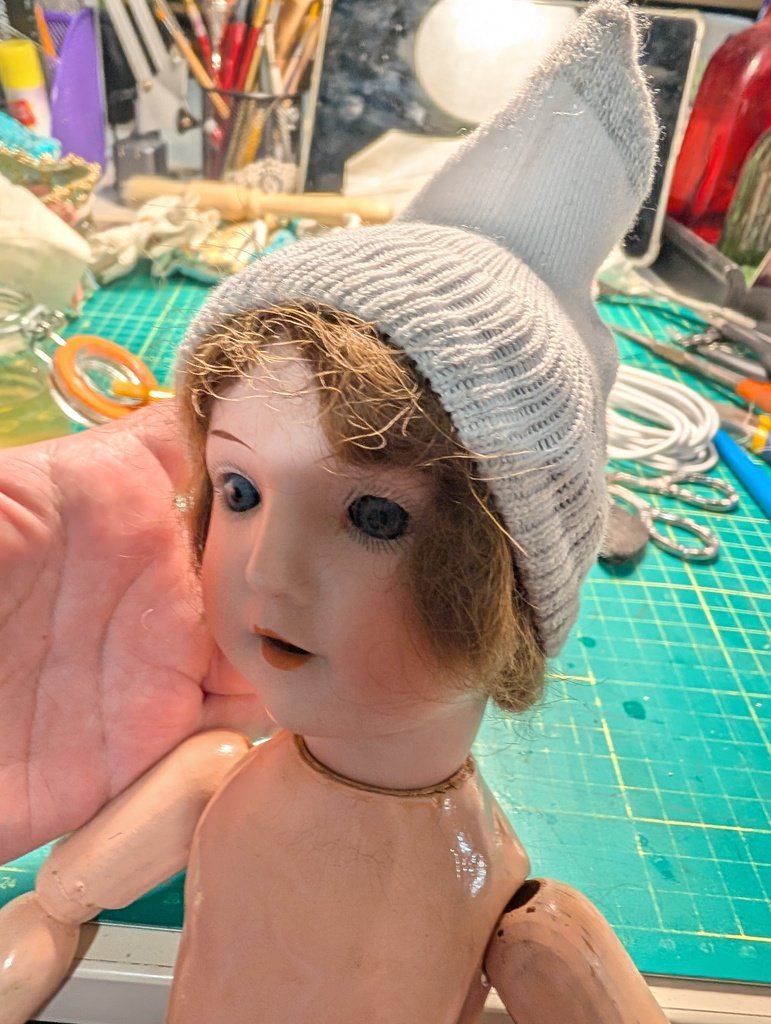
A funny little cap made from a child’s sock temporarily holds the wig in position while the glue dries. It is not her most elegant look, but it does the job.
A pair of boots for our little lady
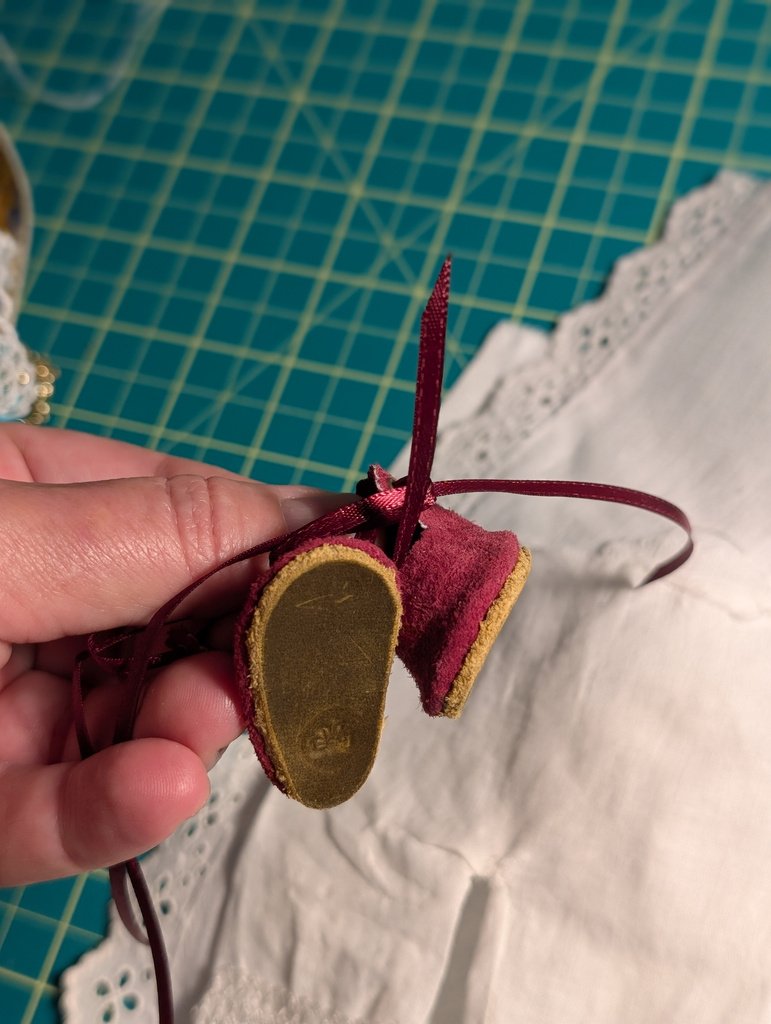
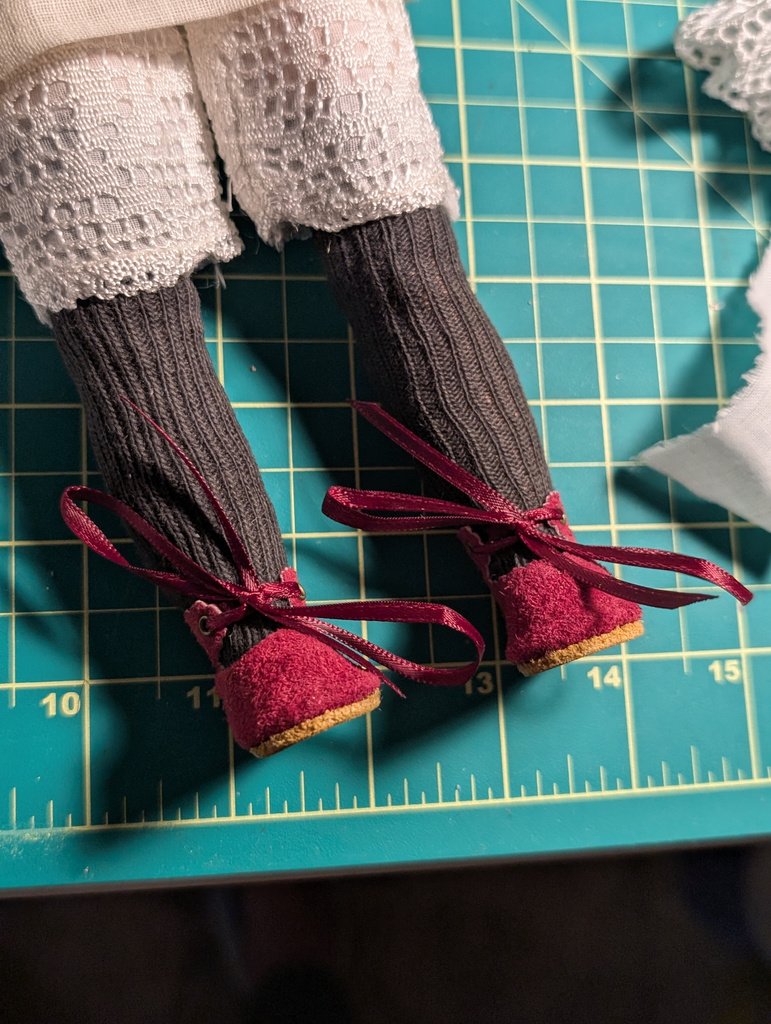
While sorting through her costume, I notice that only one thing is missing: her shoes.
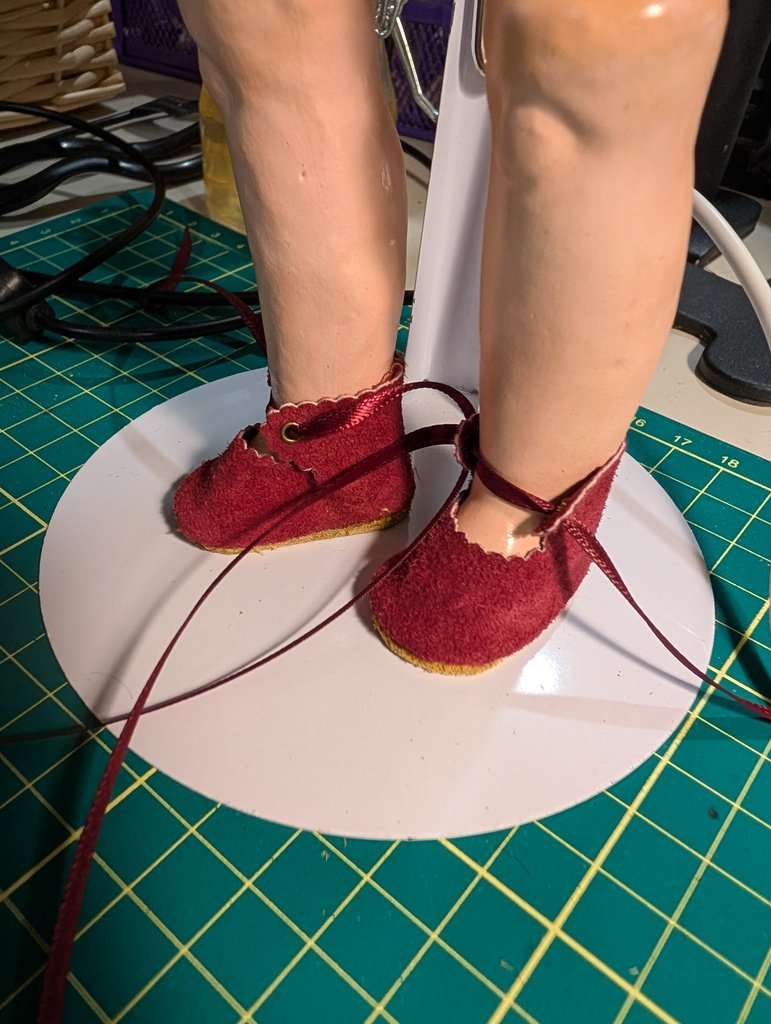
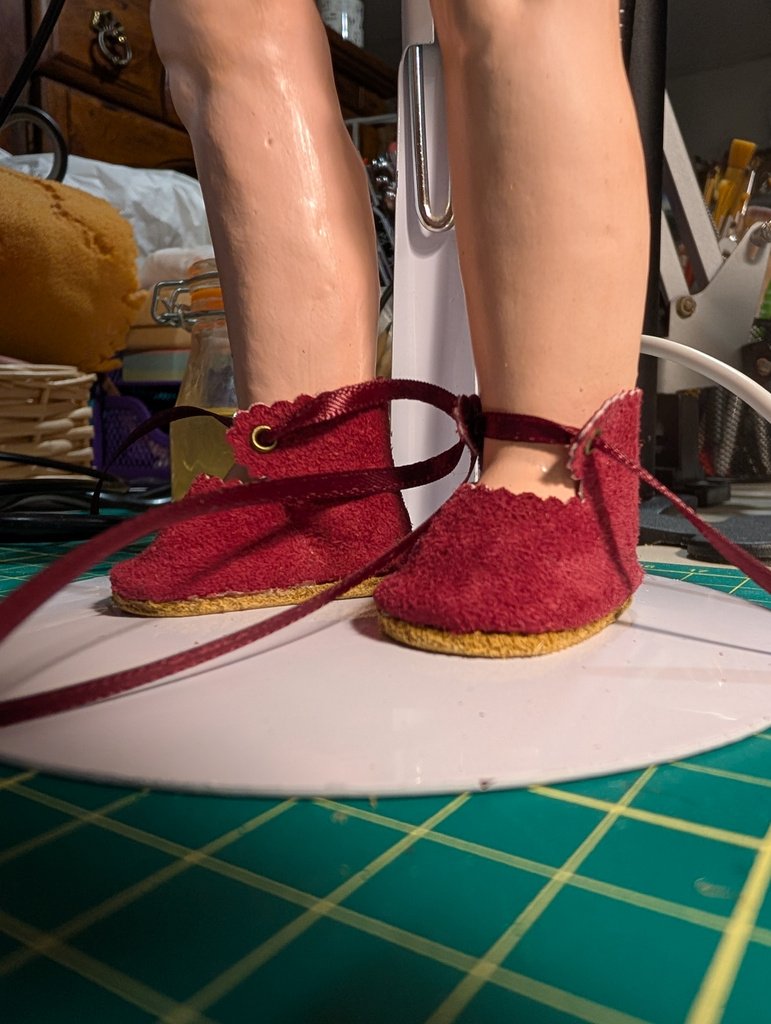
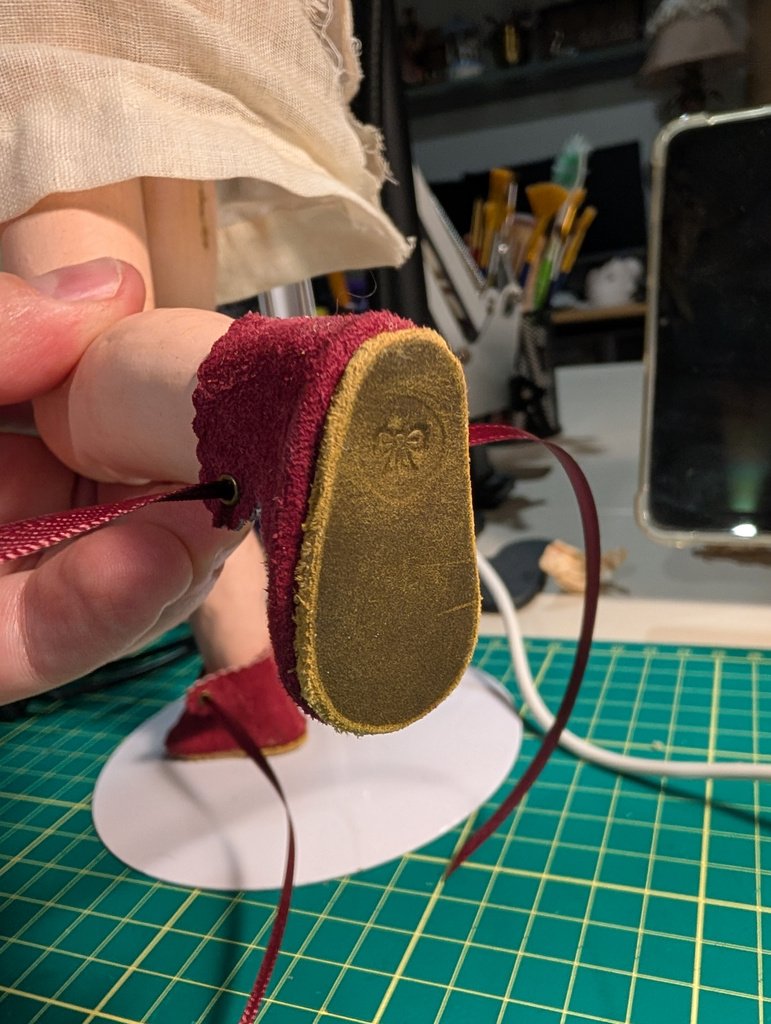
That is not a problem in our workshop. I make a pattern to fit her feet and find some pieces of natural suede, along with thick leather for the soles. A little workshop magic later, a pair of boots is ready for our fashionable lady.
A miniature costume, made with care
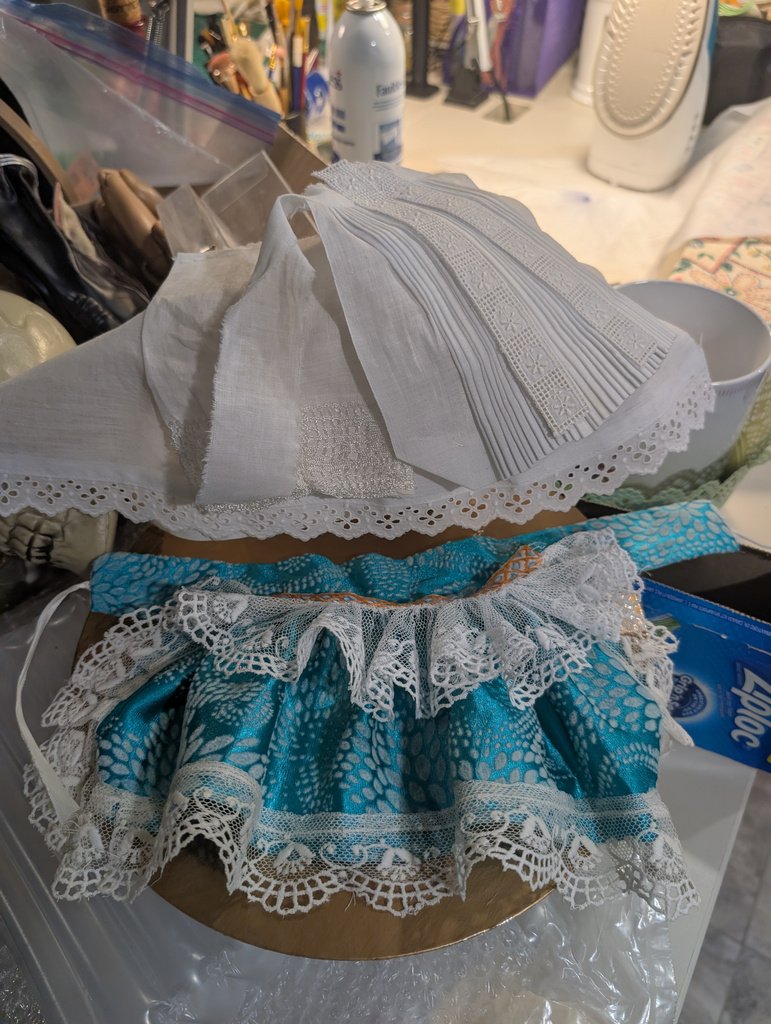
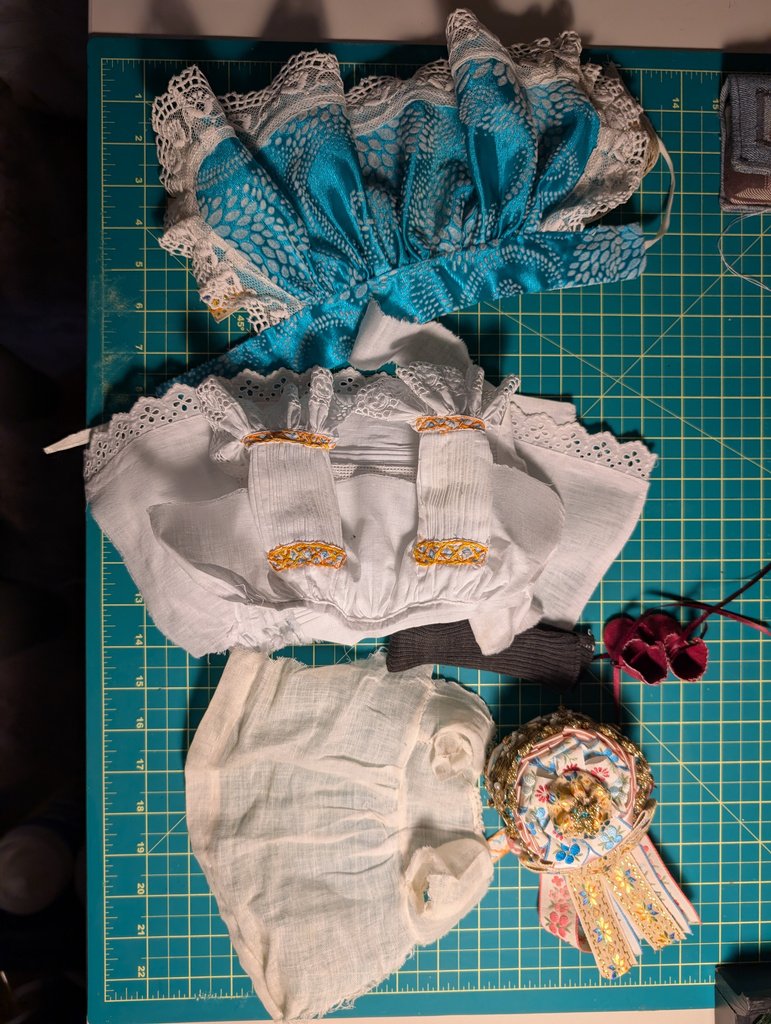
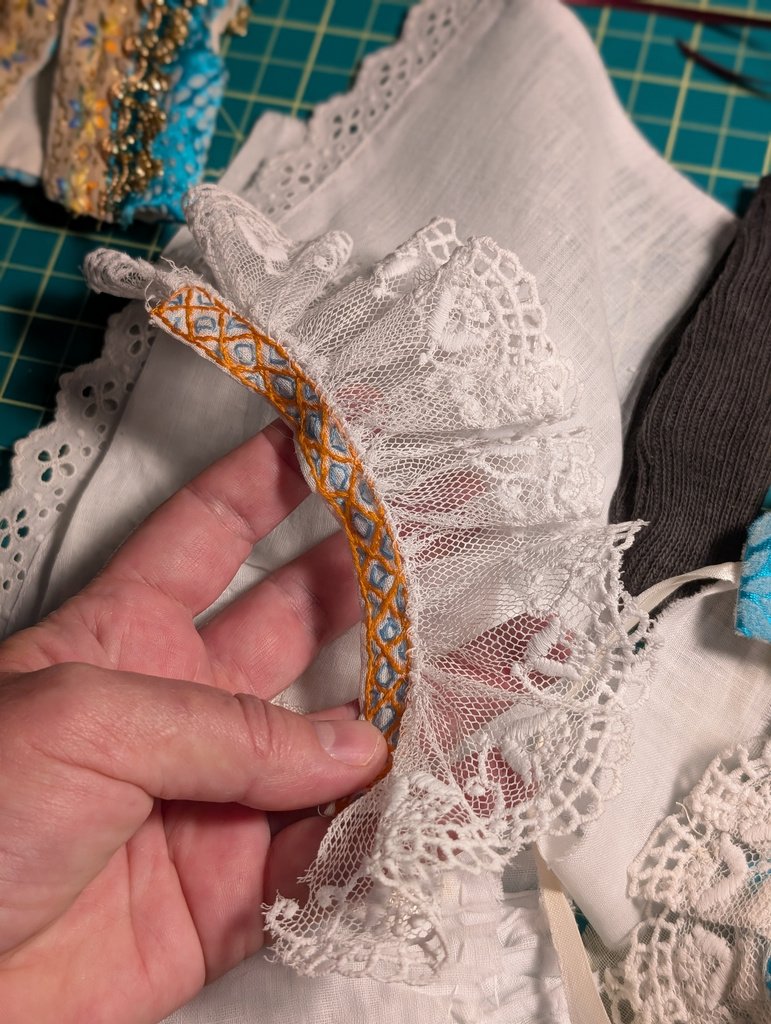
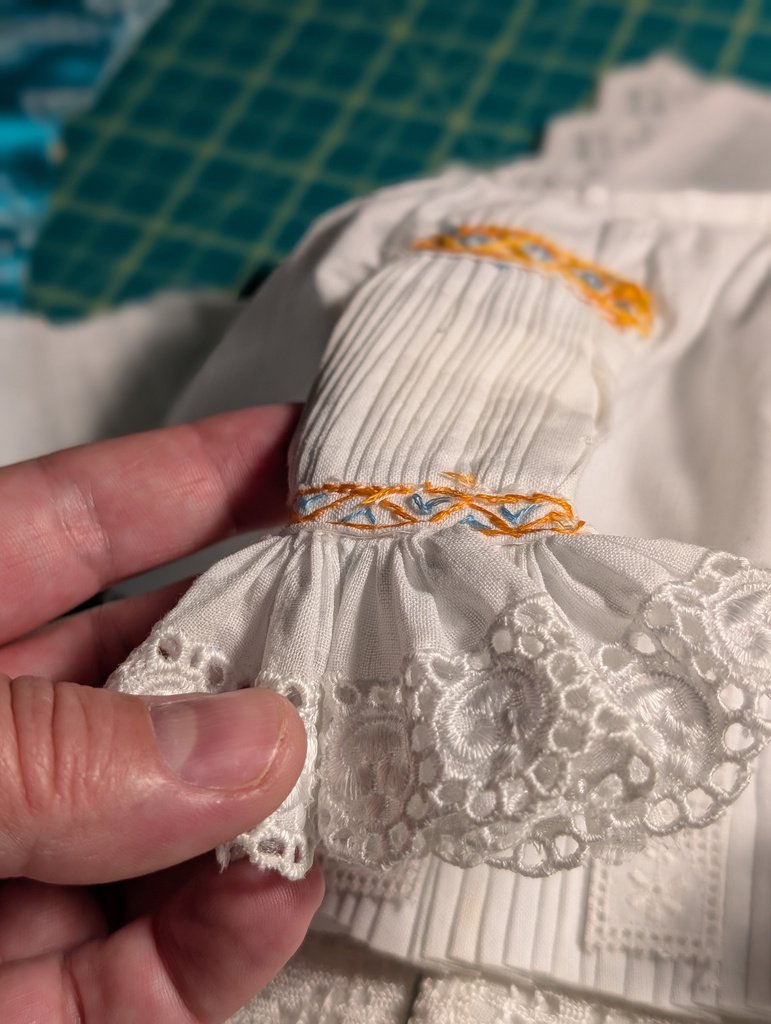
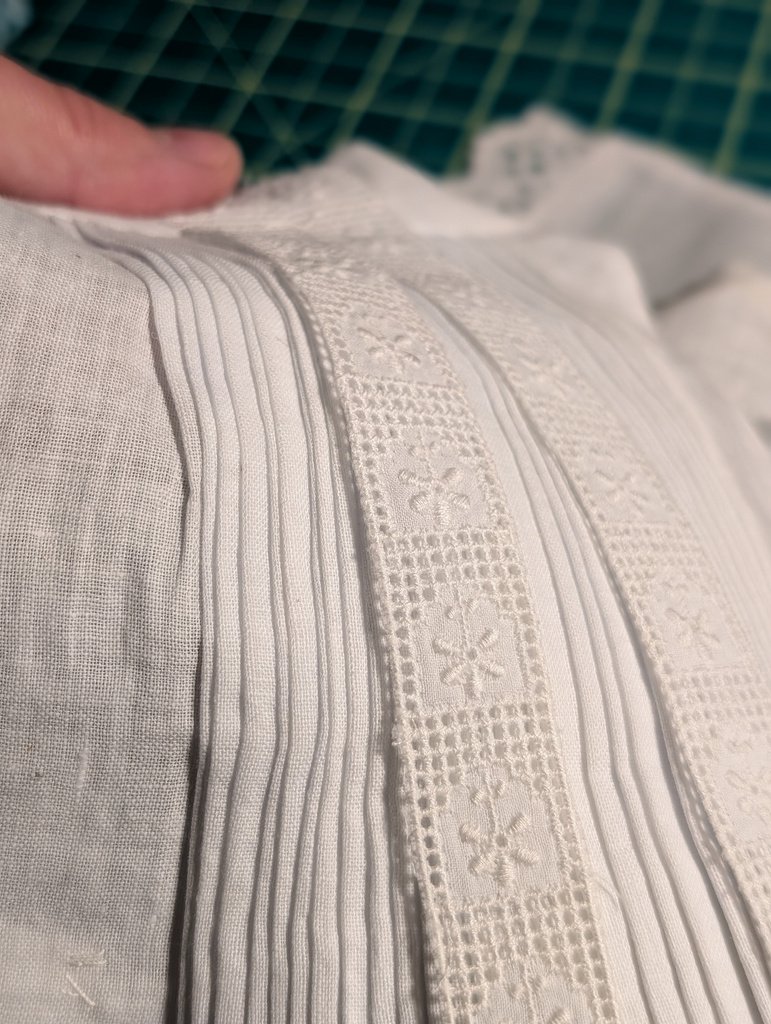
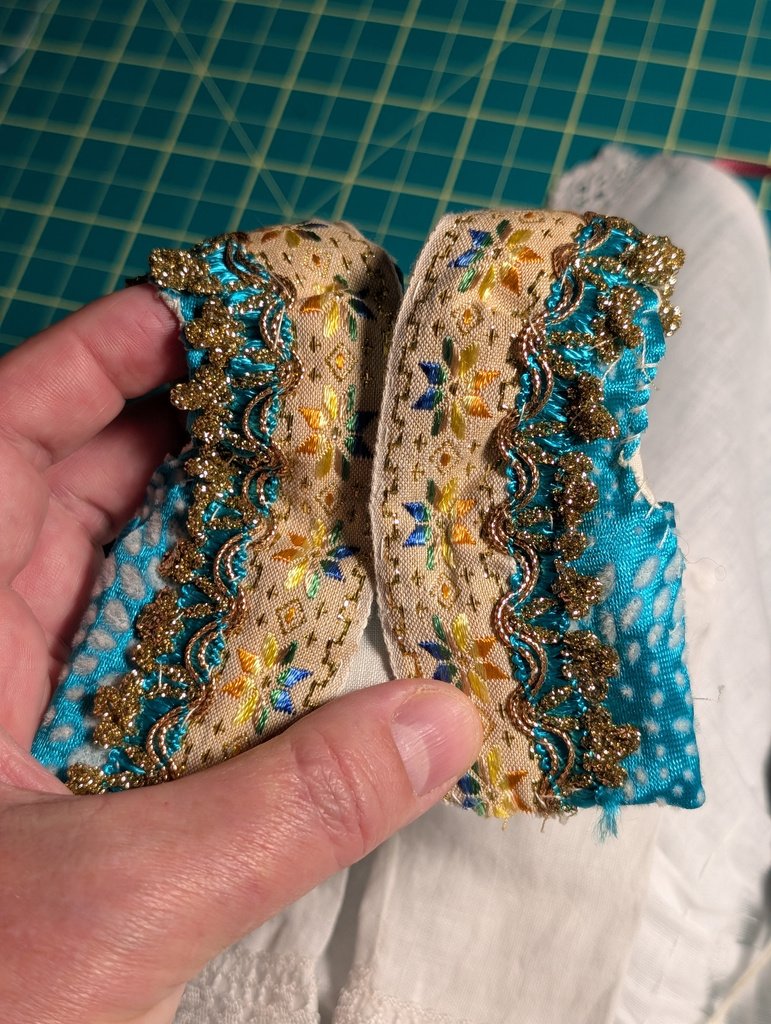
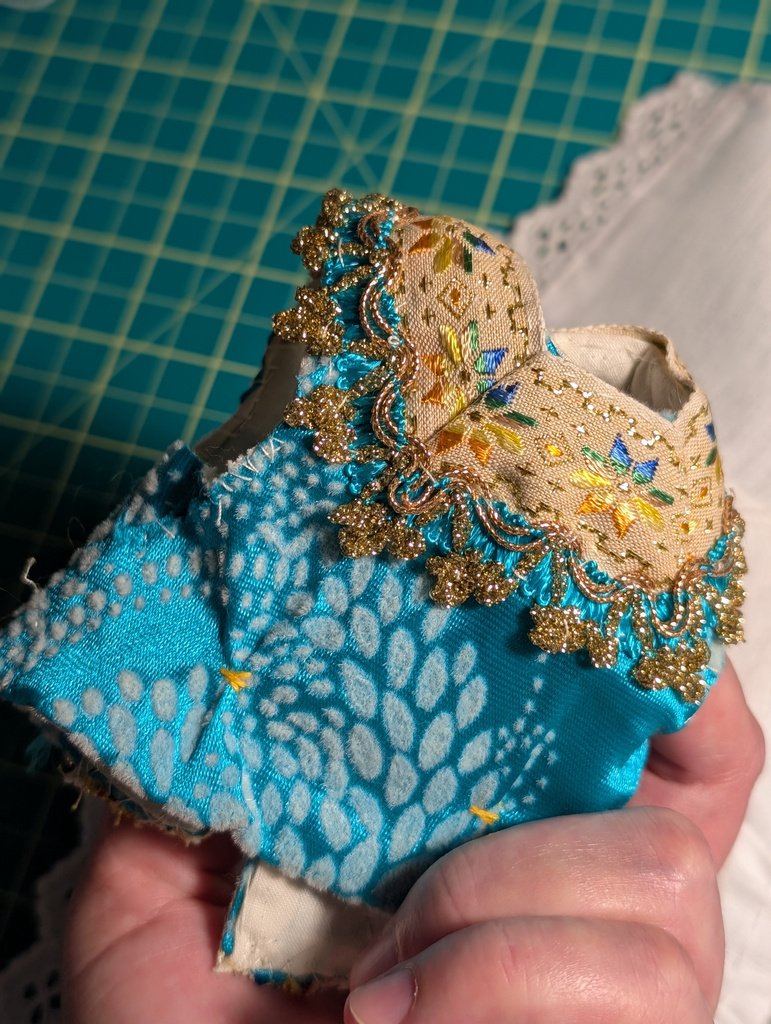
I never stop marvelling at the individual pieces of this outfit. Even the little underarm gussets in the shirt are there, just as they would be in a full-sized garment.
Whoever made this costume knew their craft. My job is to preserve that maker’s hand in every part of it.
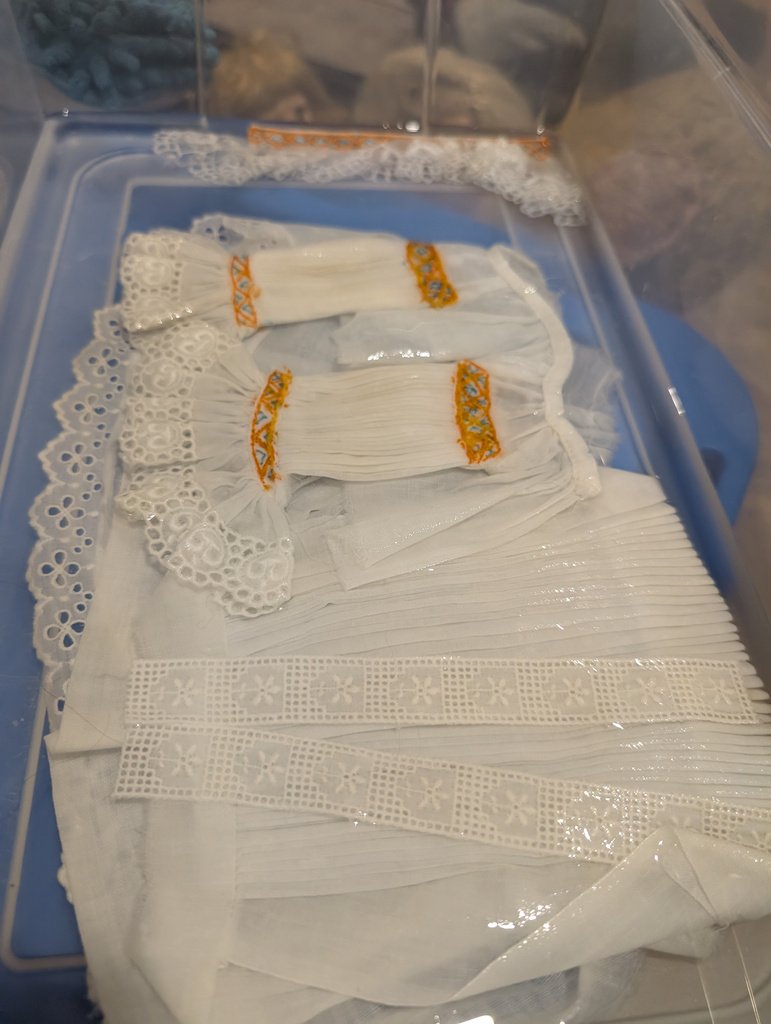
These garments cannot simply go through an ordinary wash. Instead, I give them repeated, careful soaks in a specially prepared, gentle whitening solution.
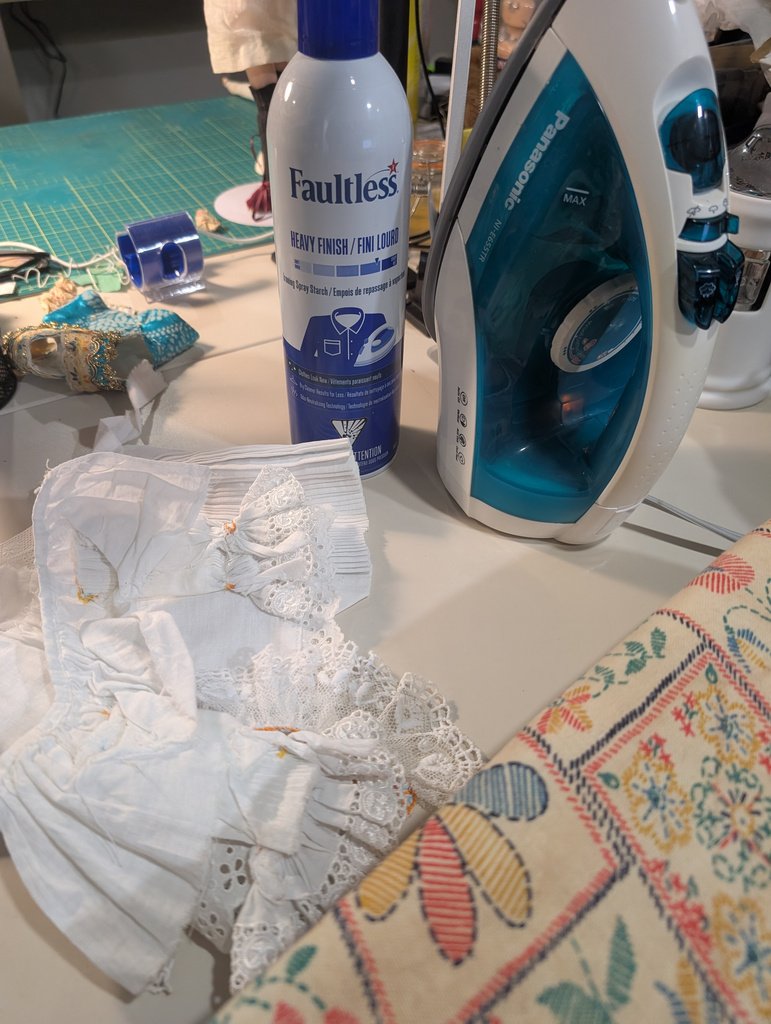
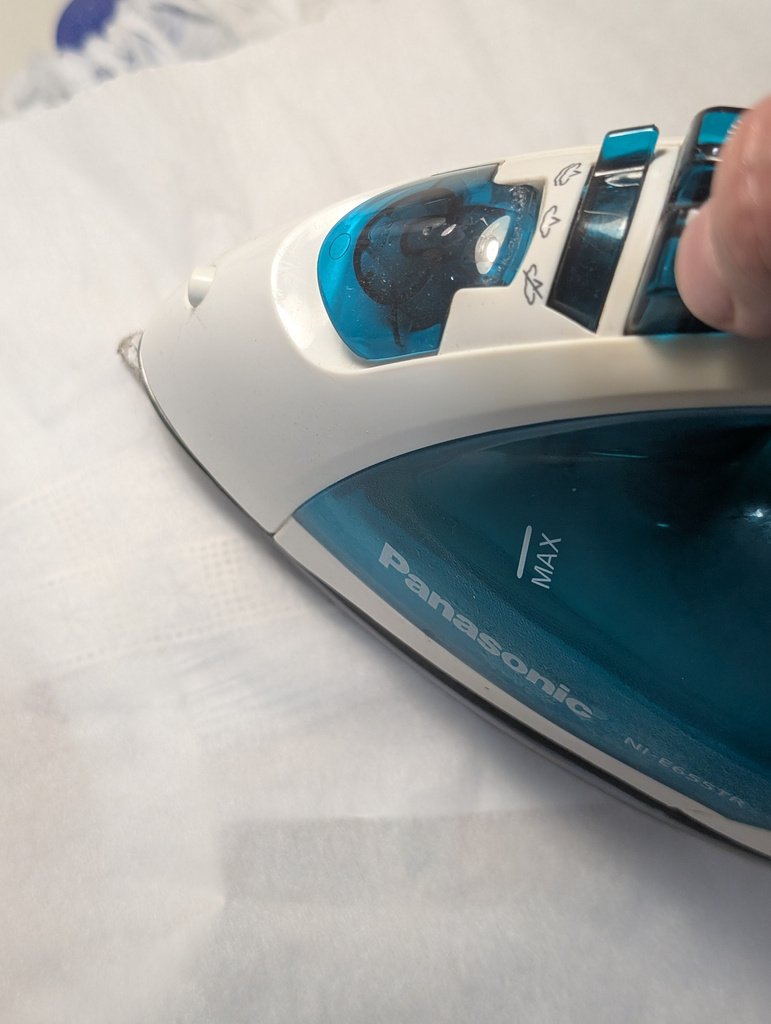
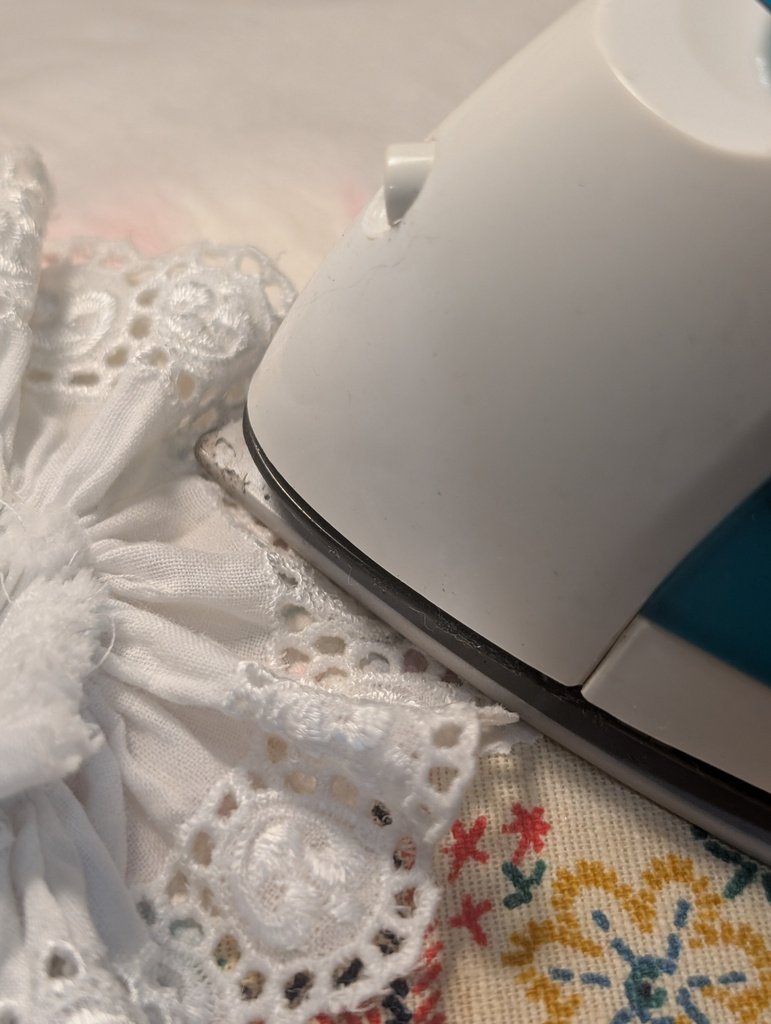
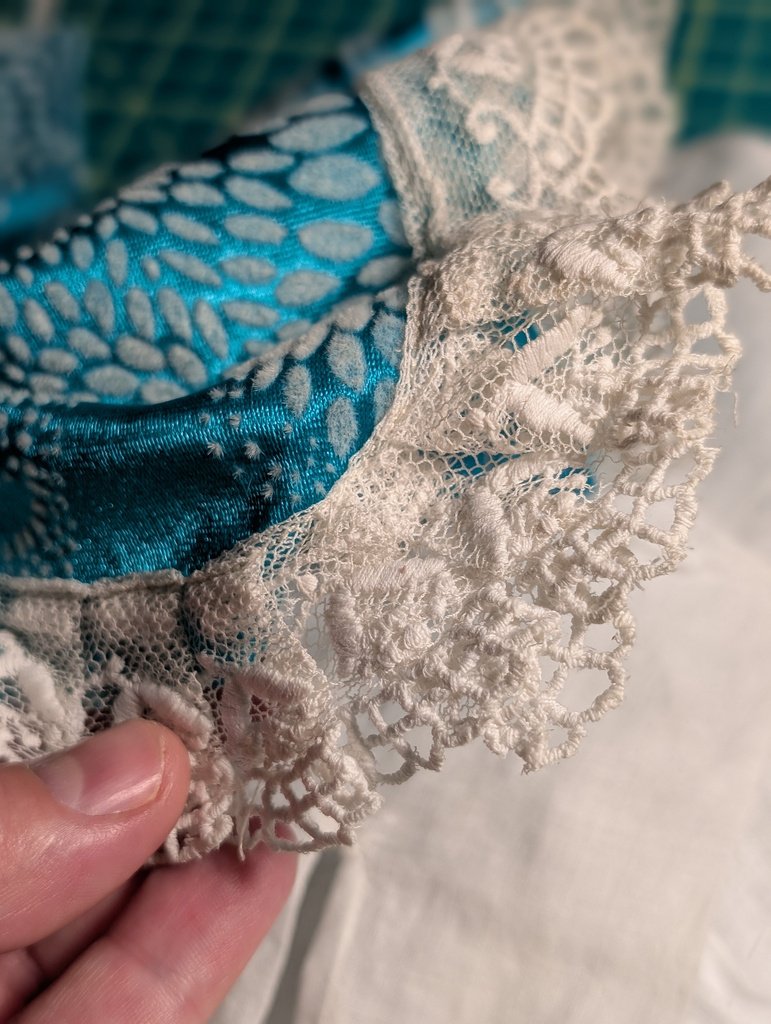
Then comes the ironing. The number of pleats and layers of lace is quite something. Working carefully through parchment paper, I press each piece with a starch-based setting product.
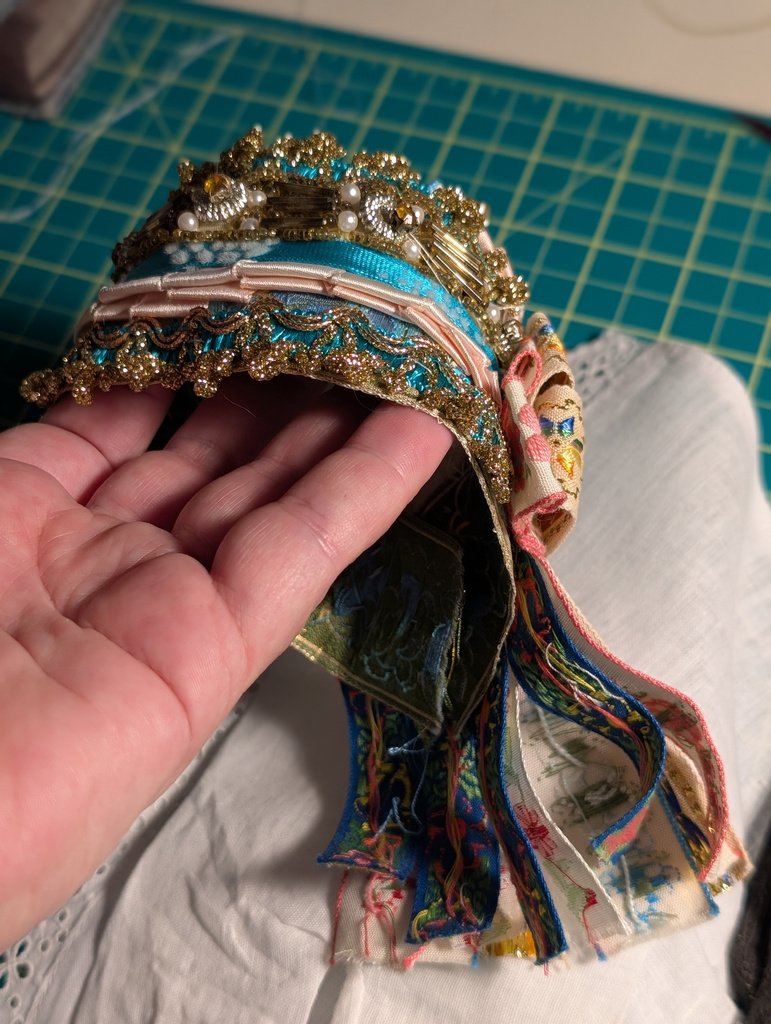
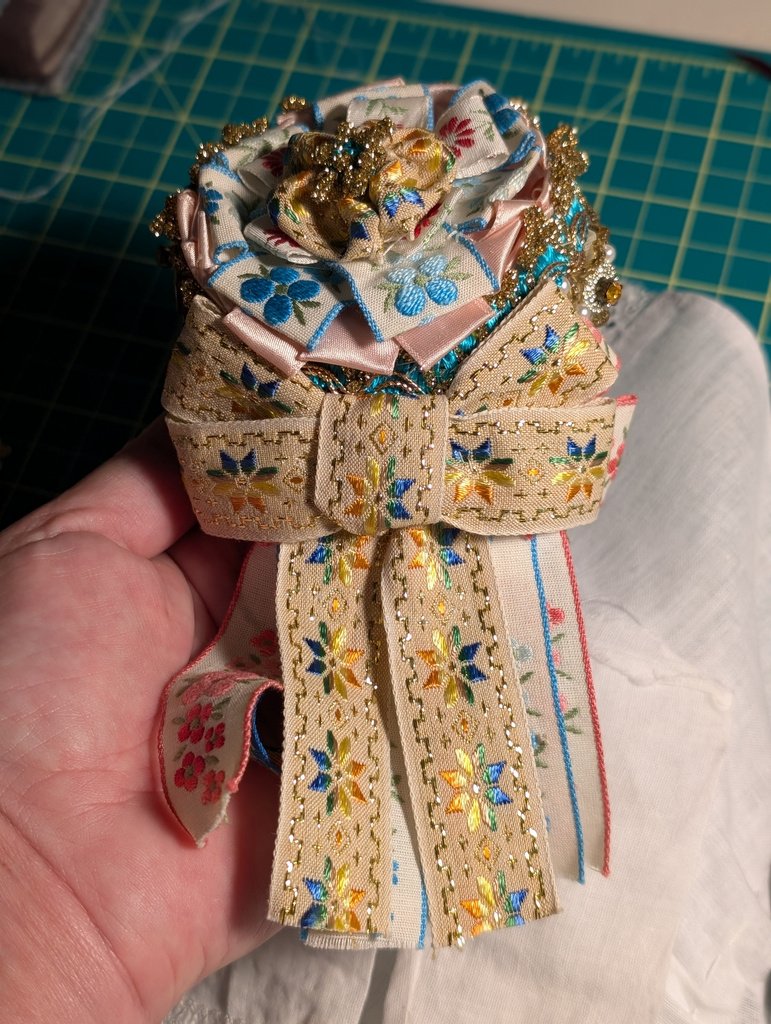
Little by little, the separate garments are ready to be worn again.
Getting dressed for a celebration
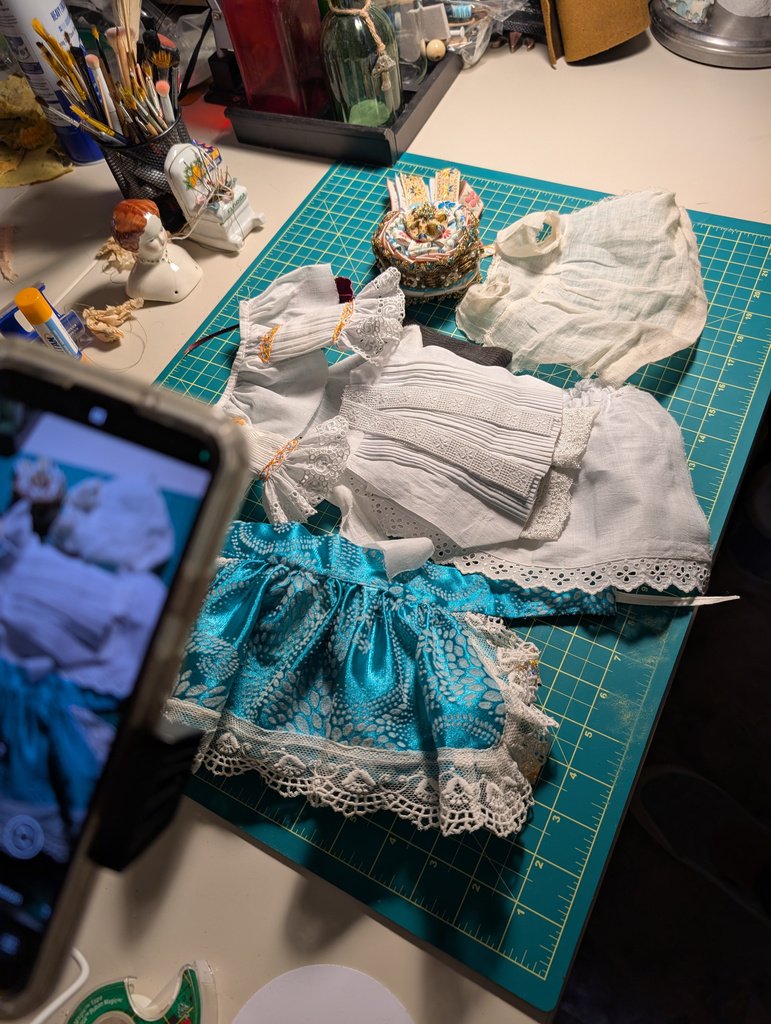
I lay out the costume pieces in the order they need to go on, then mentally rehearse the sequence a few times. With so many layers, I want to be sure I have everything ready before I begin.
At last, it is time to dress our beauty for a special celebration.
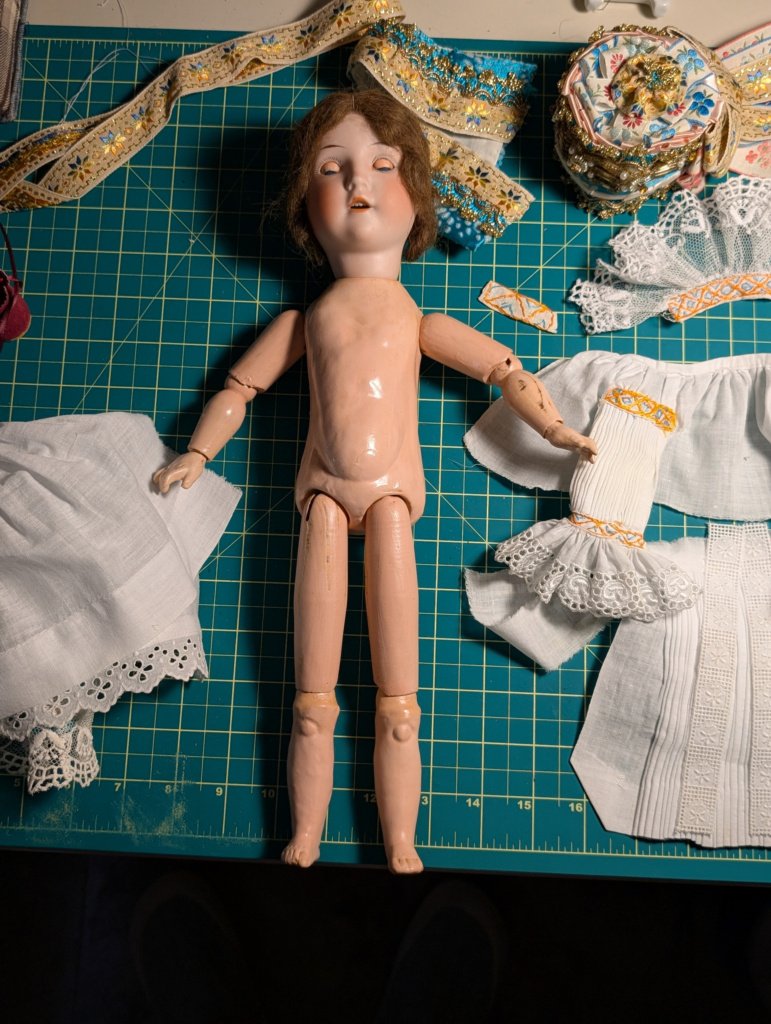
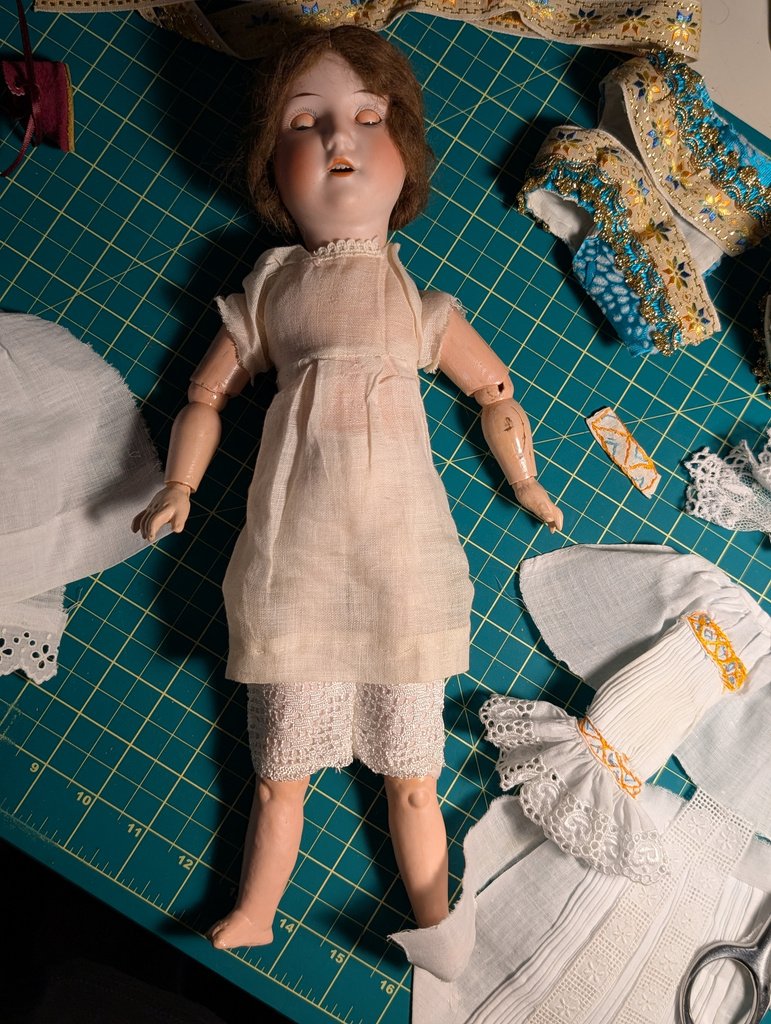
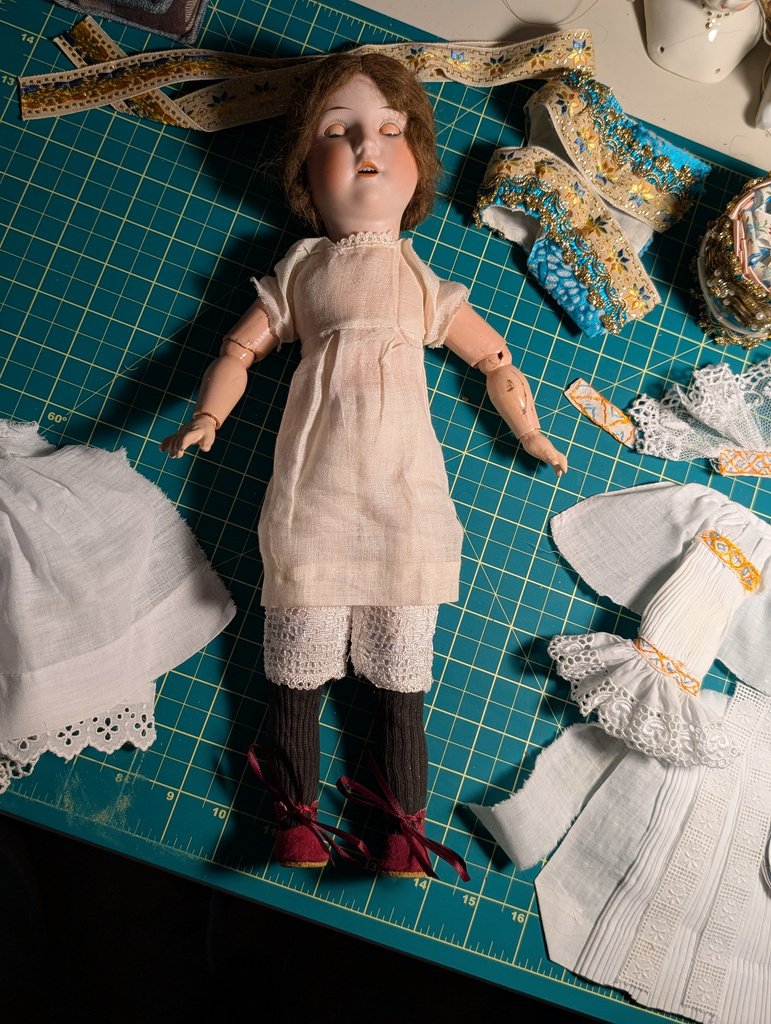
I have also set up to film the dressing process. This festive outfit is quite an elaborate one, so you will be able to watch the whole sequence on my YouTube channel or social media—not just the finished result, but how all those pieces come together.
Ready for her next chapter
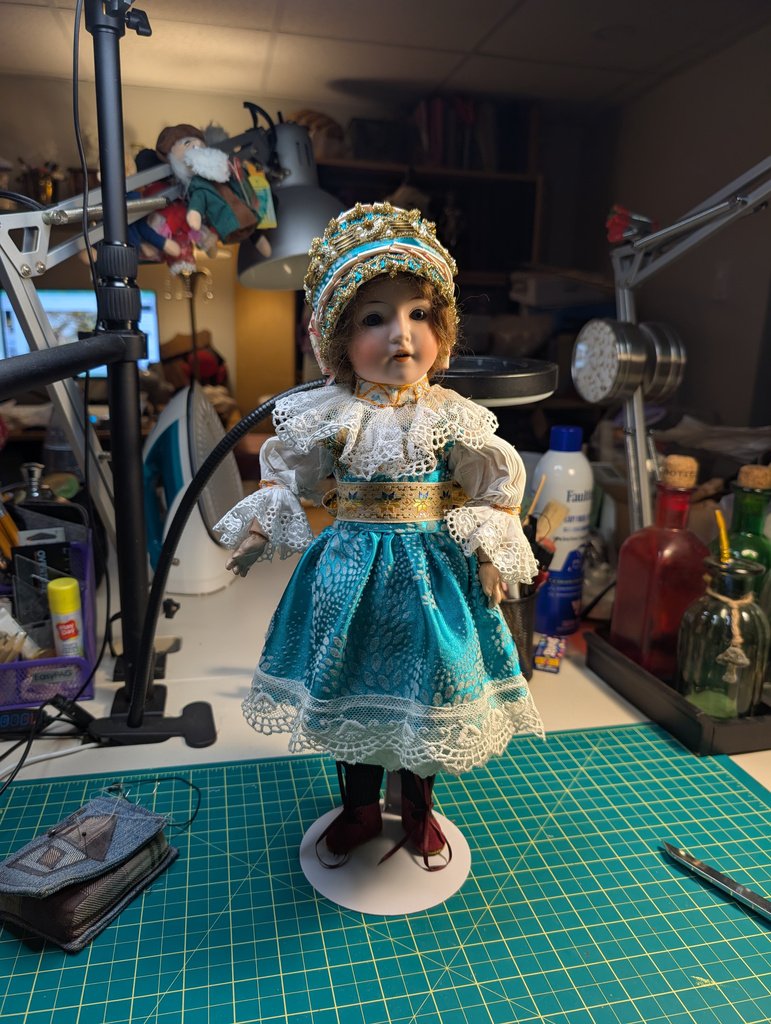
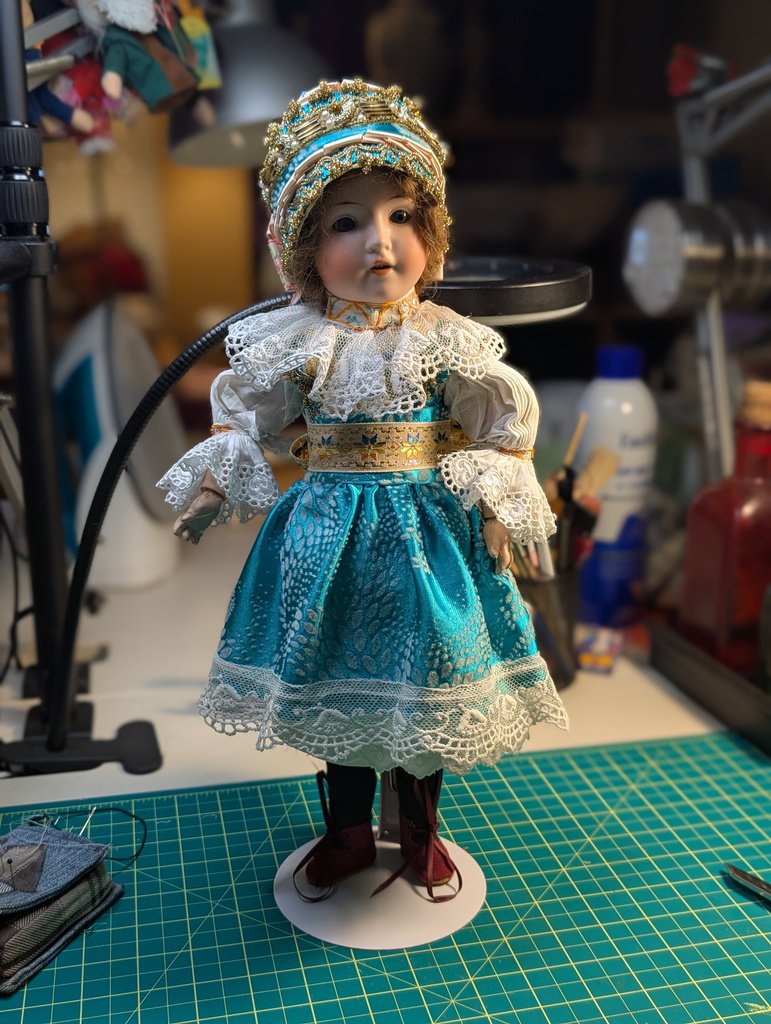
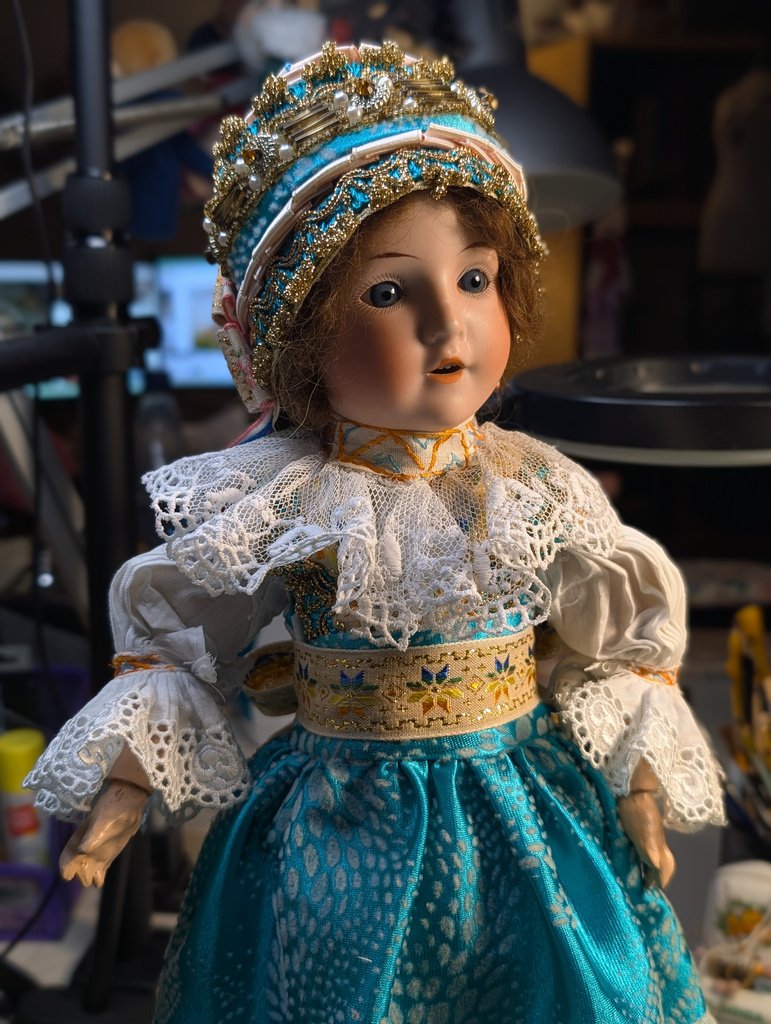
And here she is.
I hope this little keeper of family history will continue to bring joy to her owners for many years, reminding them of their roots in Central Europe and of the long journey to Canada made by this fragile doll.
She made it through. You can too.