Step‑by‑step restoration guide for composite doll heads using hide glue and shellac
The instructions are suitable for late 19th–mid 20th century composite and papier-mâché heads
STEP 1. Surface preparation
Dust removal
- Use a soft brush or microfiber cloth.
- No water, alcohol, or soap.
Degreasing
- Use only 70% isopropyl alcohol or 50-70% ethyl alcohol.
- Work quickly with a cotton swab, without soaking the substrate.
- Do not touch the painted areas.
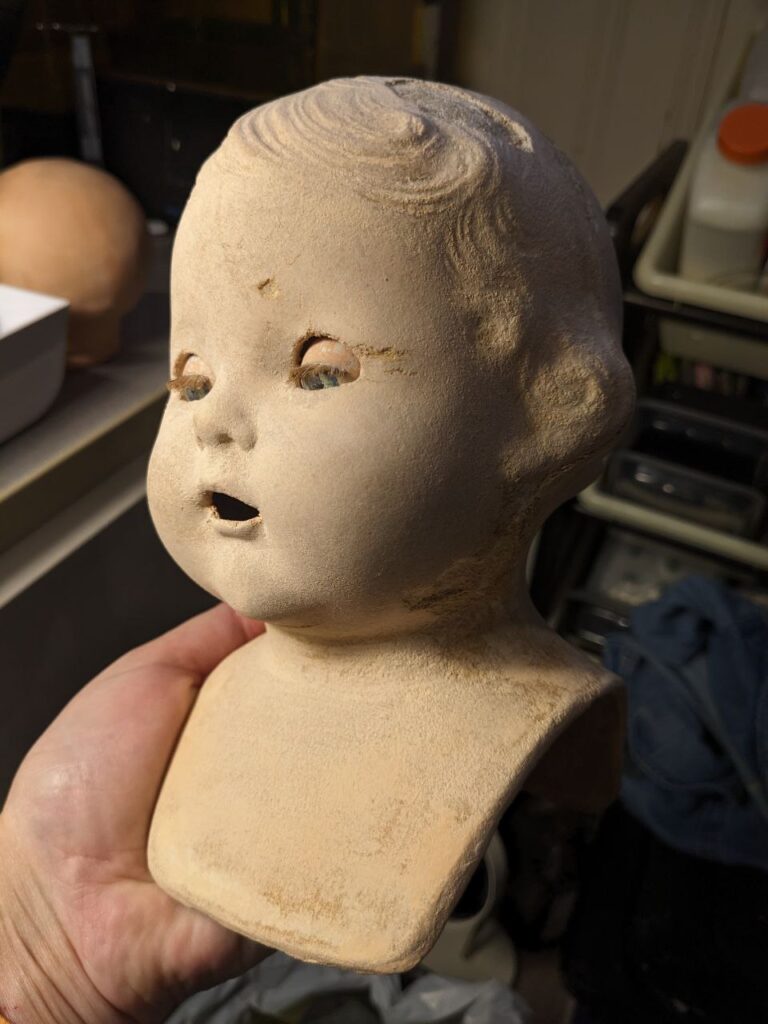
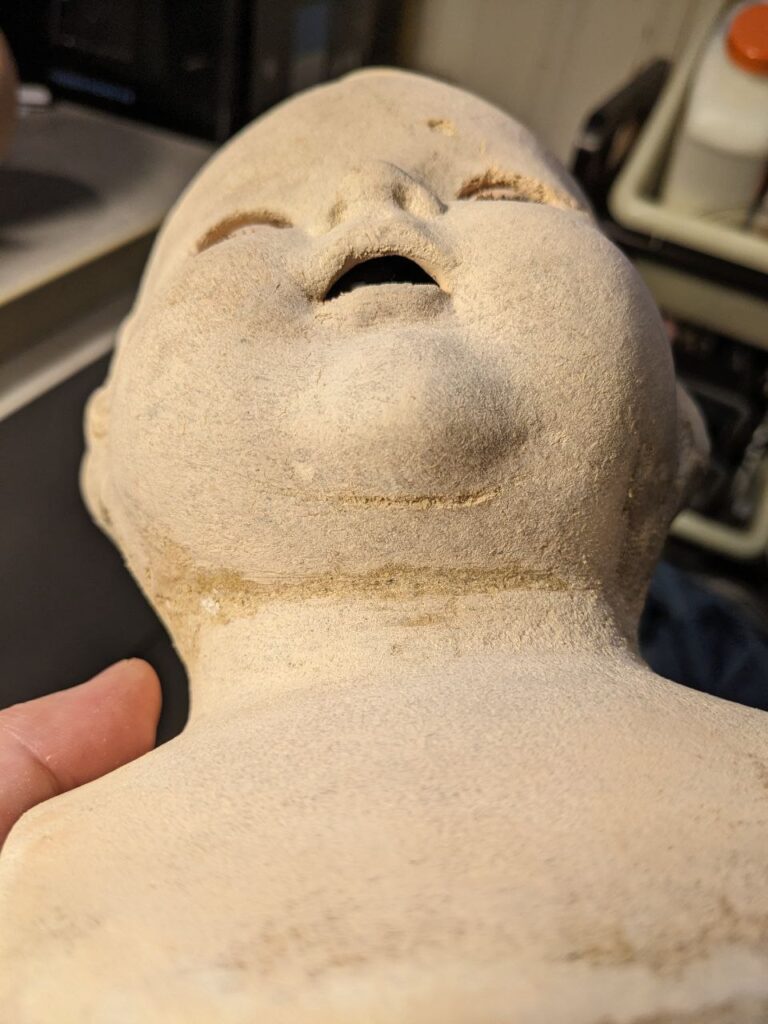
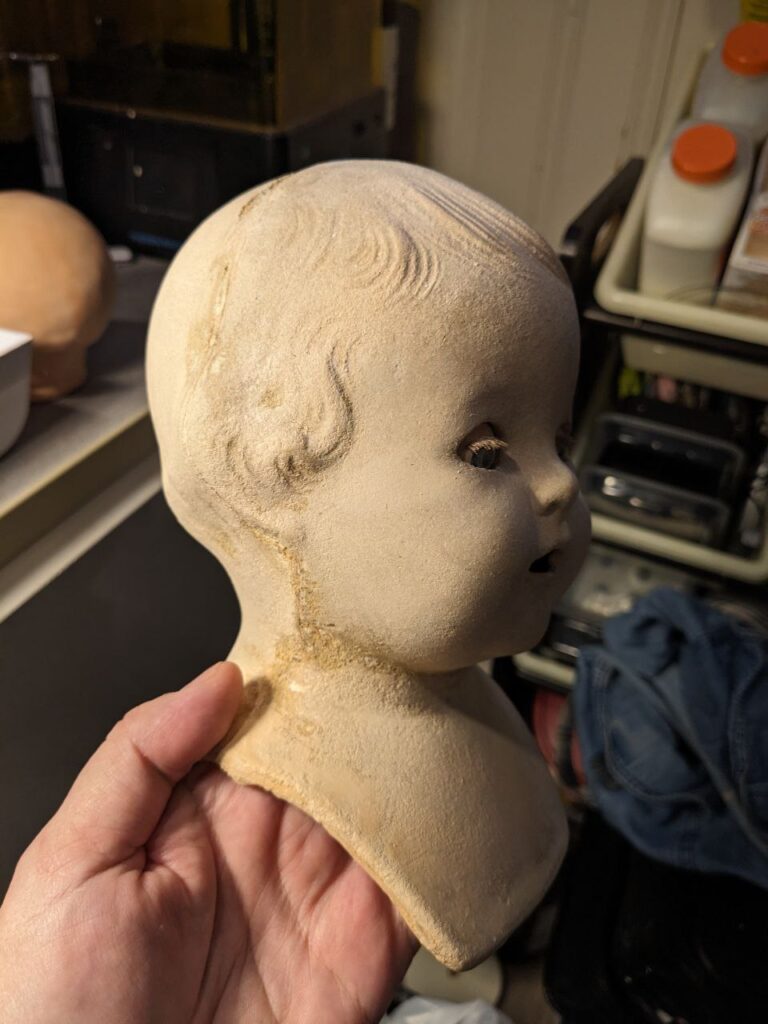
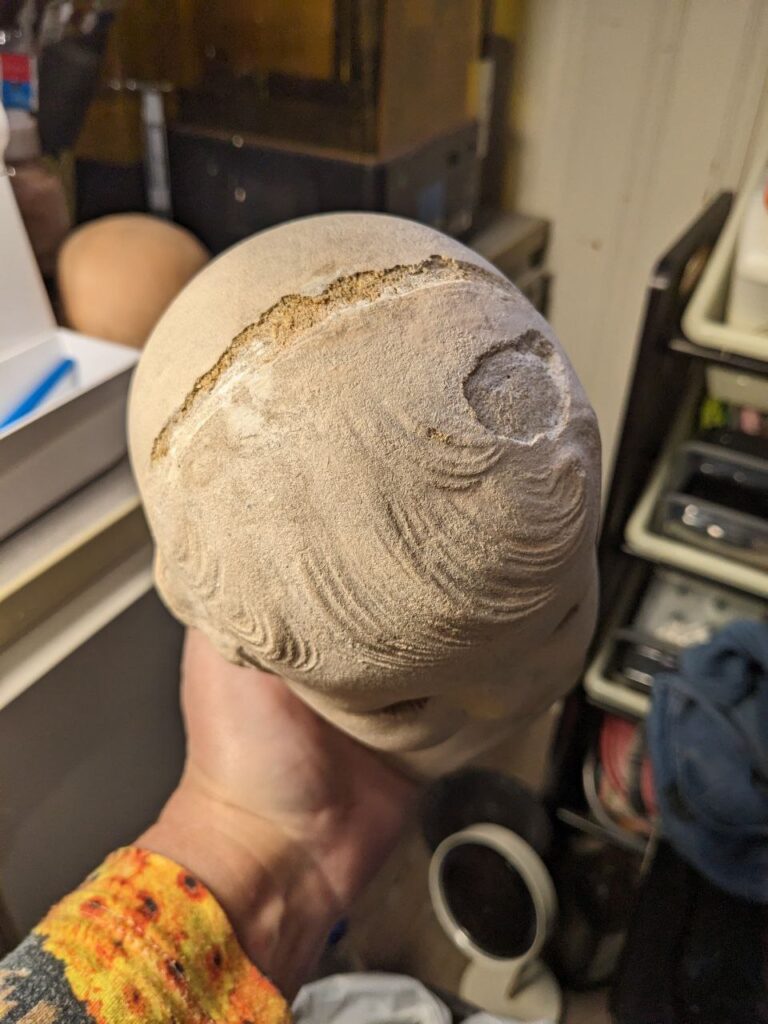
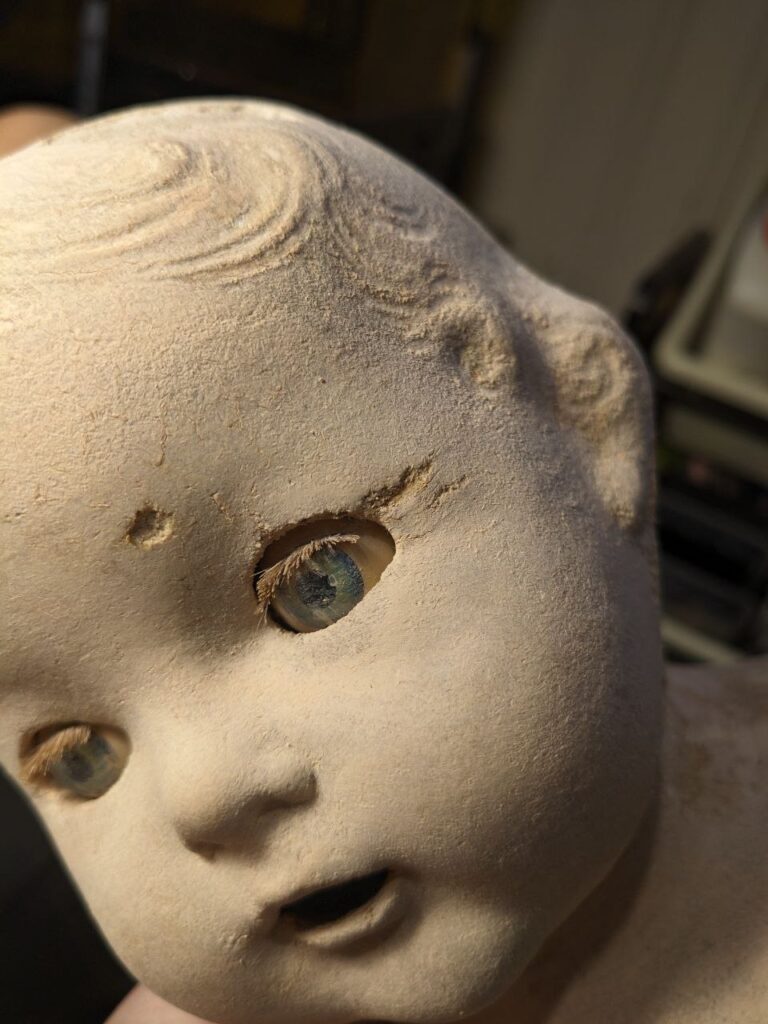
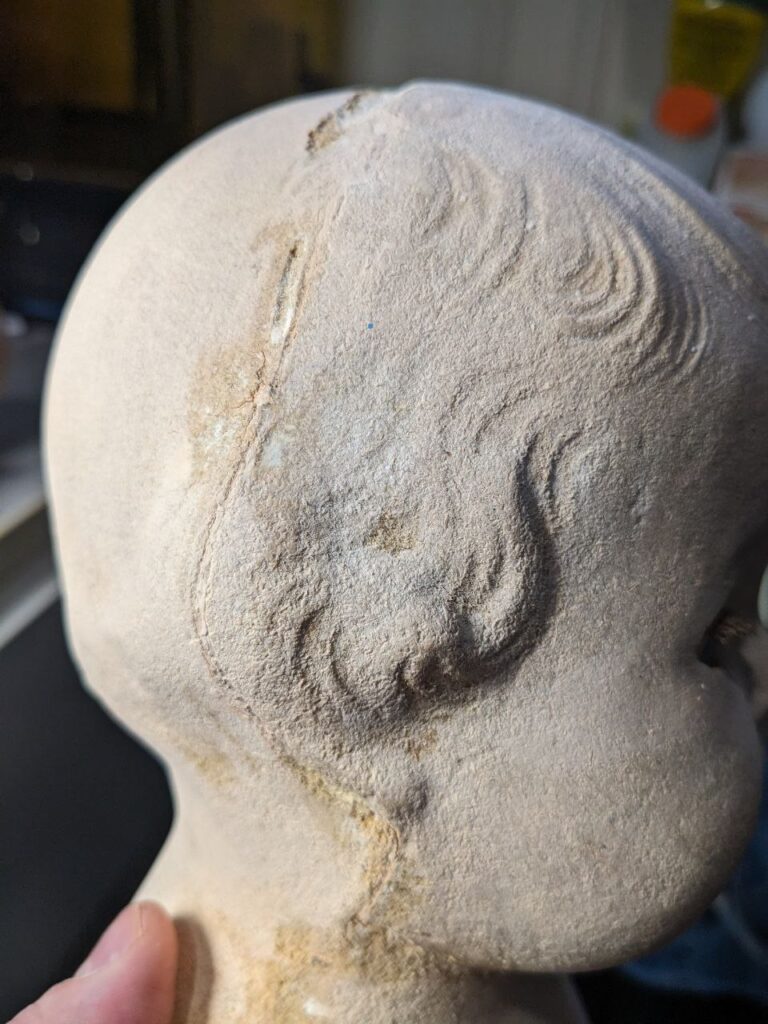
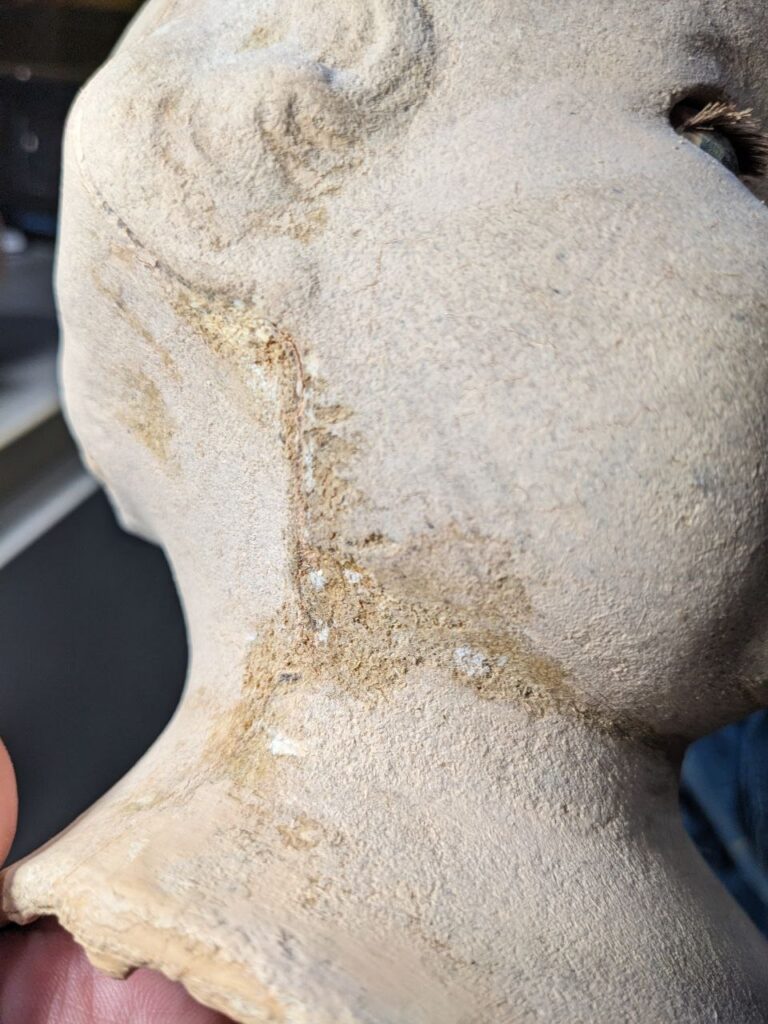
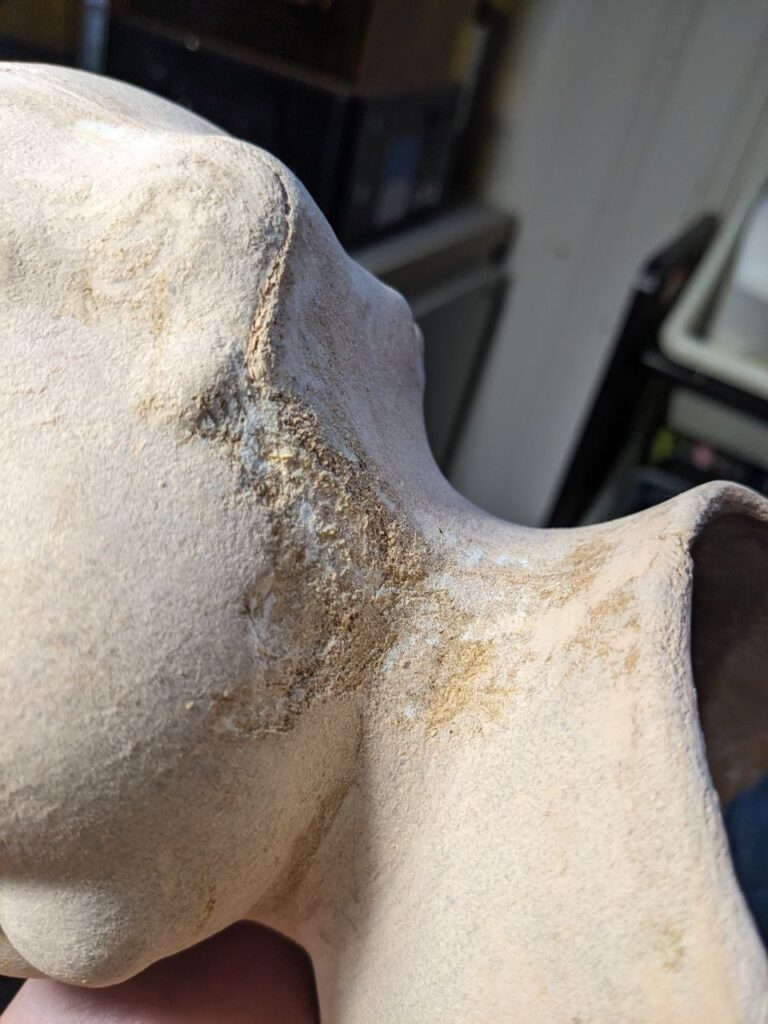
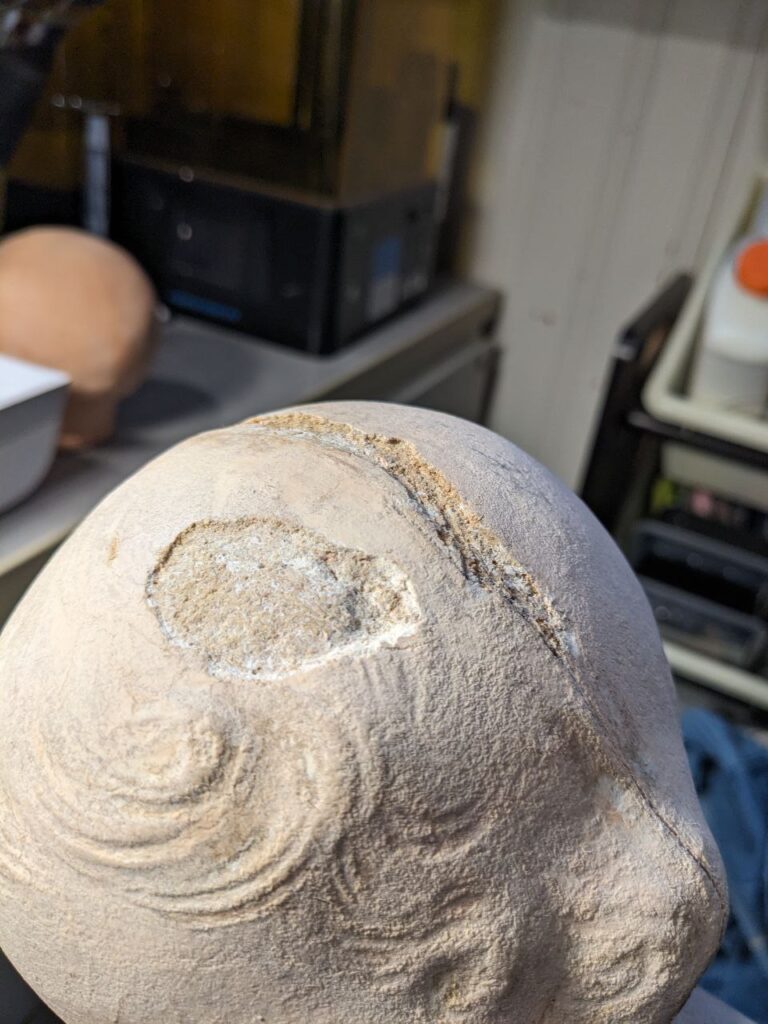
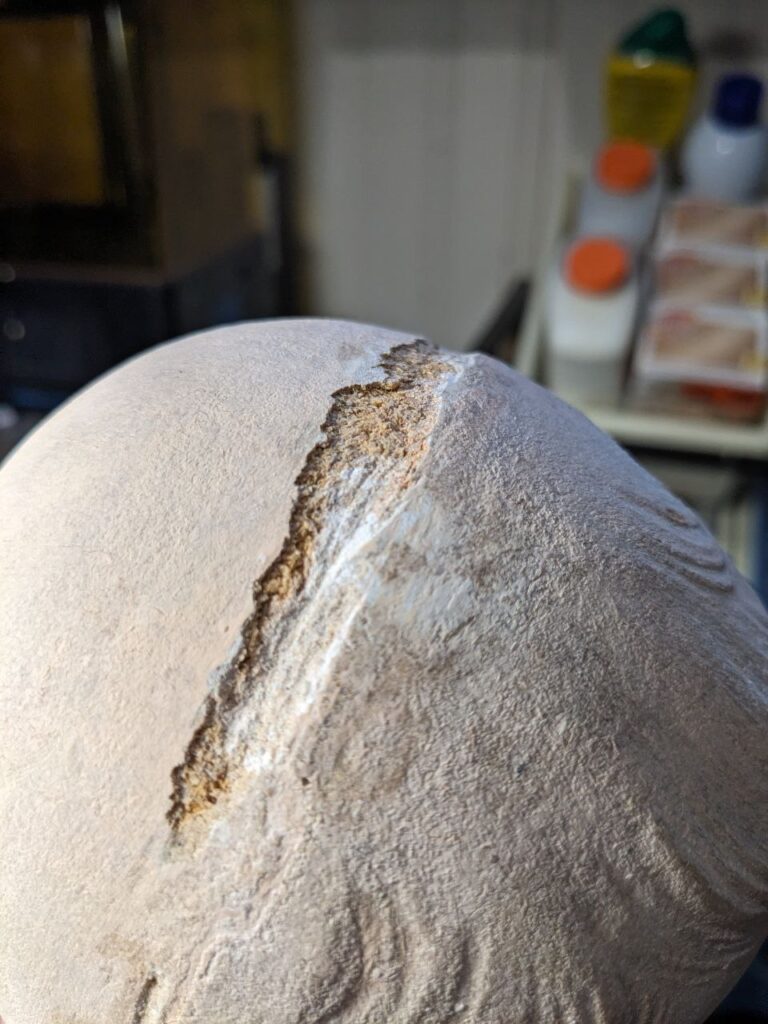
Damage assessment
- Cracks (hairlines).
- Chips and dents.
- Lifting or delaminating layers.
- Areas where the composite is crumbling.
STEP 2. Preparing hide glue
Classic conservators’ recipe for composite:
- Granulated hide (animal) glue – 1 part
- Water – 2 parts (for thinner work you can use 1:3)
Preparation:
- Pour the granules into a glass jar.
- Add water and leave to swell for 30-40 minutes.
- Heat in a water bath to 55-60°C.
- Do not boil: the glue loses its properties.
- Keep warm in a bath of hot water.
STEP 3. Filling dents and material losses
Filler based on hide glue (conservation-grade):
- 1 part warm hide glue
- 3-4 parts fine wood flour or whiting (chalk)
How to make it:
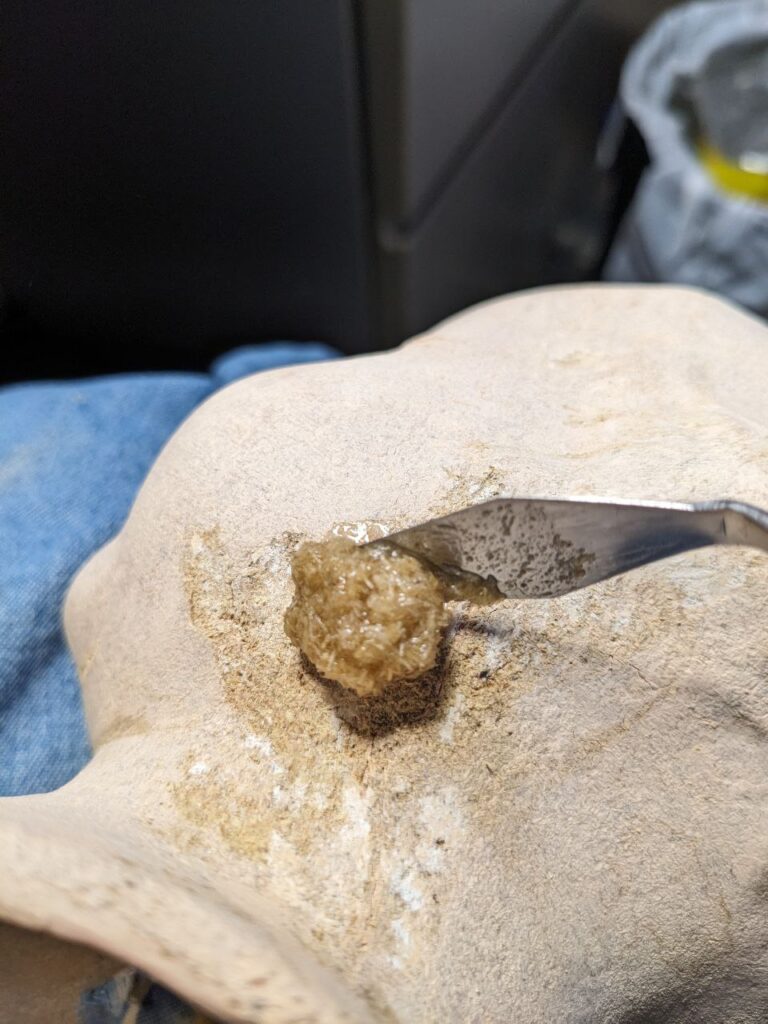
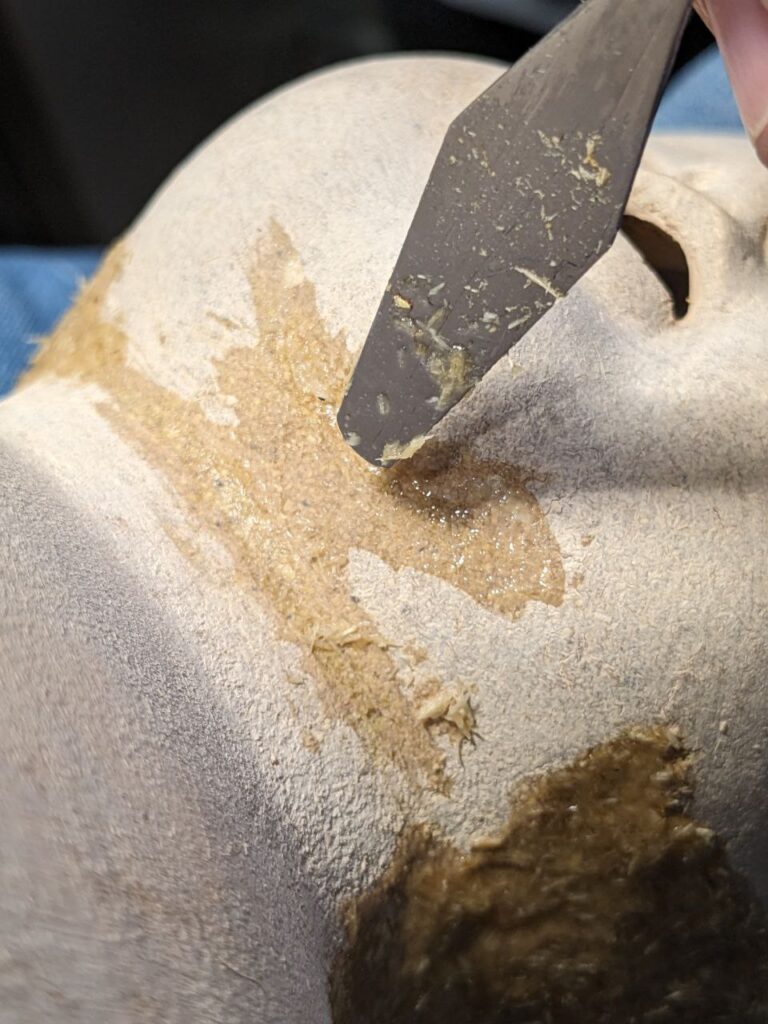
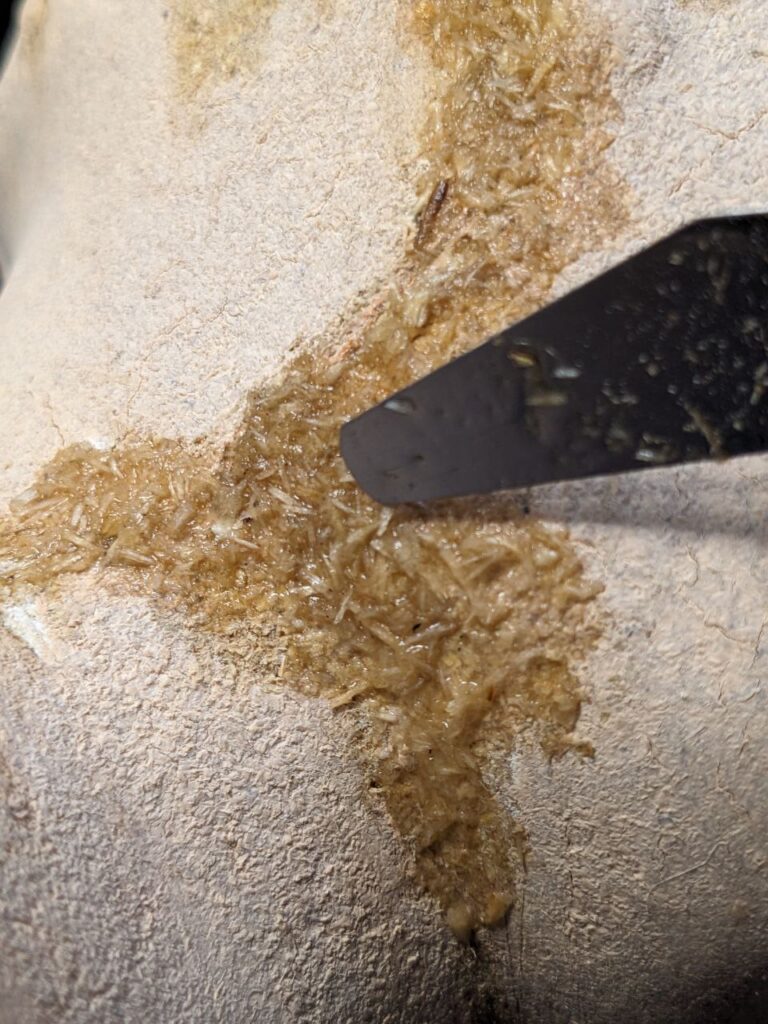
- Add the filler into the warm glue, bringing it to a paste-like consistency.
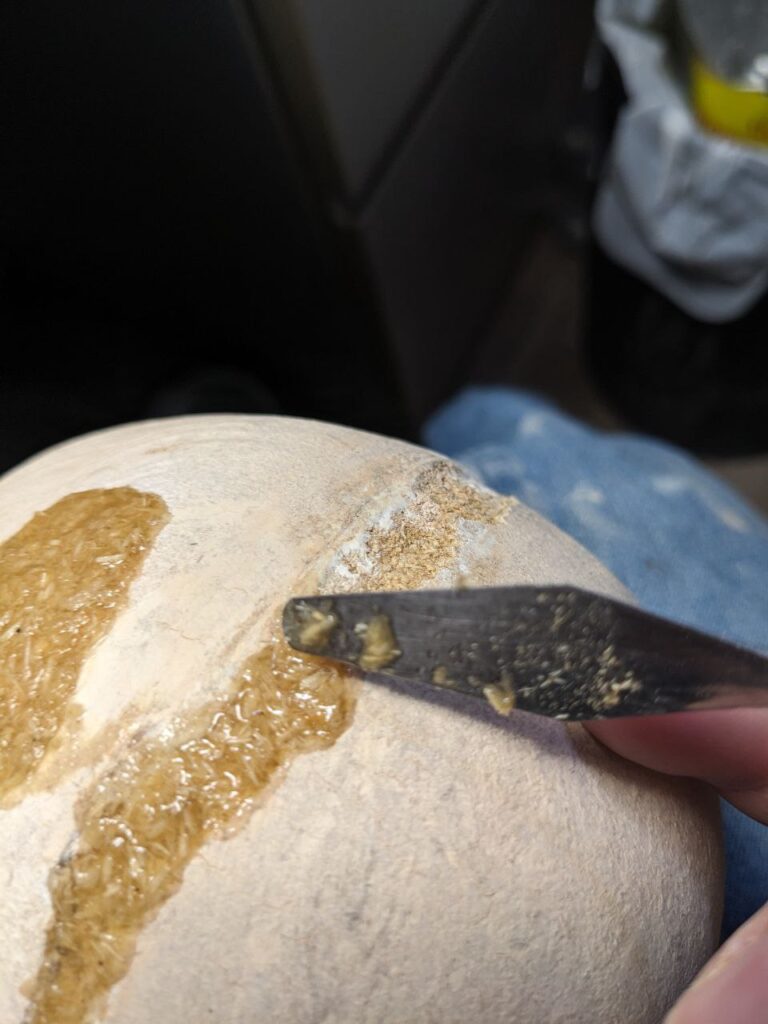
- Fill the dent with a spatula or silicone tool.
- Shape the surface immediately – once dry it is harder to work.
- Dry for 24 hours.
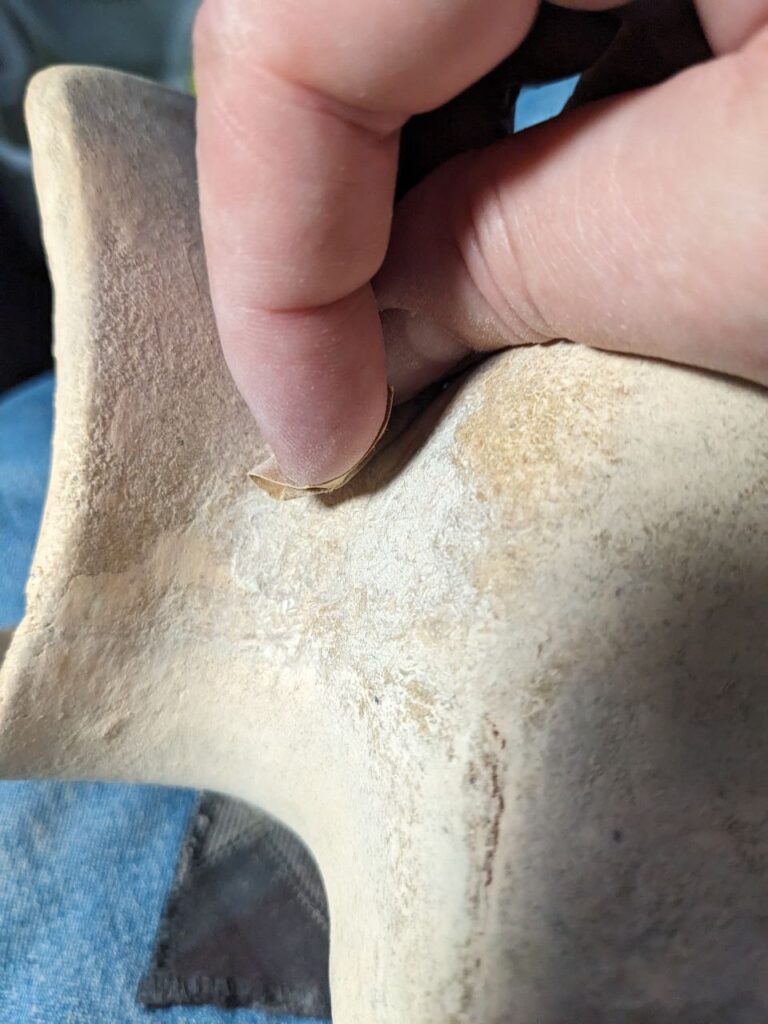
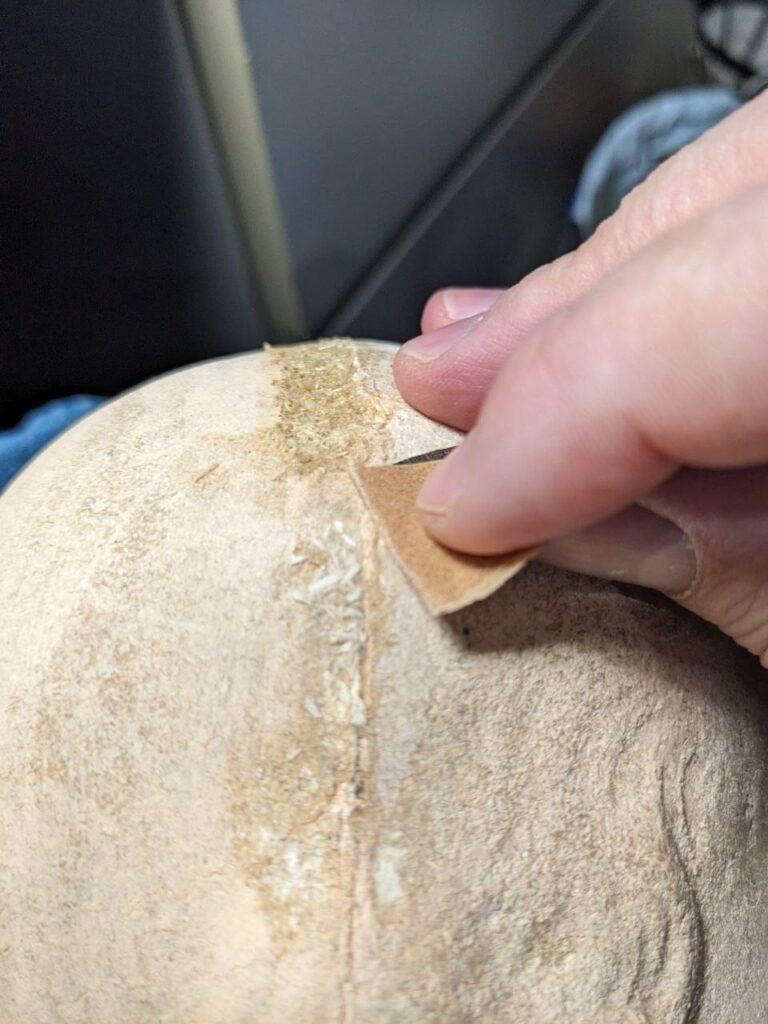
- Sand with fine abrasive paper 600–1200 grit or Micromesh.
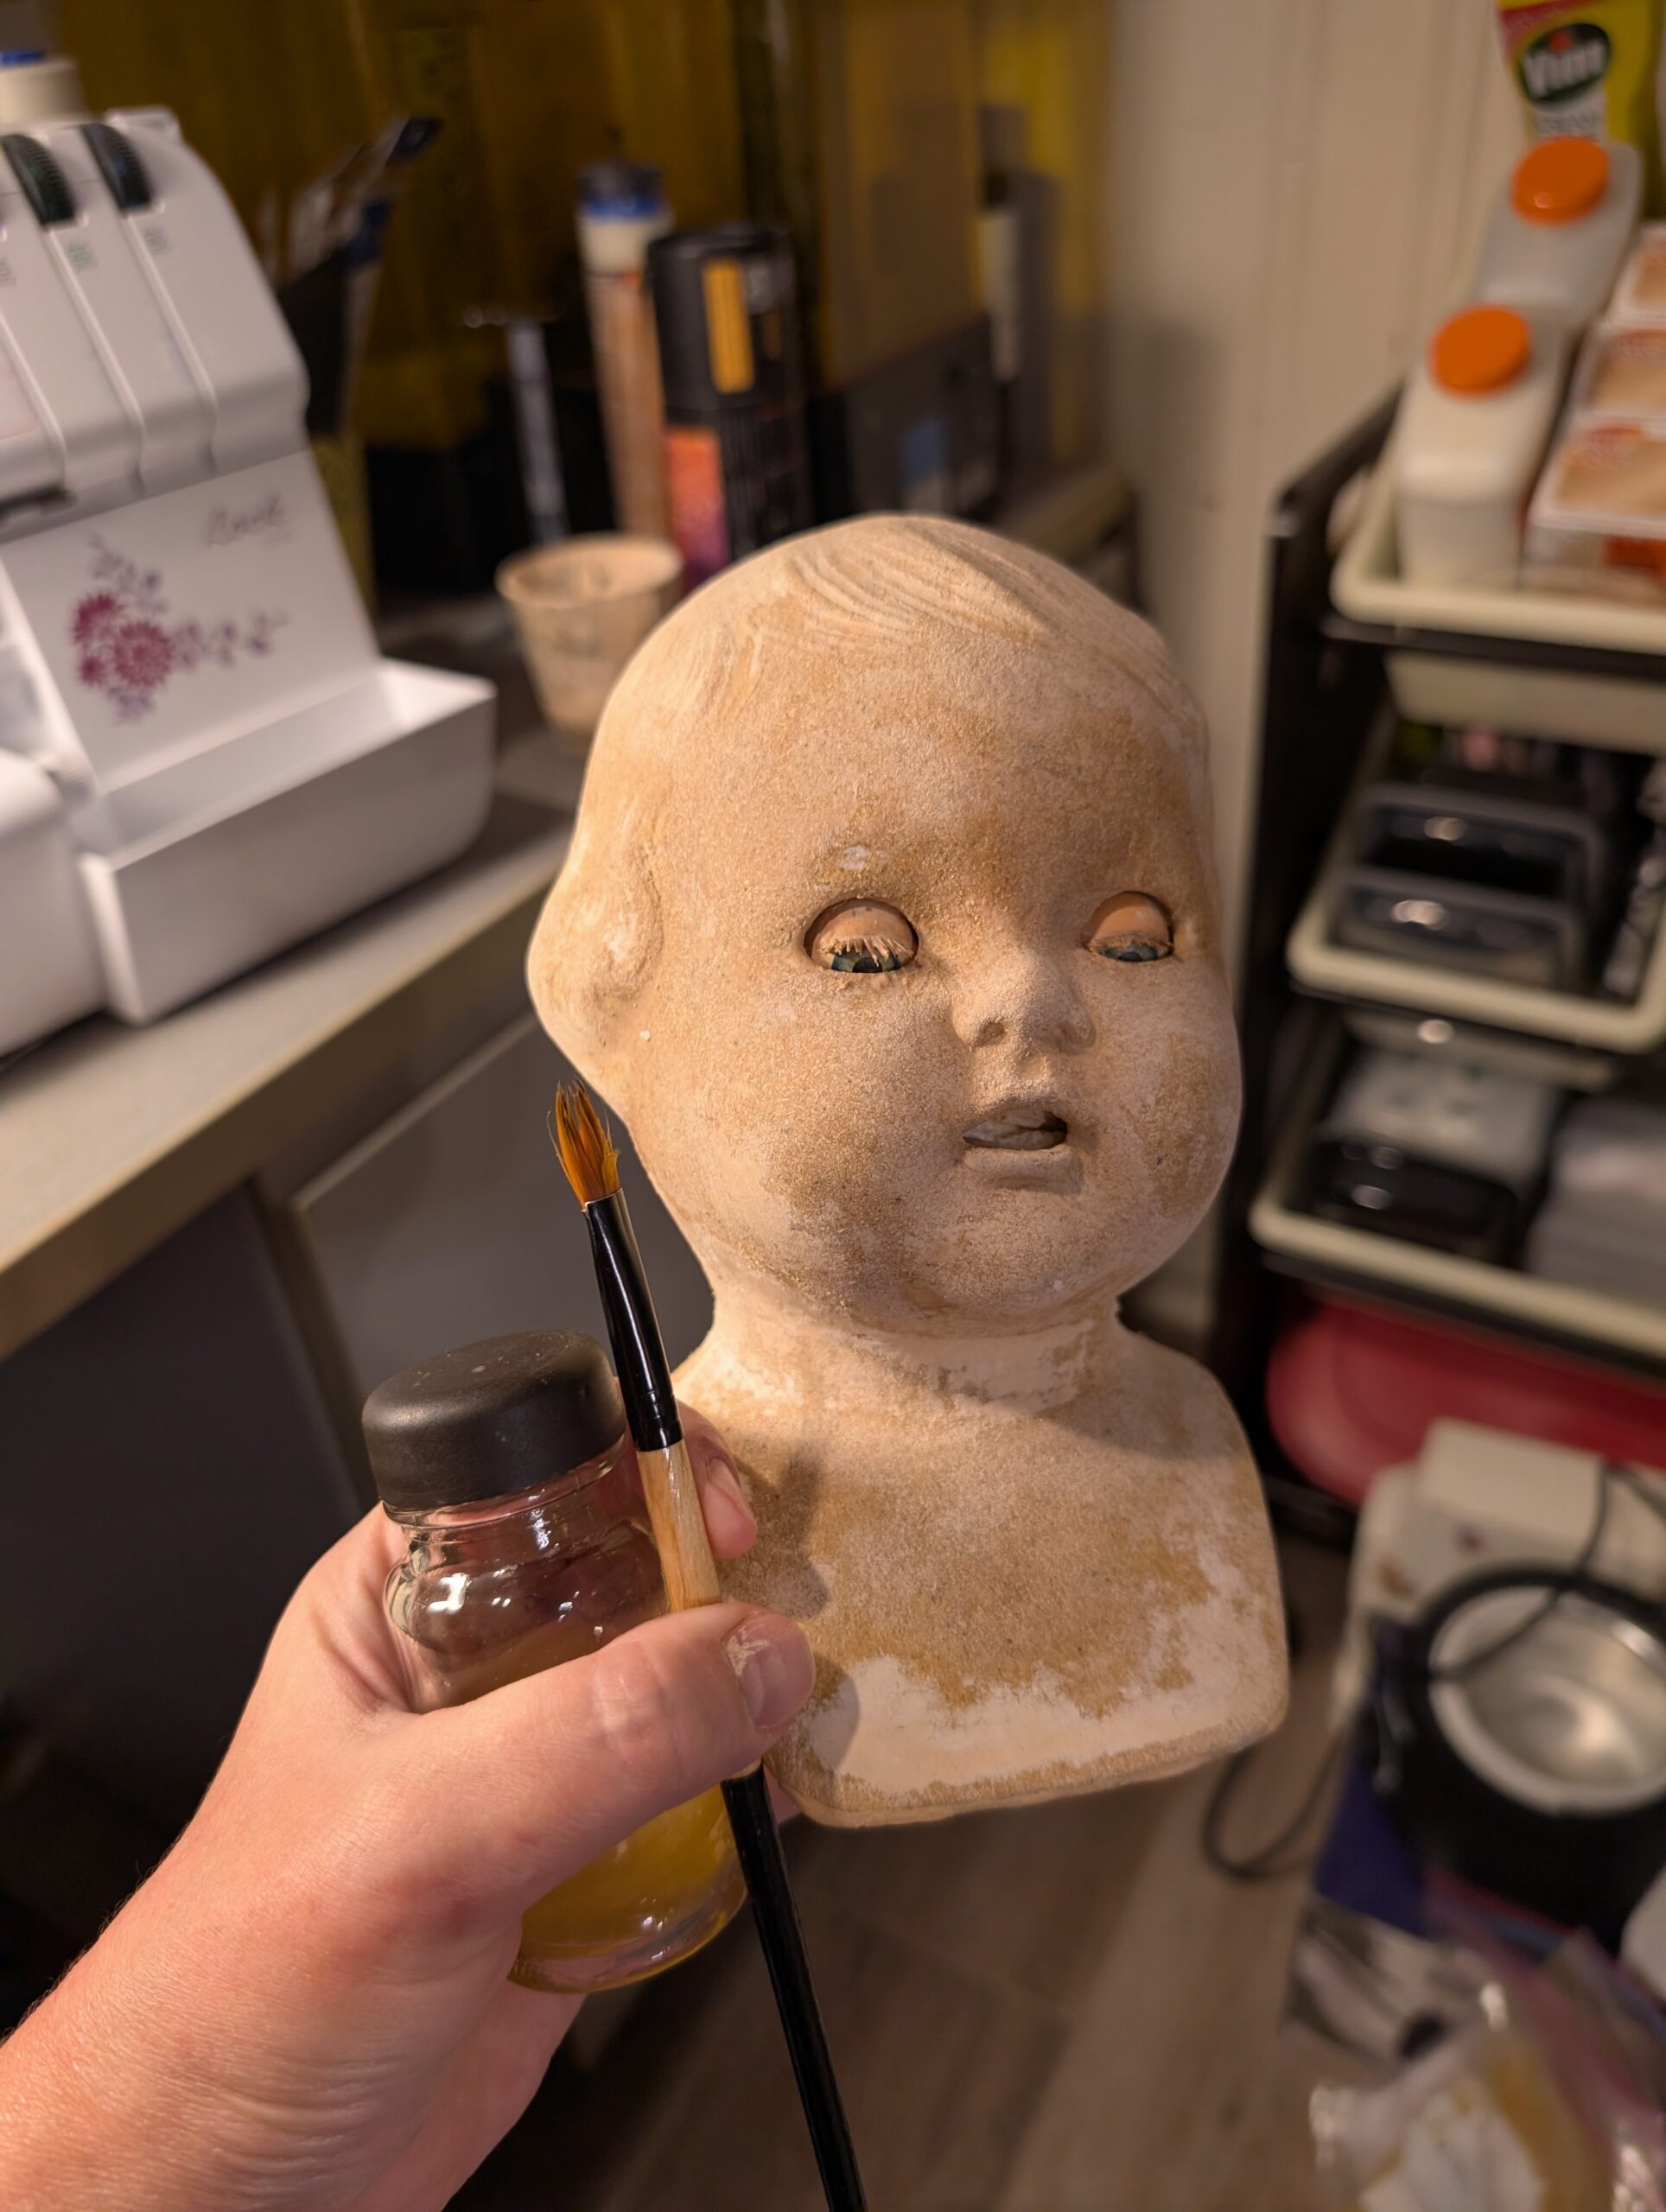
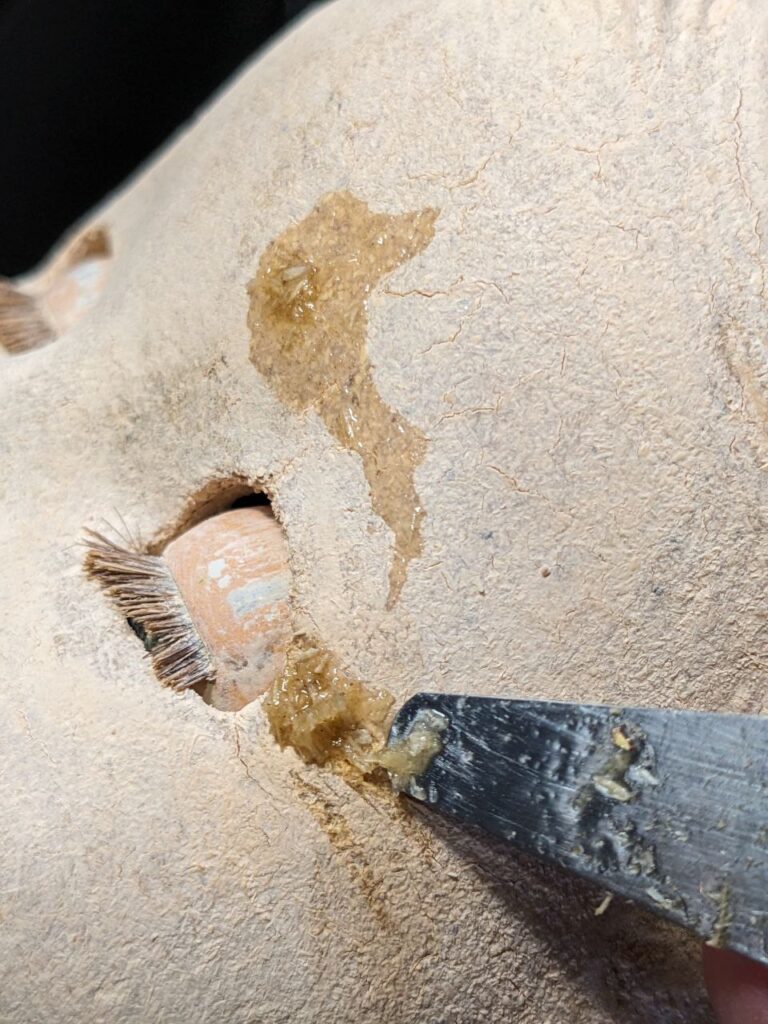
STEP 4. Sealing the surface with shellac
Shellac is a traditional coating for old composite dolls.
Solution:
- 10%: 10 g shellac in 100 ml 96% alcohol.
- For very thin coats, a 5% solution is sometimes used.
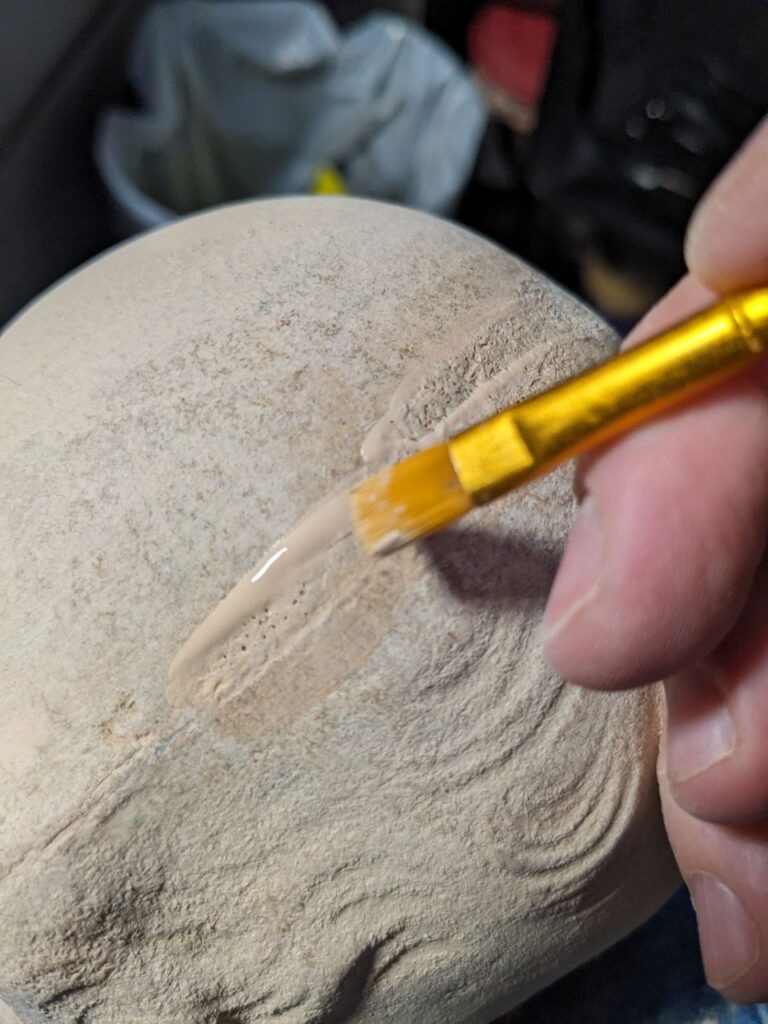
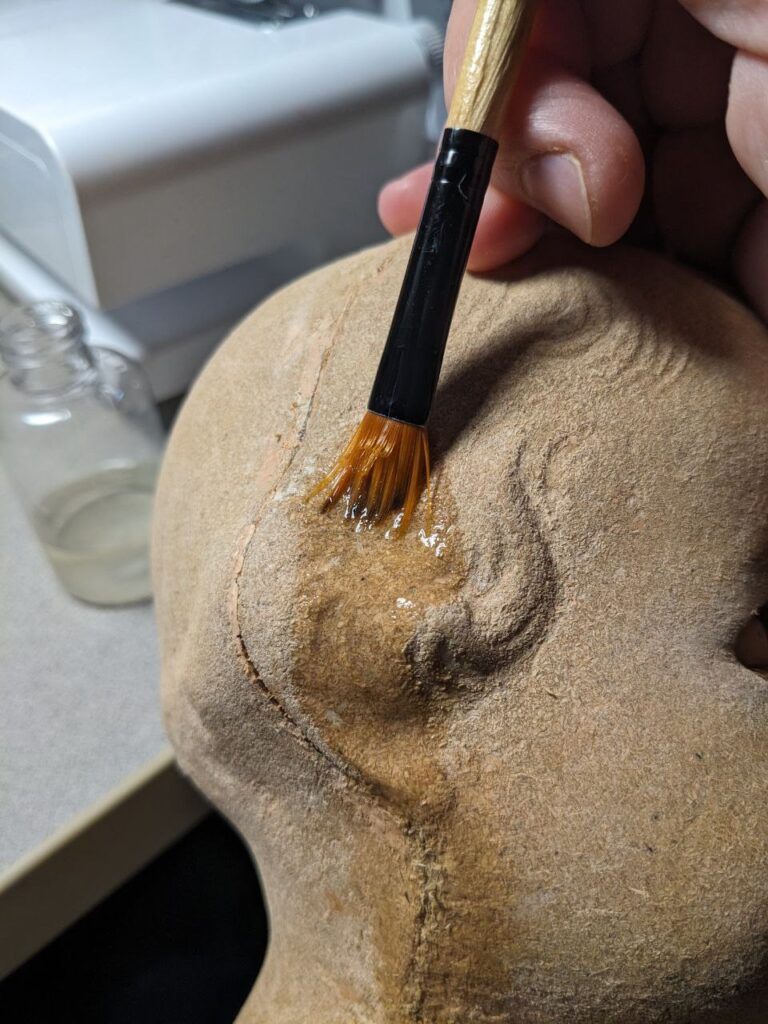
Application:
- Use a fine natural-hair brush or a cotton pad/tampon.
- Apply a very thin coat.
- Allow to dry for 1-2 hours.
- If needed, apply 2-3 coats with light sanding in between (Micromesh 4000-6000).
- Do not sand the final coat.
STEP 5. Toning and retouching (if needed)
- For old dolls, use dry pigments with shellac, or watercolor/gouache over the shellac layer.
- Tone very delicately to avoid creating “fresh” looking patches.
- Fix the color with a final thin layer of shellac.
STEP 6. Final polishing
- 24-48 hours after the last shellac coat, lightly go over the surface with Micromesh 8000-12000 or a soft cloth.
- Work gently, without pressure, just to reduce dullness.
STEP 7. Drying and stabilization
Do not place near radiators and do not use a hairdryer for heating.
Full curing takes 3-5 days.