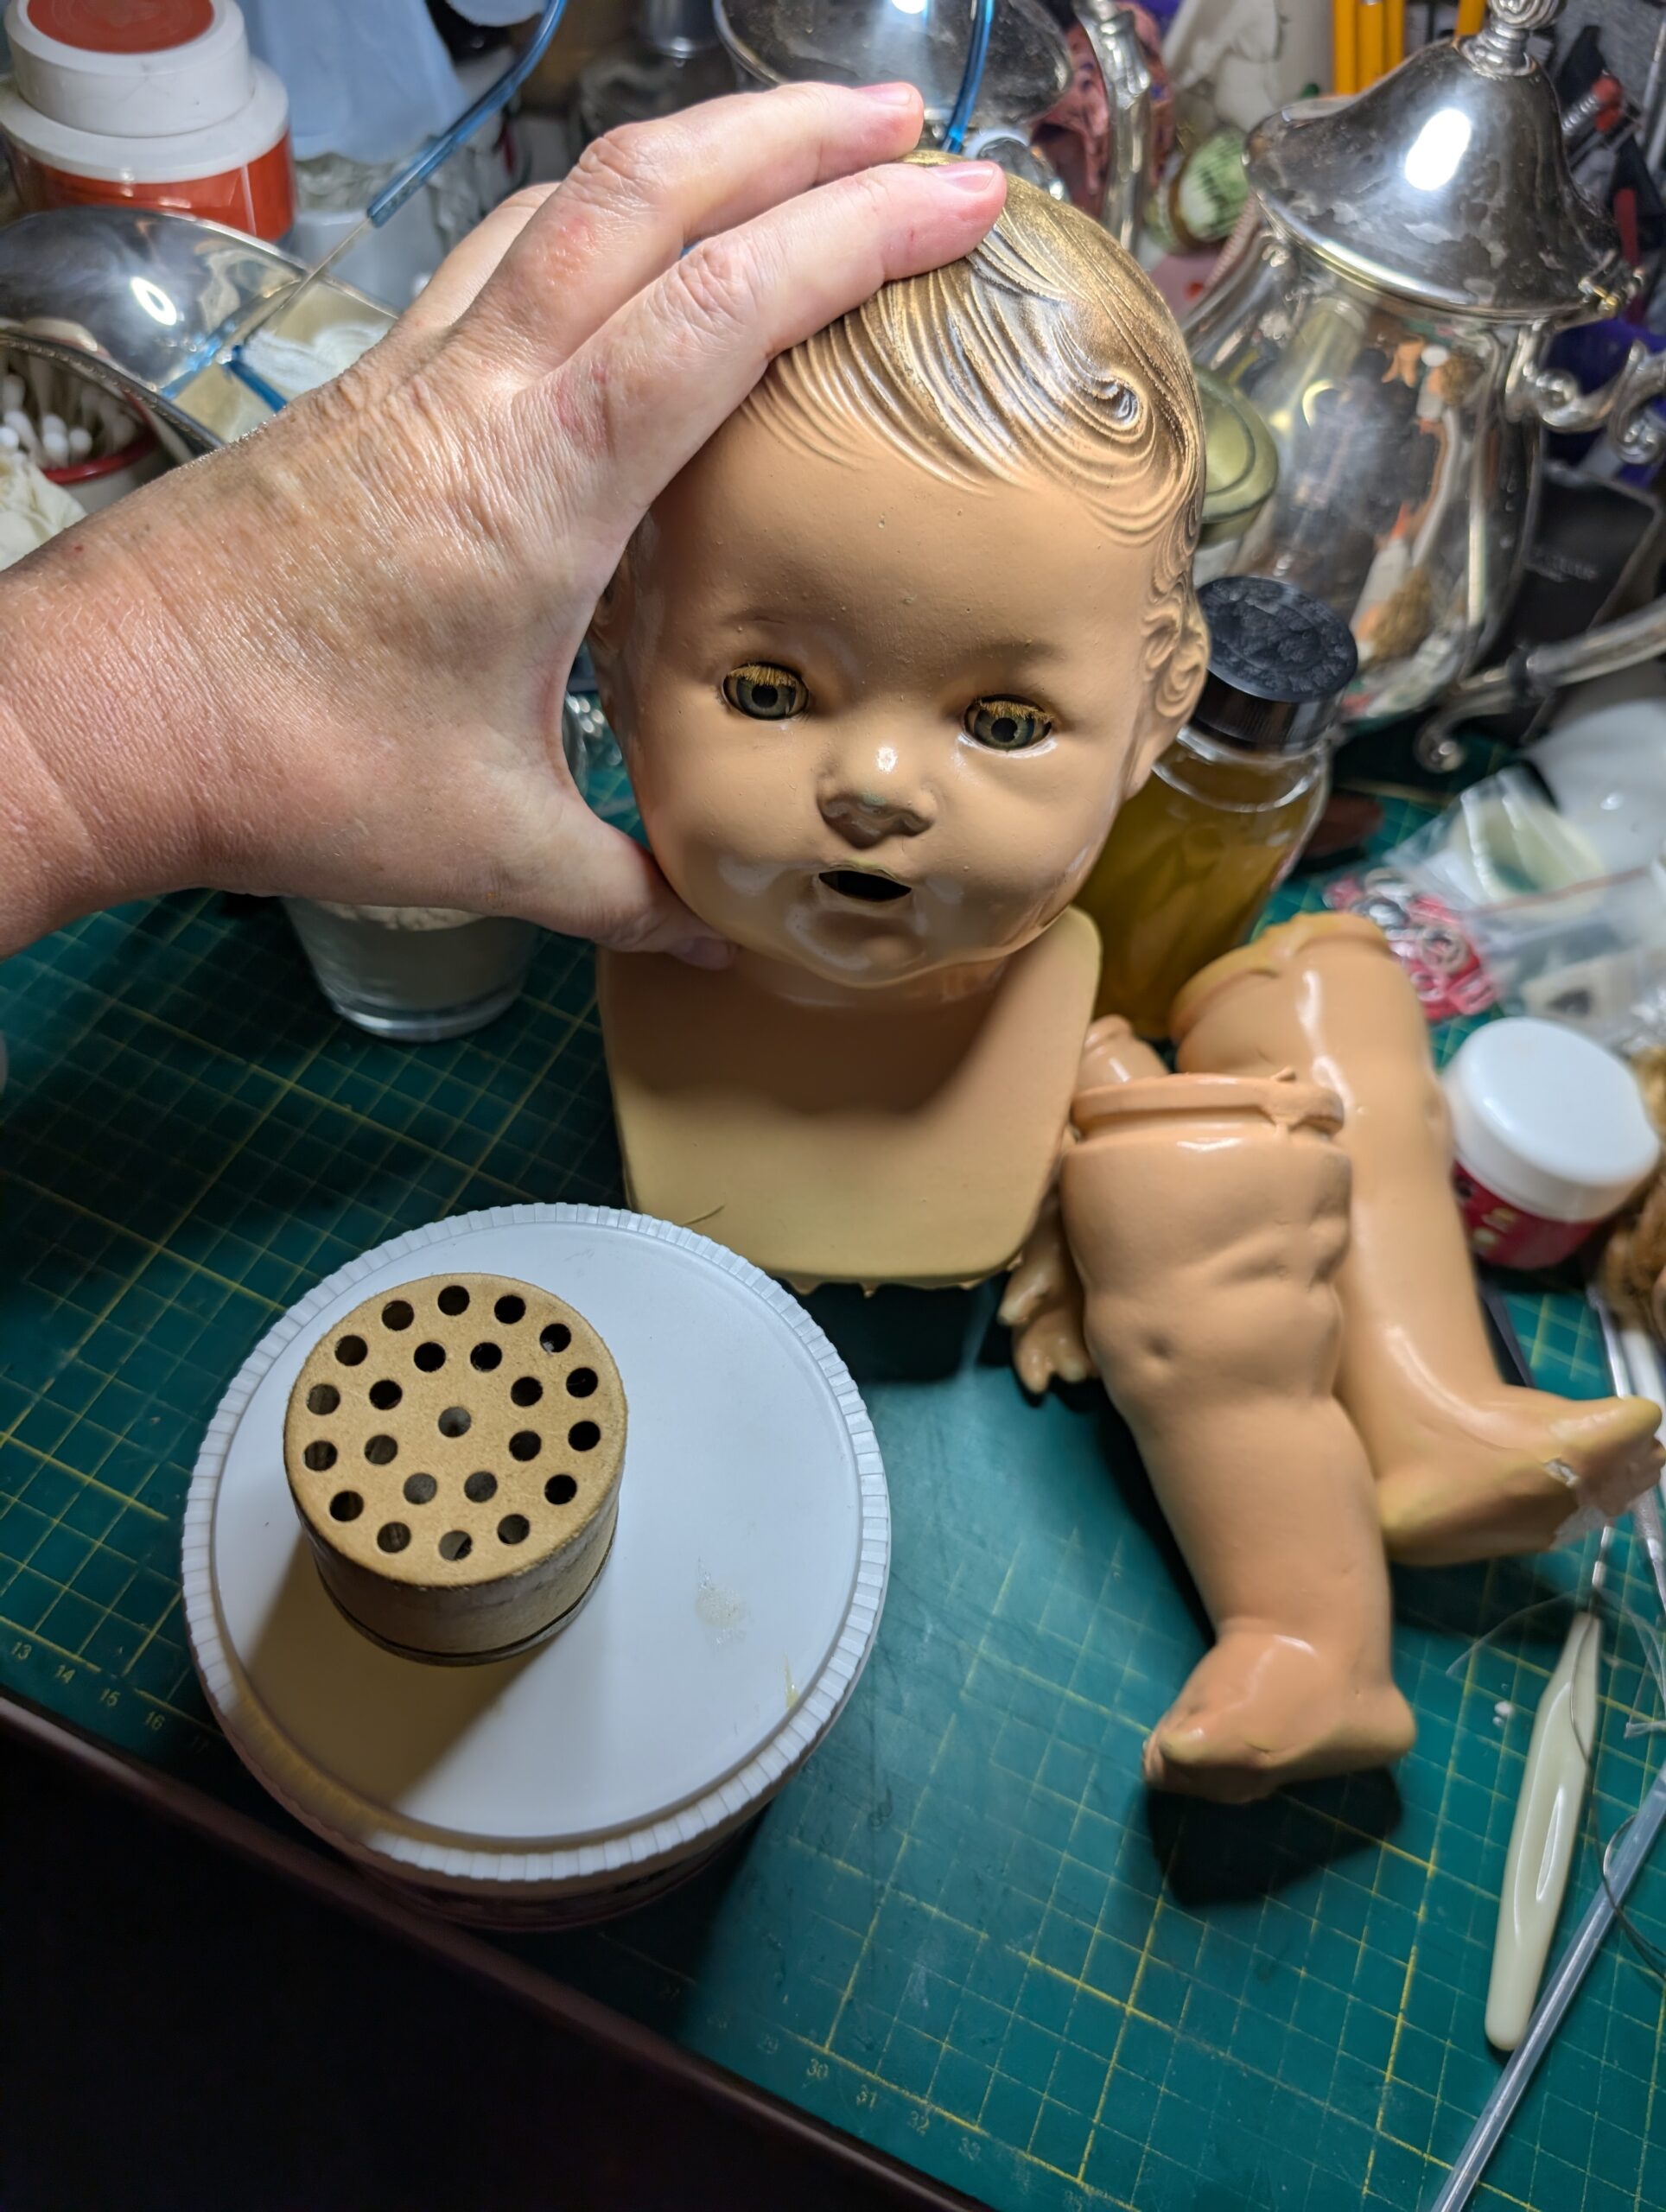
Step-by-step instructions for repairing composite doll coating problems using bone glue and shellac
The instructions are suitable for old composite/papier-mâché heads from the late 19th to mid-20th centuries.
STEP 1. Surface preparation
Dedusting
– Soft brush or microfiber.
– No water, alcohol, or soap.
Degreasing
– Only isopropyl alcohol 70% or ethyl alcohol 50-70%.
– Quickly go over with a cotton swab without soaking the base.
– Do not touch the painting!
Damage assessment
– Cracks (hairlines)
– Upholstery/potholes
– Lagging layers
– Places where the composite is falling off
STAGE 2. Preparation of bone glue
A classic recipe for restorers for composite:
– Bone (animal hide glue) granulated – 1 part
– Water – 2 parts (for thinner work, you can use 1:3)
Preparation:
– Pour the granules into a glass jar.
– Add water and leave to swell for 30-40 minutes.
– Heat in a water bath to 55-60°C.
(Do not boil – the glue loses its properties!)
– Keep warm in a hot water bath.
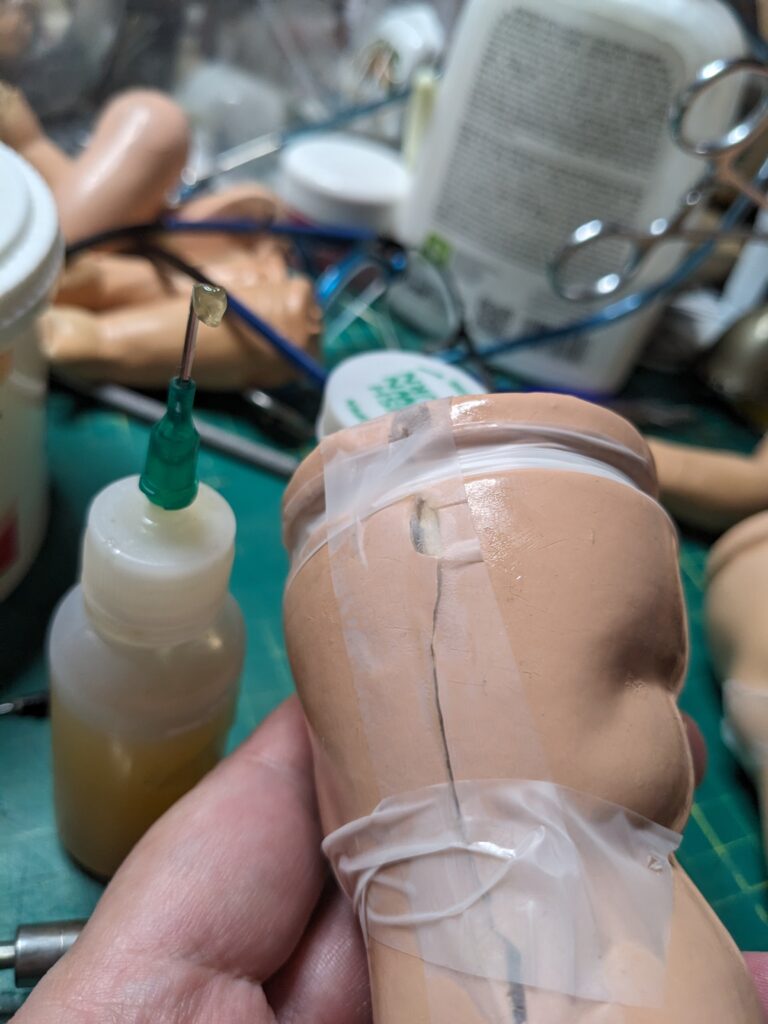
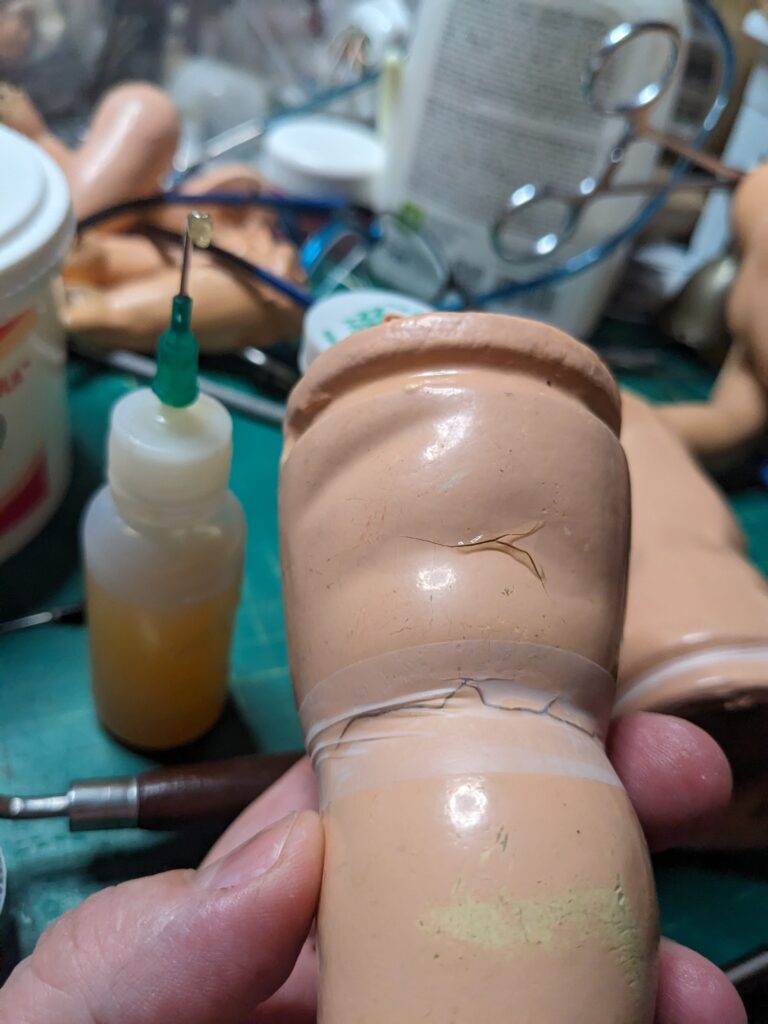
STEP 3. Fixing cracks
– Use a thin brush or syringe with a 0.5-0.6 mm needle to introduce warm glue into the crack.
– Carefully bring the edges of the crack together with your fingers or soft clamps with silicone “legs”.
– Leave to dry for 12 hours, do not touch.
– Remove excess glue with a slightly damp cotton swab (almost dry).
Tip: if the crack is deep, repeat the procedure 2-3 times.
STEP 4. Bonding of peeled areas
– Carefully lift the lagging “scale” of the composite with a wooden stick.
– Inject glue under the layer.
– Press through cling film and soft rubber bands (not too tight!).
– Drying – overnight / 12 hours.
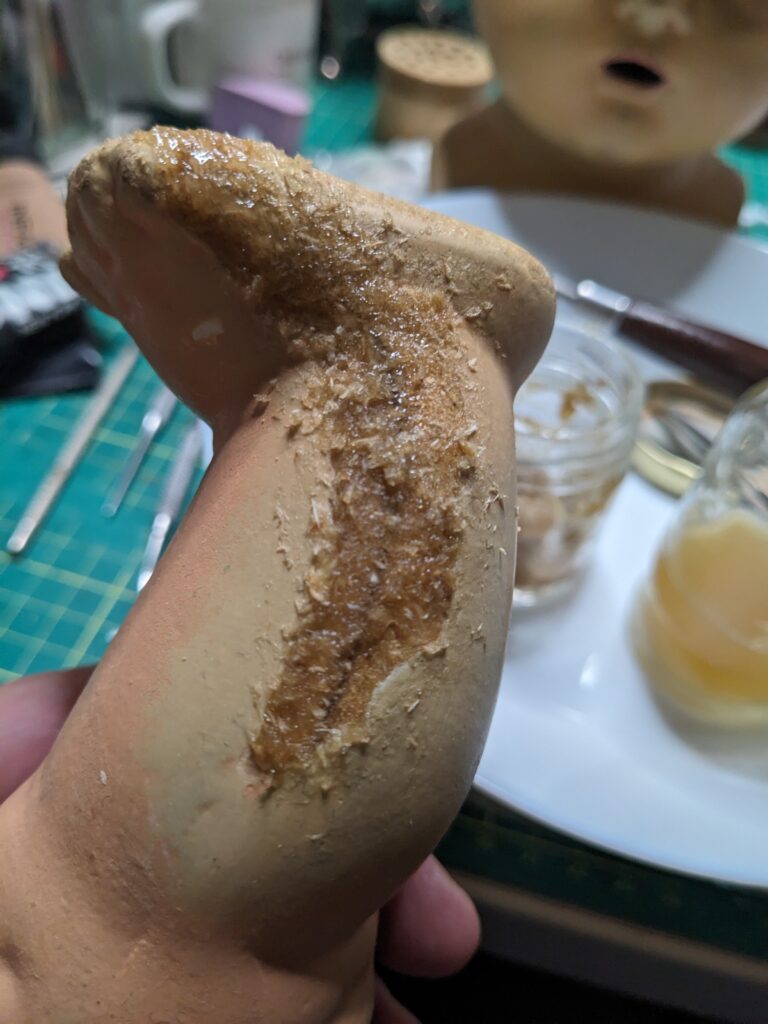
STAGE 5. Filling potholes and material losses
Bone glue putty (restoration)
– 1 part bone glue (warm)
– 3-4 parts fine wood flour or chalk (whiting)
How to do it:
– Add filler to warm glue, bring to a paste consistency.
– Fill the pothole with a spatula or silicone spatula.
– Shape the surface immediately – it is more difficult after drying.
– Dry for a day.
– Sand with fine sandpaper 600-1200 or micromesh.
STEP 6. Sealing the surface with shellac
Shellac is a classic coating for old composite dolls.
Solution
– 10%: 10 g of shellac per 100 ml of 96% alcohol
– For thin layers, 5% is sometimes used
Application:
– A thin brush made of natural bristles or a cotton swab.
– Apply a skinny layer.
– Let dry for 1-2 hours.
– If necessary, apply 2-3 layers with intermediate light sanding (Micromesh 4000-6000).
– Do not sand the last layer.
STEP 7. Toning and touch-up (if necessary)
– For old dolls, use dry pigments + shellac or watercolor/gouache over a layer of shellac.
– Toning is very delicate so as not to create “newness spots”.
– Fix the tone with a final thin layer of shellac.
STEP 8. Final polishing
– 24-48 hours after the last layer of shellac, go over it with a micromesh 8000-12000 or a soft cloth.
– Lightly, without pressure – just to remove the dullness.
STAGE 9. Drying and stabilization
– Complete drying 3-5 days.
– Do not place near a battery, do not heat with a hairdryer.
All my advice sounds pretty simple. And there seems to be nothing confusing about performing such repairs on antique dolls.
Don’t forget the most important thing: all our interventions must be reversible.
And enjoy the restoration process.