
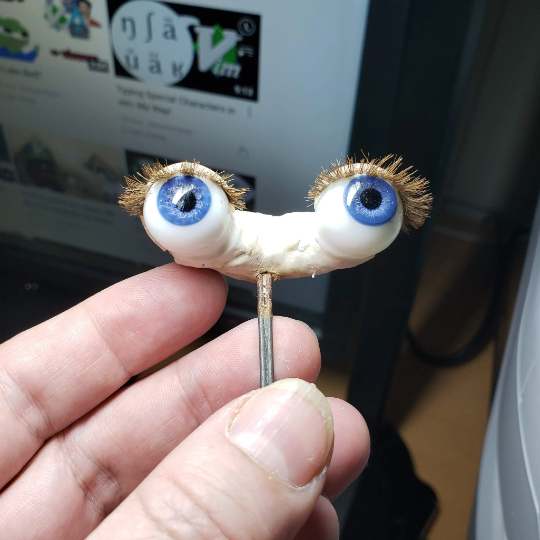
Restoring Antique Doll Eyelashes: A Small Repair with a Big Effect
A Behind-the-Scenes Restoration Step: Making New Eyelashes for an Antique Doll
A common problem with antique dolls is the loss of their eyelashes. Over time, the original eyelid pieces attached to the glass eyes may crack, break away, or become damaged. In other cases, the individual hairs simply loosen and fall out.
Fortunately, this type of damage can be repaired. It takes patience, careful handling, and time—but it can make a remarkable difference to the doll’s expression.
While going through my restoration archive, I found several photographs showing how I made replacement eyelashes for an antique doll. There are many possible methods, but this is the approach I used in my doll hospital.
Natural fibres were commonly used for antique doll eyelashes. Depending on the doll and its period, restorers may work with firm bristles, soft long hair, mohair, animal hair, or even human hair.
For this project, I did not have camel on hand, and purchasing an squirrel-hair brush for a very small amount of fibre seemed unnecessary. Instead, I used a small strand of my own hair. Its shade matched the colour of the doll’s painted eyebrows surprisingly well.
This detail matters. Antique dolls were not painted with strong black eyebrows, so pure black lashes can look out of place. A brown-toned fibre usually creates a more convincing result when it matches the existing paint and the overall character of the face.
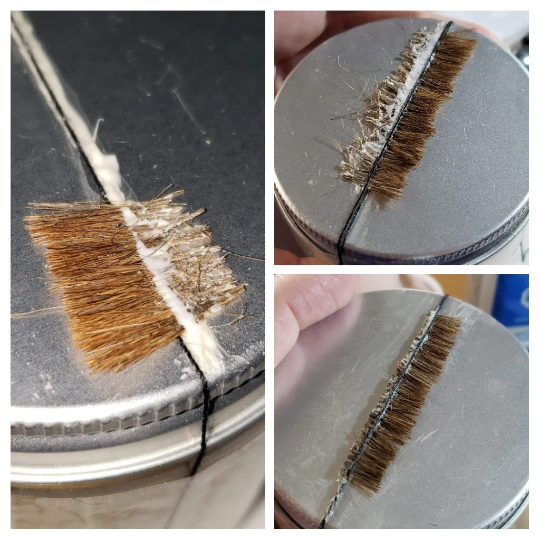
To create the eyelash strip, I used a thick cotton thread as a guide. First, I laid a thin layer of hair over one length of thread. I then placed a second thread on top, enclosing the hair between the two thread.
Each layer was coated with glue and allowed to dry. Once the adhesive had set, the excess hair could be trimmed away. The result was a narrow strip of hairs held securely between two threads.
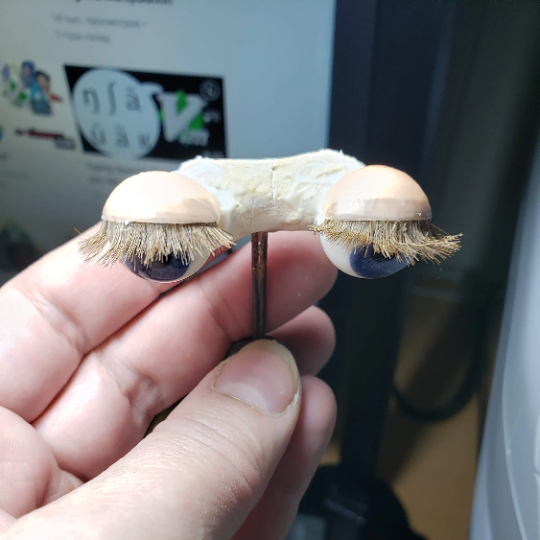
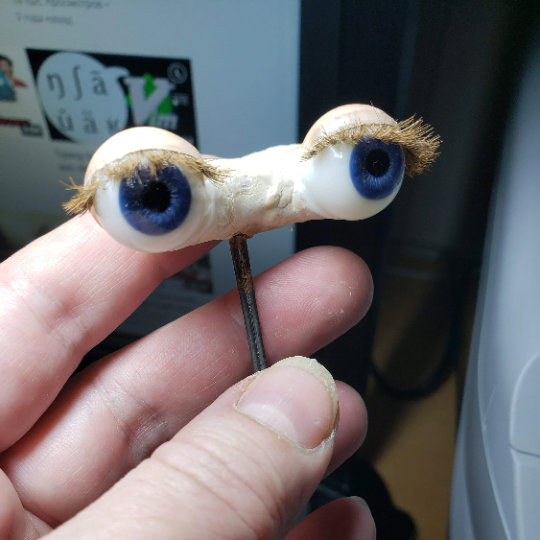
The semi-transparent eyelid caps were made from wax tinted with flesh-coloured pigments. The glass eyes on the rocker were dipped into hot wax. Once the wax had cooled, the wax caps could be lifted off easily.
The lash strip was then carefully glued along the inside edge of each wax eyelid.
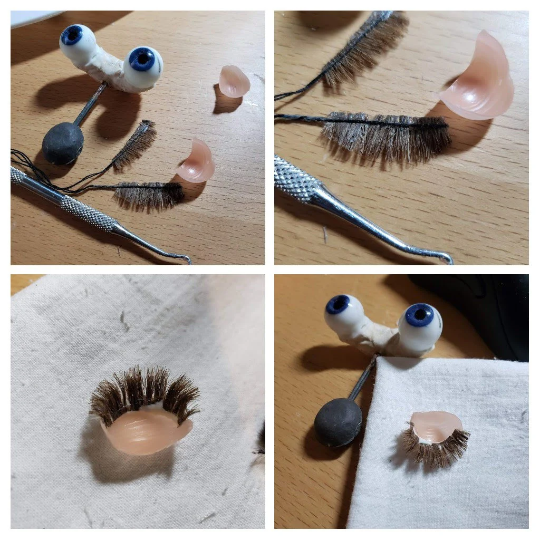
After the eyelashes were attached, the wax eyelids were returned to their proper position on the glass eyes. Glue was applied to the surface of each glass eye, and the eyelid was positioned carefully before the adhesive dried.
This short working time is important: it allows the eyelid to be adjusted so the lashes sit naturally and remain symmetrical.
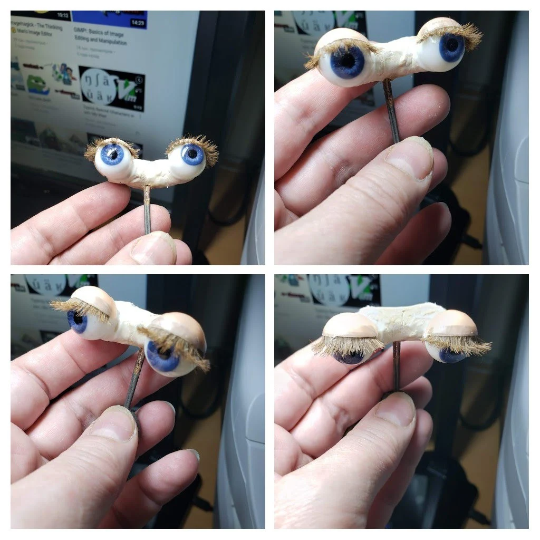
That is the story of how a strand of my own hair became new eyelashes for an antique doll.